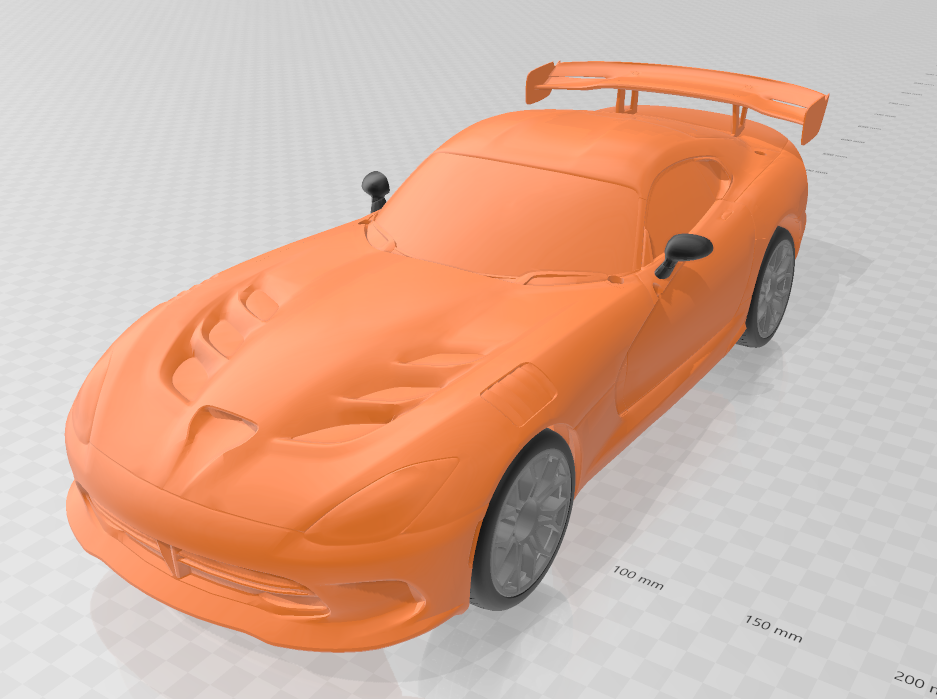
ACR Dodge Viper OpenRC 1:10 RC Car
thingiverse
<h1>Dodge Viper ACR V1 </h1> I made significant modifications to many parts from OpenRC F1 by barspin. You will most likely not be able to use any parts from that build. ACR Viper Model by stunner2211 has been modified to be able to print in multiple pieces assembled together using screws or dovetails. I have also fixed mesh in many places to make it printable. Some of the pieces that slide into each other may require some sanding depending on what resolution you print the model in. There may be warping that cause gaps when mirrored body parts are joined together. This will require some post processing by filling the gaps with wood filler or bondo or some other filler. There is ~0.1 to 0.2 mm tolerance in each part that slide into each other. Most of the body parts are designed to require minimal supports however I recommend you set support threshold to at least 55 degrees at 0.2 mm layer height resolution. <h1>Wheels</h1> You can print either the wheels or the rims to use with 63mm OD 48mm ID rubber tires. I have not tested the rims yet so they might require some tweaking. Print 3 Front wheels/Rims and 1 rear wheel/Rims. One of the front wheels is used as a rear wheel for differential drive. <h1>Steering</h1> I added holes to front wheel axle to add reinforcement rods (1mm dia paper clip) to increase strength. Alternatively you can print ones without holes. Printing them at 100% infill is recommended to reduce risk of layer delamination. <h1>Differential</h1> I increased the size of the small differential gear to make it printable on my Ender 3. I was having trouble with printing anything smaller. I used small pieces of 1mm diameter paper clip to hold the inner differential gears inside the main gear. <h1>Electronics</h1> ESC: https://amzn.com/B07792FPD8 Battery: https://amzn.com/B085Q3Q28V Steering Servo: https://amzn.com/B07L6FZVT1 Motor: Any 35T motor will do. Keep in mind mounting screw distance of 25mm. Any 2 Channel RC Transmitter and Receiver will work <h1>Hardware</h1> 2 pcs - 12x18x4mm Bearings 6 pcs - 8x12x3.5mm Bearings Several Flat and Button or socket head M3 screws and nuts (WIP) <h1>Assembly </h1> <h2>Ackerman Steering</h2> 1) Refer to OpenRC F1 Instructions to assemble steering assembly here https://cdn.thingiverse.com/assets/e6/a4/aa/11/c5/Front_BOM_Assembly.pdf. Assemble everything except the wheels onto Front axel. Assembly is identical except the push pin. the push pin is a single piece instead of two separate pieces. The parts just have different dimensions. Instructions: 2) Attach the Ackerman assembly and Steering Spacer (goes below the steering assembly) to front chassis. 3) Attach servo holder and steering servo to front chassis using two M3 Flat head screws. This wont be easily accessible once the front part of the body is attached. 4) Use a paperclip to create a push rod from the steering servo saver to the servo. Make sure you measure it accurately by setting the servo arm 90 degrees vertical and Ackerman steering to be perfectly straight. <h2>Rear Axel</h2> 1) Add a 12x18x4mm Bearings to Axel Motor Mount and slide it onto the axel as far as it will go. 2) Add a 12x18x4mm Bearings to the other Axel Mount and slide it onto the axel as far as it will go. 3) Insert the Differential Axel Gear onto the axel and push it as far as it goes 4) Add small pieces of 1mm diameter paper clip pieces approximately 7.5mm in length through 4 Differential Small Gears. 5) Attach the small gears into Differential Main Gear by sliding the paper clip pieces into the slots. 6) Attach the Main Differential Gear to the Axel against the Axel Gear. 7) Attached the Differential Wheel Gear to the Axel against the Main gear. 8) Slide a 8x12x3.5mm Bearings into the axel then slide a wheel/rim onto the axel and make sure the bearings slide into the wheel. 9) Slide a second 8x12x3.5mm bearings after the wheel making sure it slides into the hole in wheel rims. 10) Add the Differential Wheel Lock nut with a M3 flat head screw. Don't over-tighten. The wheel should spin freely without binding but not wobble on the axel. 11) Slide the Rear Wheel to the other side of the axel and lock it in using one of the 3 regular lock nuts with a M3 flat head screw. 12) Slide a M3 nut into each of the 4 recessed nut slots in the two axel mounts. Line up the mount holes with the hole in the back of the rear chassis and secure them using 4 flat head M3 screws. 13) Secure the Motor into the Motor mount making sure the pinion has good contact with the main gear. 14) Test out the differential by spinning both Rear wheels in opposite directions making sure everything spins smoothly without any binding. The gears may require lubrication to prevent them from melting. <h2>Chassis</h2> 1) Slide Rear chassis into the front chassis using the sliding geometry in front and back of each piece. <h2>Body</h2> 1) Join Hood1, Top1, and Trunk mirrored body pieces using M3 screws and nuts. You will need 5xM3 Screws (either socket head or Button head) and 5xM3 nuts. 2) Slide Top2 left and right pieces one at a time from each side onto Top1 dove-tail. This may require some sanding to close any gaps in the middle seam and make sliding in easier. Secure Top2 mirrored pieces using similar M3 screw and nut as previous mirrored pieces. Put this combined piece aside for final step. 3) Slide Hood1 pieces into Hood2's long dove-tail slot. This may be a tight fit due to warping or printer resolution. Some sanding will help with sliding it in easier. 4) Slide the combined Hood piece into front Chassis using the geometry near the front bumper. 5) Put (2) M3 nuts into Hood2's recessed nut slots on either side. They should lock in once you slide them in all the way. 6) Put (2) M3 nuts into each mirrored Side1 piece in the recessed nut slot. You might want to secure the nuts but taping over the slot so that the nut doesn't fall out as you continue to assemble. 7) Slide Side1 pieces into each side of the Hood using dove-tails. Be careful as these can be a bit delicate. As before some sanding will help if its a tight fit. 8) Secure both Side1 pieces using Flat head M3 screws by screwing them from under Front Chassis. 9) Put (8) M3 nuts into each Door and Sides piece in the recessed nut slot. Secure with tape if necessary. 10) Slide each Door piece into the dovetail on both side followed by sliding Side2 pieces into dovetail in Door pieces. 11) Secure both Door and Side1 pieces using Flat head M3 screws by screwing them from under Front Chassis. 12) Add (2) M3 nuts to both sides of combined Trunk piece. 13) Slide Trunk pieces into Rear Chassis using geometry at the bottom by the bumper. 14) Secure the Trunk into Side2 using Socket Head or Button Head screws. 15) Slide Mirrors by pushing them into elliptical holes on the door. 16) Combine the two Spoiler pieces by snapping them together. 17) Slide the two Spoiler Base pieces into the Trunk and snap the combined Spoiler onto the two bases. 18) You can go ahead and add the two front wheels to the steering assembly. The order of the wheel assembly is as follows: First slide 8x12x3.5mm bearings onto axel, then the wheel then another 8x12x3.5mm bearings and then finally secure using a locknut and flat head M3 screw. Don't over tighten. The wheels should spin freely but not wobble on the axel. 19) At this point you can go ahead and drop in the ESC, Battery and Receiver onto the chassis. Connect all the electronics. 20) Add the combined Top piece and screw it in place using 4 M3 Socket head or button head screws. <h3>Sep-22-2020</h3> Added spacer to add under Steering Assembly <h3>Sep-22-2020</h3> Updated Trunk and Top2 to not need supports Updated Side1 and Hood1 to add more clearance for wheels Update both Chassis pieces to adjust for horizontal expansion Added Flat Chassis pieces without Receptacles for electronics <h3>Oct-3-2020</h3> Updated Rear Chassis to accommodate Diff gear
With this file you will be able to print ACR Dodge Viper OpenRC 1:10 RC Car with your 3D printer. Click on the button and save the file on your computer to work, edit or customize your design. You can also find more 3D designs for printers on ACR Dodge Viper OpenRC 1:10 RC Car.