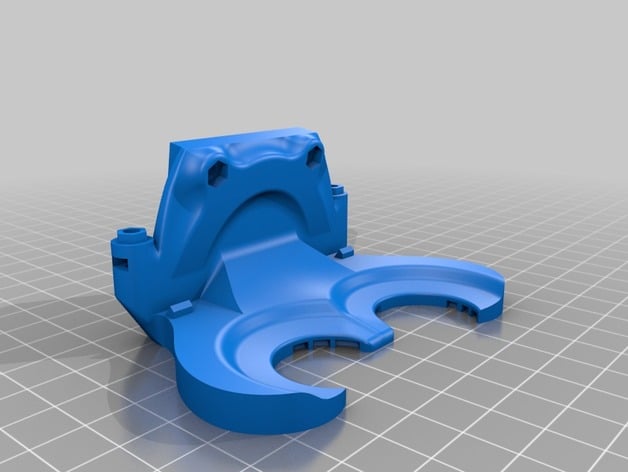
Active Cooling Fan Duct v2 for Replicator 1 / Duplicator 4 / FlashForge / CTC
thingiverse
The text appears to be a set of instructions for printing the ActiveDuctV2.0 with an FDM 3D printer, specifically designed for printing ABS filament. Here are some key points mentioned in the text: **Design Requirements** * The duct has very fine walls and long bridging parts, so tuning the slicer profile is crucial. * It's designed for a common 0.4mm nozzle with a layer height of 0.1mm. **Warping Issues** * Warping can be caused by a non-flat bed, mis-matched extruder temperature, bad filament quality, or using the wrong build plate material. * Using a real flat aluminum build plate and a 1mm FR-4 fiber board attached with small metal clips is recommended for ABS prints. **Slicer Profile Tuning** * Use a simple test cube to tune the extruder temperature, shells, filament diameter, infill to shell overlap, and bridging settings. * Adjust the extruder temperature to the lowest setting where the filament flows continuously. * Configure the profile to create 2 shells and optimize the filament diameter for binding. * Tune the infill to shell overlap by printing a test cube with 100% infill and adjusting the overlap value. **Bridging Optimization** * Use active cooling by printing a temporary duct or a real one, and turn the extruder fans to blow onto the duct. * Configure the printing speed for bridging to achieve good bridges. * Print a good bridging test model from Thingiverse to optimize bridging settings. **Nozzle Calibration** * Use a 36mm calibration tool to calibrate both nozzles to the same height, leaving enough space between the hot-end and the duct. * This ensures that the duct doesn't melt during printing, especially with ABS filament. **Printing the Duct** * Print the following files: ActiveDuctV2.0, ActiveDuctV2.0_Clip (x2). The text also includes a few warnings and advice: * Be careful when removing the duct from the printer. * Install a pluggable connection near the duct for easy removal during high-temperature prints. * Fine-tune your slicer knowledge and/or buy better filament if you experience problems printing the duct.
With this file you will be able to print Active Cooling Fan Duct v2 for Replicator 1 / Duplicator 4 / FlashForge / CTC with your 3D printer. Click on the button and save the file on your computer to work, edit or customize your design. You can also find more 3D designs for printers on Active Cooling Fan Duct v2 for Replicator 1 / Duplicator 4 / FlashForge / CTC.