Adafruit Macropad Case
prusaprinters
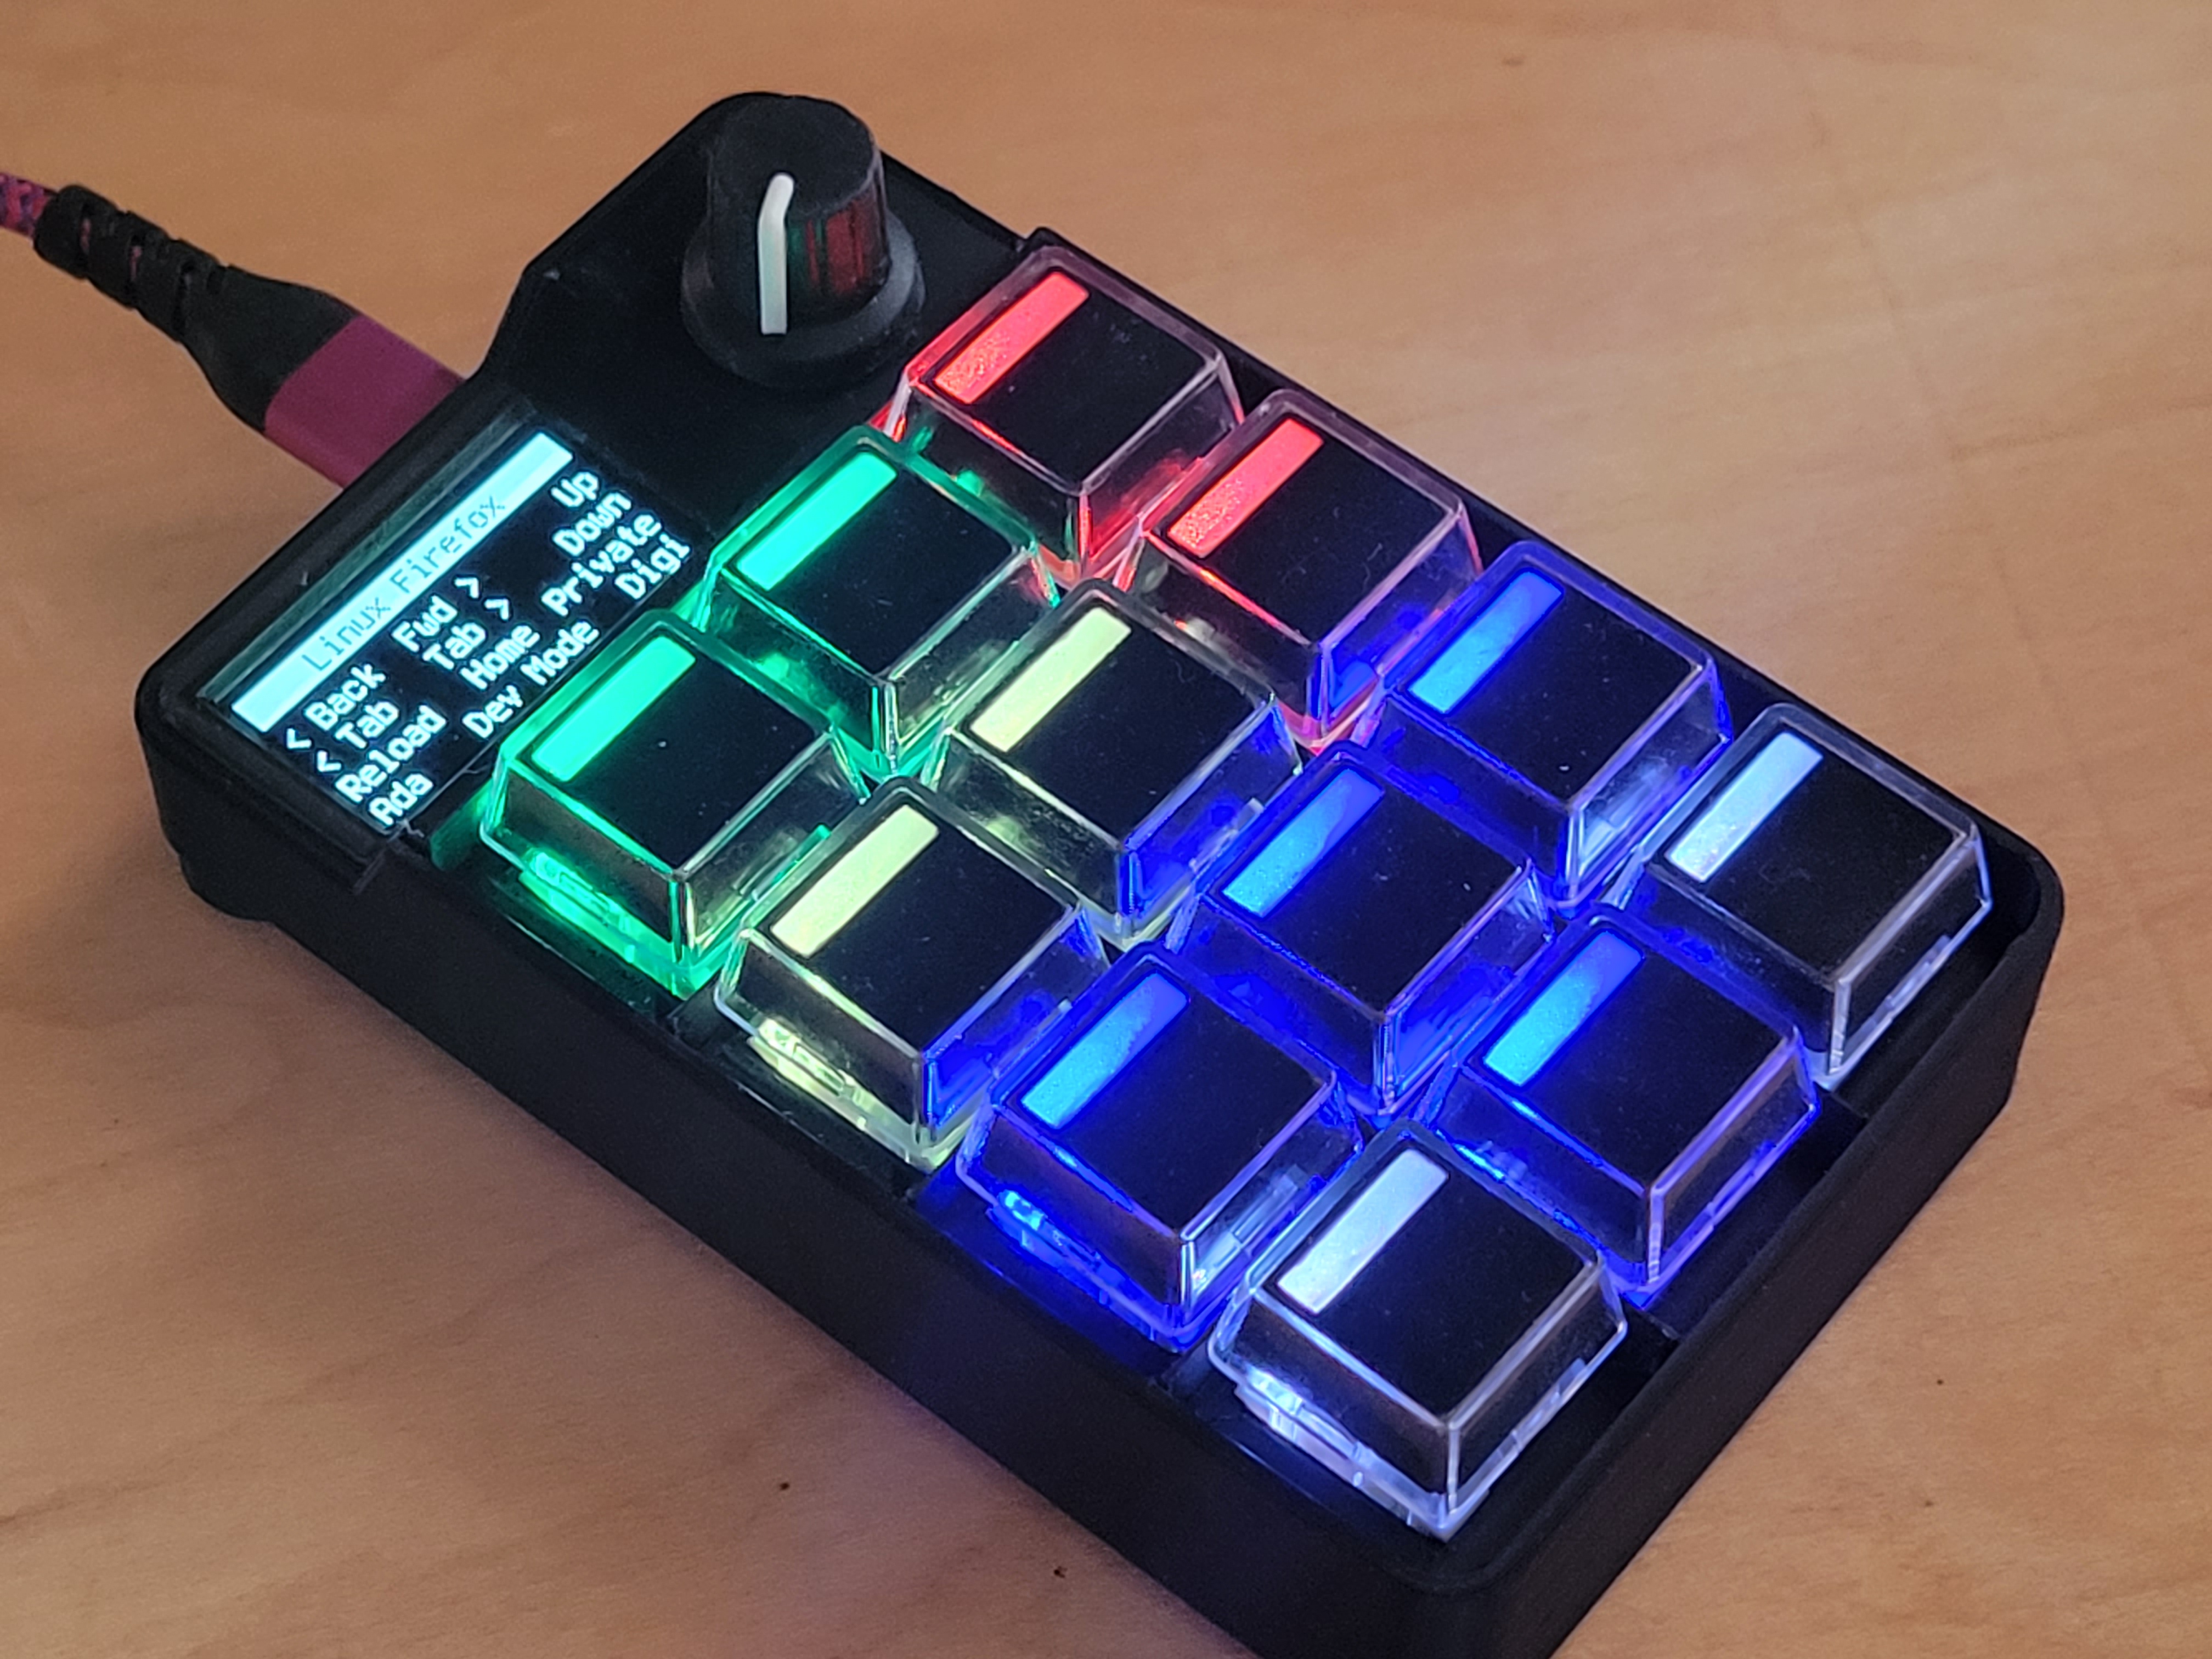
<p>This is a form fitting case I designed for the Adafruit Macropad. Its designed to be used with square keys but will probably work with regular key caps.</p><p>There are 2 options for the shell:</p><ol><li>Slim Shell with Feet: This version is a bit slimmer and is more permanent. It screws in to the feet of the macropad mainboard (take off the Adafruit bottom plate and put it to the side - you don't need it with this case). Optionally, print 2 of the feet to get an angled pad. You'll have to twist the feed to find the right angle but they screw in on the top side along with the shell.</li><li>Flat Shell - A shell that the macropad sits in and is removable. This version doesn't screw down so the components can fall out of the shell if you turn it upside down without the USB cable plugged in. Its nice when you need to be able to take the pad out easily.</li></ol><p><strong>Printing:</strong></p><p>Cover: This needs to be printed with supports. I used <a href="https://www.amazon.com/3D-Printer-Prusa/s?k=3D+Printer+Prusa&linkCode=ll2&tag=thingiverse09-20&linkId=28c787aef7c5a20cf2004b821dd161bf&language=en_US&ref_=as_li_ss_tl">Prusa</a> Slicer and I had to select "Detect Thin Walls" in order for it to properly slice the thin walls between the keys. I used PLA+ black. Other colors can work but the walls between the keys are designed to reduce LED bleed printing in other colors allows a lot more light to bleed through. Be careful removing the supports as the walls between the keys are fragile.</p><p>Shells: Neither of these need supports but if your printer has a hard time with the slots, you can turn them on.</p><p>Feet: These only work with the slim shell that screws on. Print with the flat side facing the build plate (the side the screw heads fit in to). Supports are optional on these - you don't see the part the screws go in to so its ok if these are a bit messy.</p><p><strong>Assembly:</strong></p><ul><li>Install the key switches in to the cover. Make sure that they are in the correct orientation - the bottom is the side opposite of the screen.</li><li>Carefully attach the cover and key switches to the macropad rp2020 board. There is a hole for the encode - I recommend lining that up first, aligning the key switches 2nd, and carefully seating the key switches on to the board.</li></ul><p><i><strong>For the slim shell go to step 3a. For the thicker shell go to 3b.</strong></i></p><p><strong>Slim Shell:</strong></p><ul><li><strong>3a:</strong> Place the board in to the slim shell, screw in the 2 bottom screws to attach the macropad to the case</li><li><strong>4a:</strong> Put the screws in to the feet and screw them in to the holes on the top and in to the feet of the mainboard. Leave a little slack and rotate the feet until you find the right angle so it sits flush on your desk/table. Finally, hand tighten the screws.</li></ul><p>THICKER SHELL:</p><ul><li><strong>3b:</strong> Attach the bottom plate to the macropad board.</li><li><strong>4b:</strong> Put the board/cover/bottom plate in to the shell, attach the USB cable and you're ready to go!</li></ul>
With this file you will be able to print Adafruit Macropad Case with your 3D printer. Click on the button and save the file on your computer to work, edit or customize your design. You can also find more 3D designs for printers on Adafruit Macropad Case.