Adafruit QT Py Bracket
prusaprinters
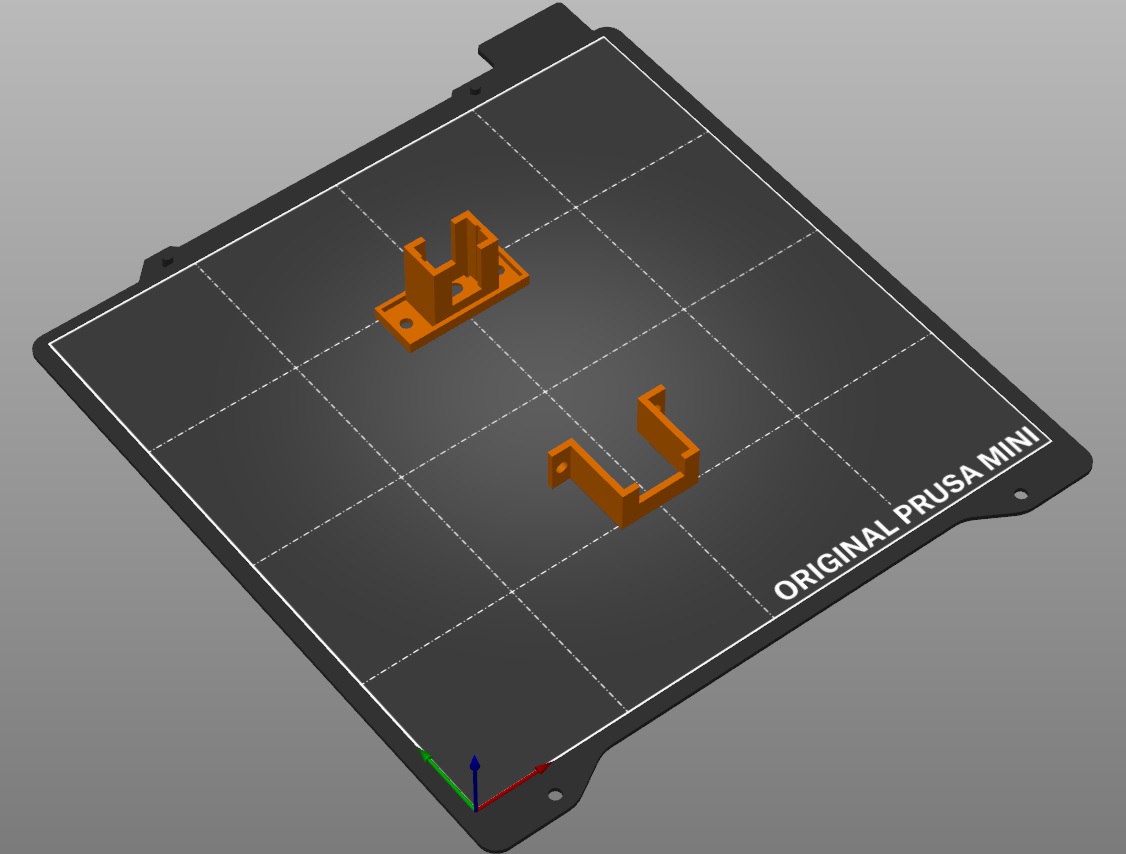
<p>This is an enclosure for the Adafruit QT Py RP2040. It was designed to be panel mounted using M3 cap screws, either by using M3 nuts on the back side of the panel, or by using heat set inserts in the panel. It includes a light pipe feature to enable the use of the QT Py's built-in RGB NeoPixel. Perhaps the light pipe geometry could be improved as its performance as I designed/printed it has been meh. It works, but it is not very bright. I tried to keep it small to leave clearance for any wires soldered to the pins on that side of the board.</p><p>The holes in the panel need to be as follows:</p><ul><li>24.5mm x 13mm rectangular opening.</li><li>Two 3.55mm dia through-holes (or whatever diameter your M3 heat set inserts call for). The center of each hole should be ~2.482mm out from the midpoints of the 13mm sides of the rectangular opening.</li></ul><p>Printing:</p><p>There are two STL files in this project, one for the bracket body and retaining bracket, and one for the light pipe. Presumably, you'd want to use different filaments for the bracket and light pipe :)</p><p>I printed the bracket using variable layer height, 100% infill, with PETG. No supports needed.</p><p>The light pipe was printed with .05mm detail layer height, 100% infill, with clear PETG.</p><p>Assembly:</p><ol><li>Using tweezers and CA glue, install the light pipe into the main body of the bracket so that the end of the light pipe fits through the small hole to the upper left of the USB-C opening and is flush with the body's face.</li><li>Insert the QT Py into the grooves and push it into the bracket body.</li><li>Install the retaining bracket onto the back of the bracket body, snapping the ears into the recesses on the bracket body. The M3 through-holes should line up.</li><li>Install the entire assembly into the panel and secure with M3 cap screws.</li></ol>
With this file you will be able to print Adafruit QT Py Bracket with your 3D printer. Click on the button and save the file on your computer to work, edit or customize your design. You can also find more 3D designs for printers on Adafruit QT Py Bracket.