Adimlab E3D V6 Parts Cooler
thingiverse
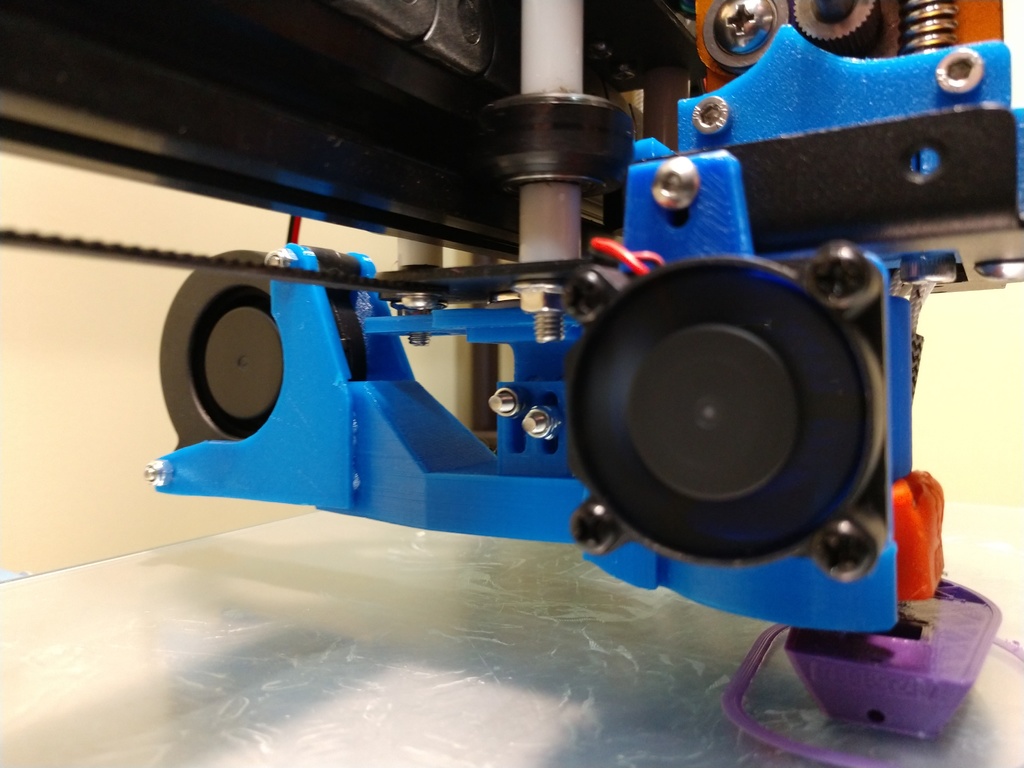
This is a remix of cmelson's Adimlab modifications parts cooler so it will mount from behind with magnets like the popular cobra cooler does. The heatsink duct is a very slight remix of "E3D V6 Fan Duct for MendelMax standard X Carriage". 1. Use a magnet to mount it to the underside of the x carriage. I used one of these. https://www.amazon.com/gp/product/B07542LWKK/ref=ppx_yo_dt_b_asin_title_o01_s00?ie=UTF8&psc=1 2. A 5015 blower fan should be used. 3. You will also need a few M3 screws and nuts. 4. Use some glue to attach the blower mounts to the back end of the parts cooler. The blower fits into the end of the cooler pretty tightly, but I added the mounts to keep it more secure. Place the mounts onto the fan, check for fit and when satisfied put some glue on it. Clamp it in place until it dries. I used a 3D printed ratcheting C clamp. 5. The parts cooler has been upgraded so it has more clearance to the heatbed and won't hit on bed clips. It is now in three parts that are designed to be glued together. Part 1 is the back of the cooler, Part 2 is the parts cooler head and Part 3 is a coupler to enable Part 1 and Part 2 to be connected. Print all three of these parts as oriented with support touching the bed only. *** IMPORTANT *** *** The coupler has a little triangular bit on the inside. This part goes on the bottom towards Part 1. *** 6. The heatsink cooler goes to the left side. You can leave it loose or put a screw in the slot.
With this file you will be able to print Adimlab E3D V6 Parts Cooler with your 3D printer. Click on the button and save the file on your computer to work, edit or customize your design. You can also find more 3D designs for printers on Adimlab E3D V6 Parts Cooler.