Adimlab Gantry-S Y Tensioner
thingiverse
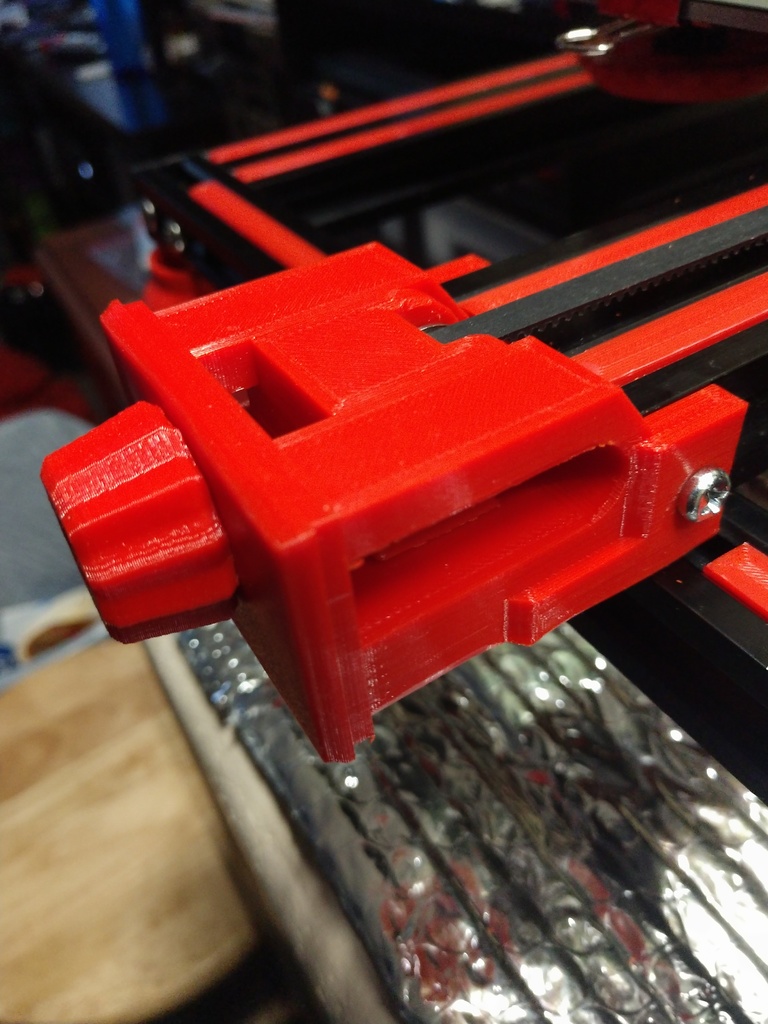
This is a remix of CR-10 Y-Axis Belt Tensioner Remix" by skartz. I changed as little as possible as I really liked the design. The things I did change were to make this work on the Gantry-S As it turns out I had to change a bit more than I thought but kept the essential design. Mainly to how this thing is mounted and the clearance needed on the end of the 4020 extrusion. To install: 1. Remove the two side screws from the 4020 extrusion, be careful to retain the OEM v slot nuts 2. Remove the hardware from the bracket for the idler. You will only need the idler. 3. Put the M4 x 30 screw into the back of the pulley and place a nut on the other side of the pulley to keep this screw from spinning. You could also use a hex head screw. 4. Place the belt around the idler, then use the M4 x 25 screw and M4 nylock nut to install the idler on the pulley. Be careful to keep the orientation of the belt correct. 5. Flip the bracket over onto its back and slide the pulley into the bracket. Flip it back over and place it onto the end of the 4020 extrusion. Don't forget to put the original v slot nuts into the end of the 4020 extrusion. 6. Put the endcap on the end of the bracket, place the knob onto the end of the tension screw and tighten it up a little. 7. Make sure the screws are tight and the fit is good then adjust belt tension. Hardware needed: 1x, M4 x 30 and M4 nut for the tension screw 1x, M4 nylock nut for the knob 1x, M4 x 25 and M4 nylock nut to attach the idler to the pulley assembly 2x, M4 x 10 and the original v slot nuts to mount to the 4020 extrusion
With this file you will be able to print Adimlab Gantry-S Y Tensioner with your 3D printer. Click on the button and save the file on your computer to work, edit or customize your design. You can also find more 3D designs for printers on Adimlab Gantry-S Y Tensioner.