Adjustable Extruder Latch
pinshape
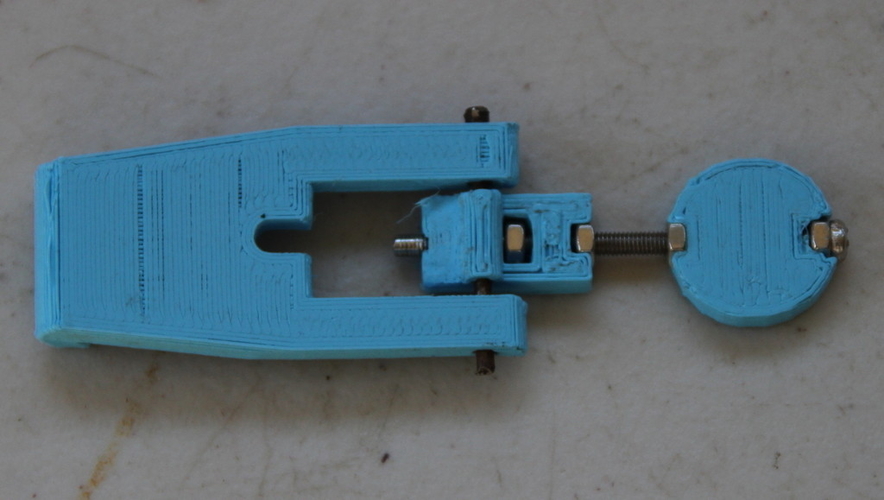
Summary Adjustable Extruder Latch based on Eric's Wade's Collaborative Dual Feed Extruder Instructions I divided this latch into three parts and inserted a number of captive M3 nuts to hold an M3 bolt which acts as an adjuster. This will enable you to set the pressure exerted onto the filament to just the right amount. I placed an M3 nut under lip on top the extruder ( I drilled a 3 mm hole about 1 -2 mm deep, heated the M3 nut up and positioned it over the hole). see picture 3. You swing the latch into position, align the M3 adjuster bolt with the captive nut under the top lip, turn the latch key to set desired holding force. (I used a bit of glue where the bolt head meets the first captive nut on the turn key so it would not unwind as you tightened the latch). The captive M3 nut under the lip seems to be able hold the latch in place and stops it from wanting to spring up. So far so good any way. For other files to build this thing check out Eric's Wade's Collaborative Dual Feed Extruder
With this file you will be able to print Adjustable Extruder Latch with your 3D printer. Click on the button and save the file on your computer to work, edit or customize your design. You can also find more 3D designs for printers on Adjustable Extruder Latch.