Adjustable Laptop Stand
thingiverse
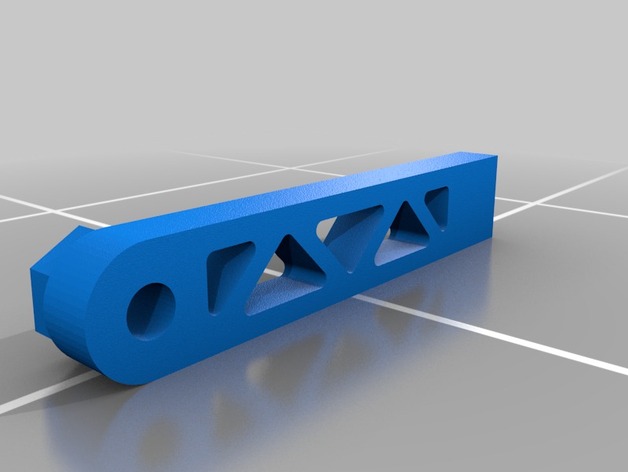
I designed this laptop Stand to print in segments as to avoid warping of the ABS. It features and adjustable swivel foot to that you can set the stand to your own liking. I will be adding some photos with descriptions soon on to the post printing is done. Still busy printing some of the pieces - will upload soon with photos of completed stand. Also going to make a stop for the front foot for encase the laptop slips off ( Read step number 13 in post printing) Please feel free to leave comments Print Settings Printer Brand: RepRap Printer: Prusa I3 Rafts: Doesn't Matter Supports: Yes Resolution: 0.2 Infill: 20 % Notes: I set the Support to 60 Degrees overhang. Extruder Temp = 240 Bed Temp = 90 Post-Printing A few tools you might need to build this stand the way I did is: Some M8 Threaded rod (at least 2 X 300 mm lengths) 8 x M8 Nuts 8 x M8 washers Drill with drill bits ranging between 2.8 mm to 3.5 mm (depending on how you decide to built it) Epoxy glue Preferably a tap and die set but can do without Steps to follow after printing: 1) Warm the tips of the printed parts and pop the M8 nuts in place. 2) Take one piece of threaded rod and tun on one nut followed by one washer to more or less 30 mm from the one side. 3) Add the swivel mount after completing step 2 followed by another washer. 4) Screw on the Back foot piece to the end as show is the photos and tighten. 5) Drill a hole is the side of the screw which will be used for tapping. the size of the tap that you plan on using will dictate the size of the drill bit you need. A simple google search will reveal the best drill and tap size to fit each other. If you do not have a tap and Die set then put some wire through or glue a smaller screw in to that hole to prevent the nut from turning. 6) Screw on the other back foot piece to the other size of the threaded rod about 90 mm from the size. (The nut should be facing the direction of the previously fastened foot piece. 7) Add one washer followed by the swivel piece and another washer. 8) screw on and tighten an M8 Nut. 9) Press down the back foot piece until flat on the working surface. Tightening both sides of the rod with a spanned until you feel that both sides have more or less the same tightness. the reason for tapping the holes is so that now when loosening the rod both side should become loose at the same time, meaning you only need to tighten one side to fix both swivel positions. 10) add some epoxy glue to the front foot pieces and press then into the hole of the back pieces, keeping the nut seat in the same direction and leave to dry. 11) add another M8 threaded rod through the front side of the stand also using M8 nuts to keep the rod stiff and in place. (No need for tapping and drilling these nuts) 12) add the butterfly handle to the end of the rear rod for fastening and loosening the rod. 13) Add little rubber to the top of the stand that is in contact with the laptop to stop it from slipping of the stand if tilted to high.
With this file you will be able to print Adjustable Laptop Stand with your 3D printer. Click on the button and save the file on your computer to work, edit or customize your design. You can also find more 3D designs for printers on Adjustable Laptop Stand.