Adjustable RepRap i2 Z-stop
thingiverse
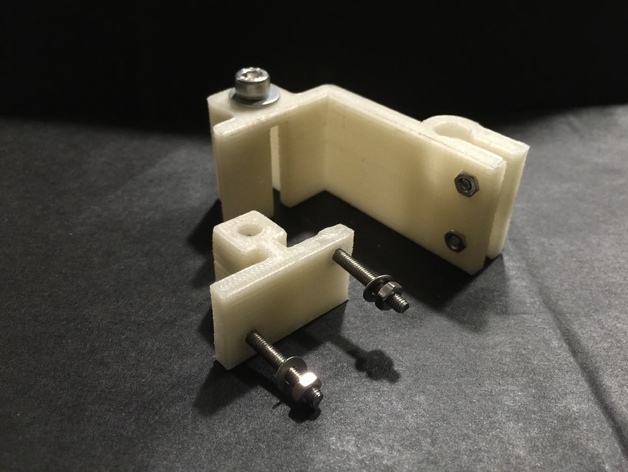
This is a simple, customizable stop-z-bracket for any 3d printer that needs to hold a stopper switch. It's designed to mount to an 8mm rod in the standard position that most printers usually use for their z-stop. The parts are as follows: stop-z-stl - the "main mounting bracket" for mounting to the printer. stop-z-part2-stl - is the "stop switch bracket" that gets attached to the z-stop switch, and then attached to the "main mounting bracket" in #1 above. stop-z-part2-right-stl - identical part to #2, but the screw positions are reversed. if you're not sure, this is probably the correct one to print. Print Settings Printer Brand: RepRap Printer: i2 Supports: No Resolution: 3.5mm Infill: 70% Notes: The tolerances are tight. It's made so you sand the moving parts to get them smooth. it's very important not to have any play in the part movements. Post-Printing Assembly and Important note: The main mounting bracket will interfere with your x-end-motor as it descends because it may not hit the z-stop switch before interfering with the bracket. Watch the video. I glued a small "button like" slider (basically a rigid plastic disk) underneat the x-end-motor so it hits the switch well before these two parts collide. It's a simple thing to make but i did not post an stl for it. Any plastic disk about 4mm thick will do. Mounting to the smooth 8mm rod: You don't have to disassemble your printer, if you print pla or similar material with flexibility, you should be able to snap it over the rod. I made the hole 8.5 mm to allow for this, but also allow it to secure well. Cleaning Be sure to clean out the screw holes. They should pass the screws without needing to turn them, but not so much that they wobble or are loose. Sanding The moving parts that touch each other should all be sanded smooth. The parts should slide smoothly but not wobble loosely. Custom Section Hardware The adjustable thumb screw is an m5 with nut. The nut holder must be cleaned up after printing as it is very snug (on purpose) The "stop switch bracket" uses m3 nuts and bolts as does the rod mount. Taking the time to smooth any printing ridges out, makes it move and work real nice. Inside you can add a spring so when you loosen the thumb screw, it lowers without having to push it down. You would insert the sprint inside the "main mounting bracket" prior to inserting the "stop switch bracket." I made the mount for the rod twice as tall as the typical z-stop to give it more gripping power as not to slide or move once you have it set.
With this file you will be able to print Adjustable RepRap i2 Z-stop with your 3D printer. Click on the button and save the file on your computer to work, edit or customize your design. You can also find more 3D designs for printers on Adjustable RepRap i2 Z-stop.