Adjustable Z Endstop for MakerFarm Prusa i3v
thingiverse
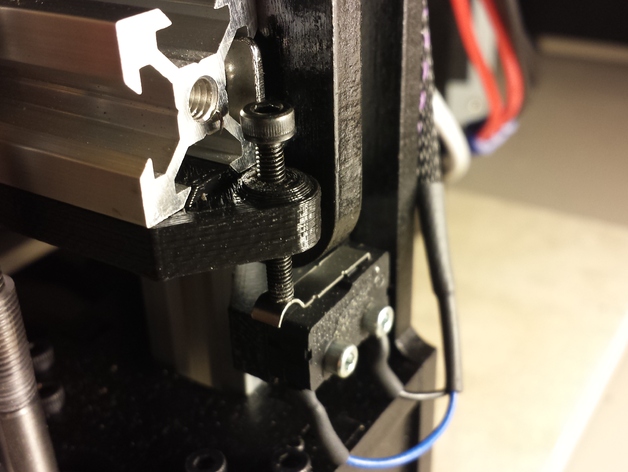
Upgrade your MakerFarm Prusa i3v with this adjustable Z endstop. The kit includes a new switch bracket to relocate the Z limit switch and an adjustment screw plate that mounts to the bottom of the lower X extrusion. Choose the longer switch bracket if you have newer endstop switches with wheels on their arms. For installation, follow the instructions provided. If there are other i3v parts you need, just leave a comment below. Additionally, consider better X and Y endstops by visiting this link: http://www.thingiverse.com/thing:321810. An updated micrometer-adjustable Z endstop is also available at this link: http://www.thingiverse.com/thing:356819.
With this file you will be able to print Adjustable Z Endstop for MakerFarm Prusa i3v with your 3D printer. Click on the button and save the file on your computer to work, edit or customize your design. You can also find more 3D designs for printers on Adjustable Z Endstop for MakerFarm Prusa i3v.