Adventure Force Commandfire Grackle Bullpup conversion kit.
prusaprinters
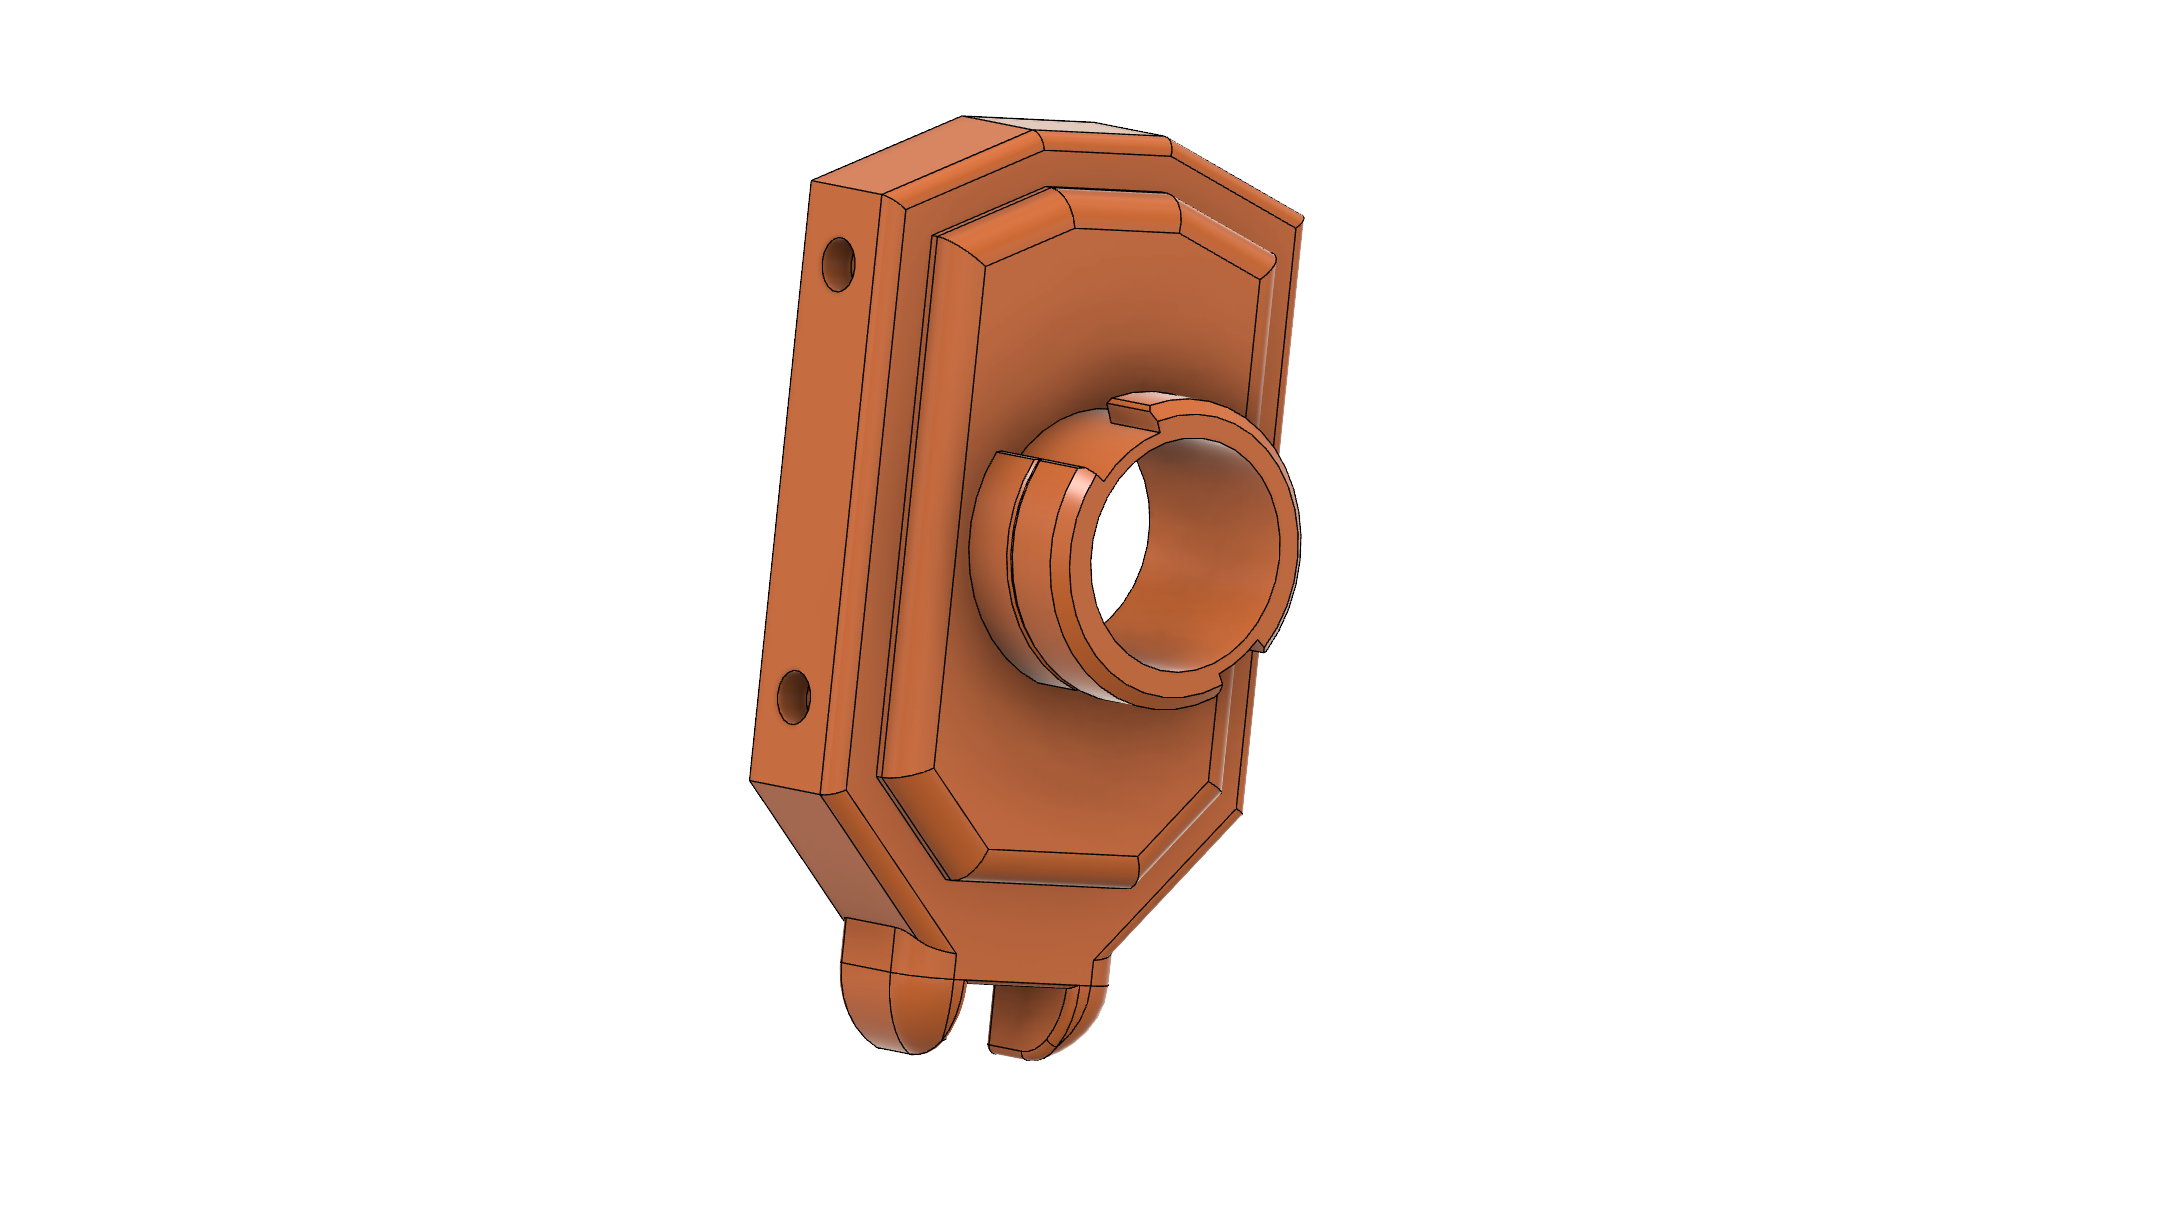
<p>This is a set of models, minus one piece noted in the instructions, for a minimal cutting body modification kit for the Adventure Force Commandfire by Dart Zone.</p> <h3>Print instructions</h3><h3>Forward</h3> <p>I am not the most advanced 3d printer user.</p> <p>I printed these parts with supports with the exception of the battery door - printed outside down. The trigger was printed upside-down and the remaining pieces were printed with the insides facing down.</p> <p><strong>NOTE</strong> that the honeycomb pattern in my photo is from printing with 0 top layers - it is not part of the print.</p> <h3>Additional parts.</h3> <p>This kit makes use of the Bobololo style rev trigger by Meishel of Fomablast. You can find it <a href="https://foamblastshop.com/product/bobololo-style-stryfe-rev-trigger/">here</a></p> <p>If you want to rewire and use alternate motors and crush, you'll want to print the 42.5 Crush cage by <a href="https://www.thingiverse.com/thing:3034855">Boomtendo</a></p> <p>Additionally, you'll want two switches in this <a href="https://foamblastshop.com/product/21-amp-high-quality-micro-switch/">form-factor</a> or be ready to build an alternate switch plate. The above link is an example, many vendors carry this switch.</p> <p>I also used this <a href="https://foamblastshop.com/product/value-mosfet-mini-board/">mosfet</a> in my build.</p> <p>You'll also need appropriate wire and related rewiring supplies.</p> <p>I used Bulldog wheels with Fang Revamped motors and a 950maH 2s in my build.</p> <h3>Assembly instructions</h3> <p>This assumes a rewire and upgrade as I did above.</p> <ul> <li>Dissasemble the shell. We won't keep the dart storage, barrel, or foregrip.</li> <li>Cut a wire channel in the shell above the old foregrip peg.</li> <li>Remove the on/off switch from the circuits. Clip its leads and place it back in the chassis to hold the old on-off slider in place.</li> <li>Remove the original trigger.</li> <li>Simplify the pusher and belt harness to run to the battery tray and run switch leads through the wire channel we cut in the shell. You'll probably want about 10-12 cm inches of wire for the switch connection.</li> <li>Replace the flywheel cage with your new cage. Wire in the MOSFET, run leads down through the cut out as above, leaving 16-20 cm of slack. Connect the power on the MOSFET to an XT60 that will run out of the original trigger opening.</li> <li>Place the right side grip over the peg, try to center it. Snake the loose leads through the arch-shaped opening.</li> <li>Remove or heavily trim the switch contact on the switch you will be using for the trigger. Trim the pusher wires to fit the normally open and common with the contact button at the bottom front of the upper set of mounting holes. Solder and screw into place.</li> <li>Place the other switch inverted so that the contact button is at the front top. Trim the contact arm so it does not have any interference. Trim the wiring from the MOSFET to reach the normally open and common leads. Solder and screw into place.</li> <li>Place the triggers into place and close the handle shell. Test the triggers to see if you need to lubricate before closing up the shell.</li> <li>Reassemble the clamshell, being careful not pinch wires and remember to run the XT60 end through the original trigger opening.</li> <li>Carefully ensure the grip is centered right to left then place the muzzle over the front.</li> <li>Place the Tailfeather butt place over the original handle to form the stock. Use some of the acres from the discarded parts to put everything in place.</li> </ul>
With this file you will be able to print Adventure Force Commandfire Grackle Bullpup conversion kit. with your 3D printer. Click on the button and save the file on your computer to work, edit or customize your design. You can also find more 3D designs for printers on Adventure Force Commandfire Grackle Bullpup conversion kit..