Aftermarket Extruder Tension Spacer System
thingiverse
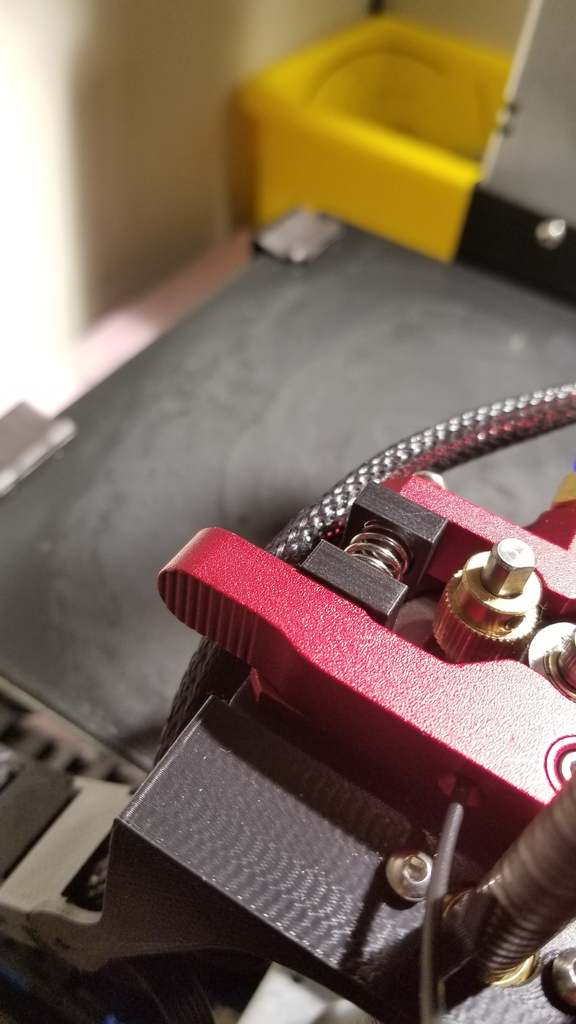
*Finished the final pieces. Two things to note. I switched to the shorter screw that shipped with the replacement extruder for stability of the threads and because it provides a much better guage to proper tension. Less length to judge. I have tested this with a 5 hour print and there were no extrusion issues. This is to replace the spring in the aftermarket extruder most commonly purchased for the Ender 3. After many failed attempts to print TPU with an aftermarket extruder (Amazon) I discovered the spring was way too tight for the soft filament. The filament was getting bound up causing eventual under-extrusion failures. I was having to unscrew the pully so it sat at an angle to relieve enough tension to get it to print halfway decent. This was untenable at best. Since there is no way to adjust tension on the extruder more, I was forced to start looking for a solution. I couldn't find anything quick and easy on Thingiverse so I decided to create something. Hopefully someone else benefits from this too. I designed it to use original parts from the most commonly updated systems on the Ender 3. The spring is one of the four original bed leveling springs and the screw is from the original extruder pully. I did this specifically for ease of install and accessibility. What you need: Aftermarket Aluminum Extruder as pictured. I'm guessing they are all very similar in dimensions (Best reviewed on Amazon) Original Bed Spring Either the original anchor screw or the one shipped with the replacement extruder. (Or any other that is long enough with the same thread)
With this file you will be able to print Aftermarket Extruder Tension Spacer System with your 3D printer. Click on the button and save the file on your computer to work, edit or customize your design. You can also find more 3D designs for printers on Aftermarket Extruder Tension Spacer System.