ahead RC's Custom flatbed for 1/10 Unimog body U5023 & U1600
thingiverse
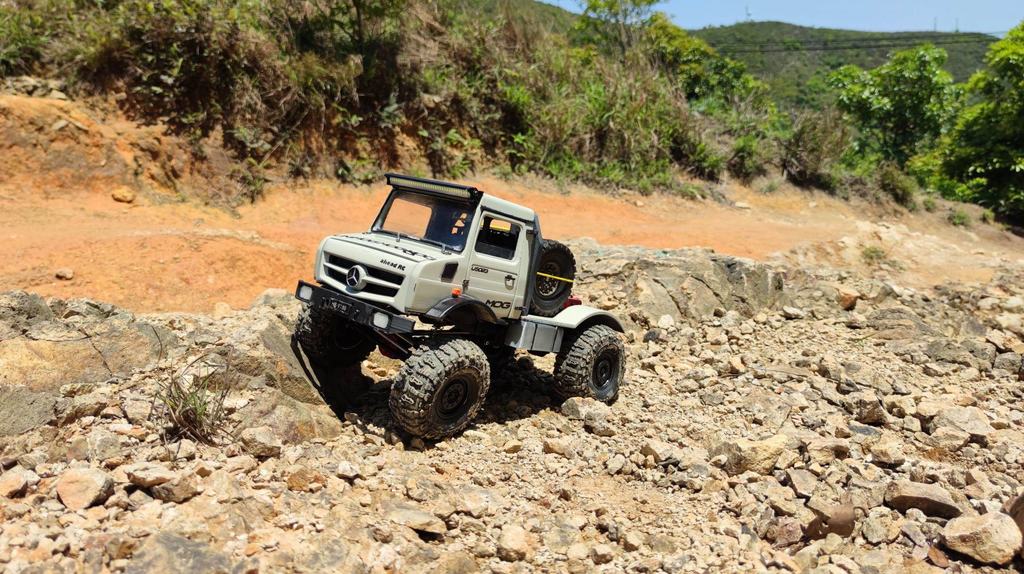
This is a flatbed designed for use with the Unimog U5023 & U1600 body designed by Meuh974. It was designed specifically for ahead RC’s new SWB Mog build! The bed was originally designed to fit on a modified RC4WD Beast ii chassis with some additional mounting holes via the mounting piece included in the files. It was also designed to be used with cantilever shocks, so major cutting and modifying will be needed in order to fit on builds using shock towers. It is however possible to custom fit this onto any build with some creativity and dedication. 1. The wheelbase has to be shortened to 280mm, unless you don’t mind the gap between the headache rack and the cab. This can be done relatively easily by shortening the rear links, while the front can stay stock. 2. Mock fit the bed onto the chassis rails and note the chassis holes you’ll want to mount this bed to. You may have to mark out new holes to drill. (Shock towers may have to be temporarily removed at this point) 3. Design a mount to mount the bed to the chassis rails. For ease of mounting the bed to the mount, the bolt pattern is: 42mm x 76mm rectangular. (i.e. draw a rectangle to the dimensions 42 x76mm at the center of your mount, the 4 corners are exactly where the holes should be) 4. Drill holes in your chassis or use existing ones, use screws and lock nuts to secure the mount in place, then secure the bed to the mount. 5. If using shock towers, mock up the holes needed on the flatbed to clear the shock towers and cut. If using cantilevers, no modification or cutting should be needed. Hardware needed: 8x M3 nylon lined lock nuts 4x M3*15mm countersunk screws 2x M3*15mm button head screws 3x M3*10mm countersunk screws 6x M3*20mm countersunk screws 5x M3*25mm countersunk screws Additional 4x M3 screws and lock nuts to secure the mount to the chassis Assembly instructions: - The “mount” secures onto the “floor” with 4x M3*15mm countersunk screws, and 4x M3 lock nuts. - The left and right fenders bolt onto the “floor” using a total of 6x M3*20mm countersunk screws. - The Bumper mounts to the underside of the rear part of the floor so the top of it fits flush with the floor. Use 3x M3*10mm countersunk screws to secure. - The headache rack uses 5x M3*25 countersunk screws to secure. 3 of them from under the floor, and 2 of them from the underside of the fenders. - Shackles can be mounted onto the headache rack with 2x M3*15 screws. Expect it to be a squeeze to get the screws to fit. Please note that one side of the shackle has a smaller hole to thread a screw directly into! - Super glue and press fit the tail lights into bumper. Lots of specialized and specific .stl RC accessories can be found here: https://www.aheadrc.com/ Should you need any help with your build, please do not hesitate to contact me.
With this file you will be able to print ahead RC's Custom flatbed for 1/10 Unimog body U5023 & U1600 with your 3D printer. Click on the button and save the file on your computer to work, edit or customize your design. You can also find more 3D designs for printers on ahead RC's Custom flatbed for 1/10 Unimog body U5023 & U1600.