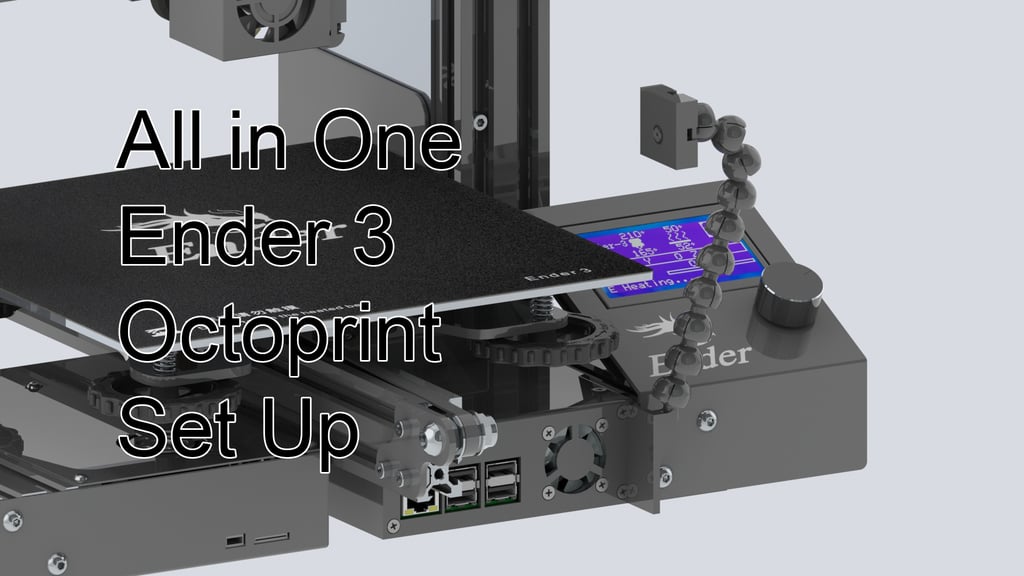
AiO Ender 3 Octoprint Set Up with Power and Light Remote Control
thingiverse
This appears to be a tutorial on building an OctoPrint Raspberry Pi enclosure with LED lighting and a camera arm. The text includes step-by-step instructions, code snippets, and links to additional resources. Here's a summary of the content: 1. **Hardware Assembly**: * Build the enclosure using screws. * Connect relays and LM2596 voltage regulator. * Install fans (only one is strictly necessary). 2. **Software Configuration**: * Modify the USB cable to prevent accidental printer powering. * Use Fritzing schematics for reference. * Create shell scripts (`printer_on.sh`, `printer_off.sh`, `light_on.sh`, and `light_off.sh`) to control relays using GPIO pins. * Configure OctoPrint UI to access relay controls using the following code: ```yaml system: actions: - action: pon command: printer_on.sh name: PrinterOn - action: poff command: printer_off.sh confirm: Are you sure you want to turn off the printer? name: PrinterOff - action: lon command: light_on.sh name: LightOn - action: loff command: light_off.sh name: LightOff ``` 3. **Raspberry Pi, Relays, and LM2596 Case**: * Assemble the case using screws. * Use hot glue to fix XT60 connectors in position. 4. **Camera Arm**: * Use a previous project as reference (https://www.thingiverse.com/thing:3017729). 5. **24V LED Strip Support**: * To be made... The text also includes a call-to-action for readers who want to support the author by donating via PayPal.
With this file you will be able to print AiO Ender 3 Octoprint Set Up with Power and Light Remote Control with your 3D printer. Click on the button and save the file on your computer to work, edit or customize your design. You can also find more 3D designs for printers on AiO Ender 3 Octoprint Set Up with Power and Light Remote Control.