Air Engine
thingiverse
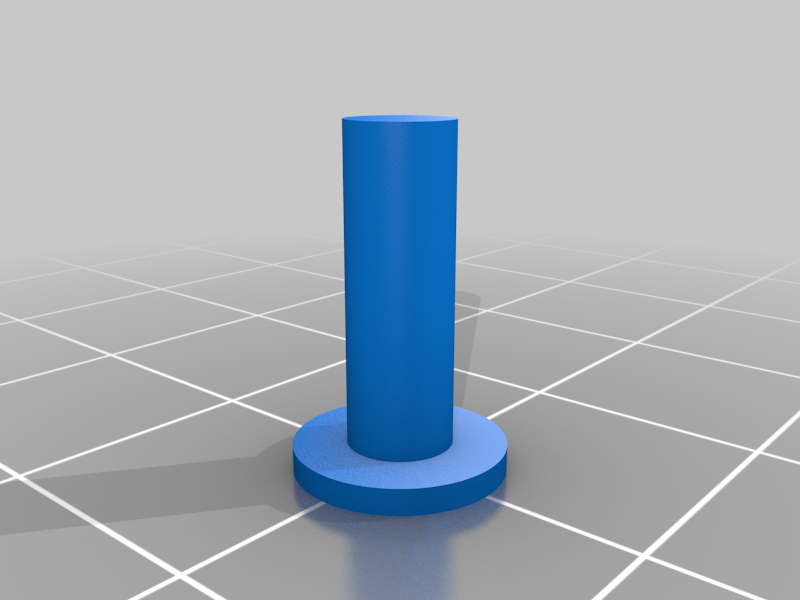
Air engine Single Cylinder Air Engine runs on compressed air, a vacuum cleaner, a balloon, or even lung power. I've included three adapters in the design to interface with each. How to build: Step 1: Print and Prepare the Parts. I printed my parts on an Ultimaker 3 Extended using .1mm vertical resolution and 100% infill. "Base.stl" must be printed using supports. "Cylinder Piston 484.stl" must not be printed with supports. Prior to assembly, test fit and trim, file, sand, etc. all parts as necessary for smooth movement of moving surfaces, and tight fit for non moving surfaces. Depending on the colors you chose and your printer settings, more or less trimming, filing and/or sanding may be required. Please view the friction test video and review the associated description for friction testing. Carefully file all edges that contacted the build plate to make absolutely sure that all build plate "ooze" is removed and that all edges are smooth. I used a flat jewelers file and plenty of patience to perform this step. Study "Assembly.stl" and "Assembly Exploded.stl", carefully noting the locations and positions of the various components as assembly proceeds. Step 2: Install the Piston Rod and Piston. Slide "Rod Piston.stl" into "Base.stl" carefully noting the orientation of the hole in "Rod Piston.stl". Next, press "Piston 484.stl" onto "Rod Piston.stl" until it is exactly 38mm from the free end. Step 3: Install the Valve. Slide "Valve.stl" into "Cylinder Piston 484.stl" carefully noting the orientation of the holes in the valve surface. Step 4: Attach the Cylinder to the Base. With the valve installed in the cylinder, press the cylinder into the base making sure to align the piston rod with the square hole at the rear of the cylinder. At this point it's a good idea to again check to see that the valve and piston assembly move with ease. If not, remove the cylinder and parts and trim, file and/or sand until they do. Step 5: Attach the Wheels. Attach "Wheel Piston.stl" and "Wheel Valve.stl" to the base carefully noting the orientation of the two small hexagonal holes in each. Once attached, the wheels should spin with ease. If not, remove both wheels and trim, file and/or sand the hole in the base until they do. Step 6: Attach the Piston Arm. Attach "Arm Piston.stl" onto "Rod Piston.stl" using "Pin Arm Piston.stl". "Arm Piston.stl" should swing freely once installed. Next, attach the other end of "Arm Piston.stl" to "Wheel Piston.stl" using one of the two "Pin Wheel.stl". Step 7: Attach the Valve Arm. Attach "Arm Valve.stl" to "Valve.stl" using "Pin Arm Valve.stl". "Arm Valve.stl" should swing freely once installed. Attach the remaining end of "Arm Valve.stl" to "Wheel Valve.stl" using the remaining "Pin Wheel.stl". Step 8: Break In. I printed and attached "Adapter Vacuum.stl" to the lower port of my Single Cylinder Air Engine, then attached a vacuum cleaner hose to the adapter. When the vacuum was turned on, I nudged "Wheel Piston.stl" clockwise (as viewed from the port side), and off it went. Depending on how well the parts were sanded/filed/trimmed, this break in period may take anywhere from a few minutes to an hour. The video is an earlier prototype in slow motion. Good luck and I hope you like it!
With this file you will be able to print Air Engine with your 3D printer. Click on the button and save the file on your computer to work, edit or customize your design. You can also find more 3D designs for printers on Air Engine.
