Air Quality Monitor (SDS011/BME280/esp8266)
thingiverse
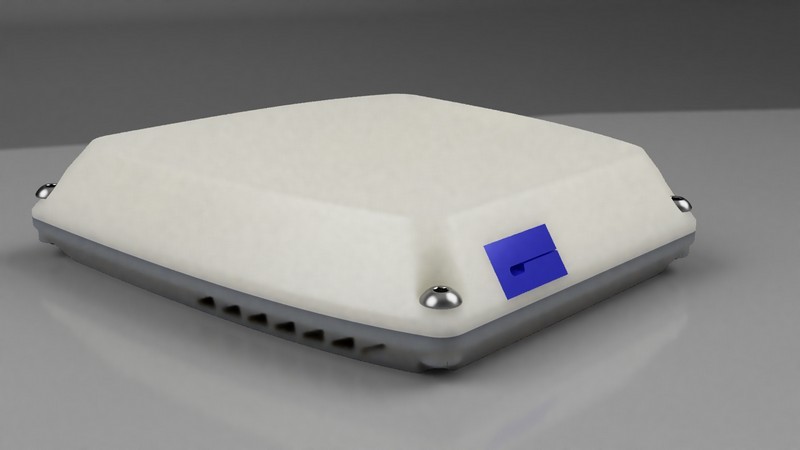
Case for Air Quality Monitor ===================== based on https://sensor.community design added user guide (Installation and settings) — Russian version only so far, sorry. Versions ----------- Seals and Base are common for all versions of controller. Lid comes in three versions for different models of controller boards: * esp8266 v2 ('narrow' 30 pin board) * esp8266 v3 ('wide' 30 pin board) * esp8266 D1 mini (small 16 pin board) Print only the lid you need Sensors ----------- * Nova Fitness SDS011 Fine particulate matter sensor * Bosch BME280 Temperature/Humidity/Pressure sensor or * HTU21D Temperature/Humidity sensor Printing ---------- Case has 2 parts, lid and base and number of seals. * Use PET-G or ABS or ASA for base and lid. If PET-G or ABS is used cover parts with UV-protective paint. Cover should be white (plastic or paint) or very light colored to prevent heating of the sensor. * Use the softest available TPU to pring seals. If the seals not flexible enough apply additional sealant on top of the case to prevent leakage. All the seals come in one print. BOM ------- * 3x M3x4 screws * 4x M3x8 screws (not needed for D1 mini lid) * 4x M4x14 screws and M4 nuts, apply LockTight to the nuts prior to assembly * SDS011 * BME280 OR HTU21D * Connection wires * USB-mini flat cable 2-3 meters long Assembly ------------- 1. Insert seal for intake 1. Cut the seal for cable and put the cable through the cut 1. Insert cable seal and cable to the lid 1. insert intake pipe of sds011 to intake seal and put the sensor to its place 2. Mount 3 M3x4 screws to secure sds011 in place 1. Solder or connect wires to BME280/HTU21D 2. Apply seal to BME280/HTU21D (there are 2 seals in the print, one for small board like BME/BMP, one for double-sized like HTU, choose the one that fits your sensor board) 3. Insert BME280/HTU21D to the slot 4. Put esp8266 to the mounts, use M3x8 screws to secure v2 or v3 version, for D1 click to fix controller in place (different products have slightly different board size, so you might need to use knife to adjust the clamps to your D1 board size) 4. Connect sds011 to the esp8266 board 4. Connect mini-usb plug to esp8266 board 5. Put the case seal into the slot on the base 6. Put the lead onto the base 7. Use 4 M4x14 screws and nuts to close the case tight. Apply LockTight to the treads of the nuts before.
With this file you will be able to print Air Quality Monitor (SDS011/BME280/esp8266) with your 3D printer. Click on the button and save the file on your computer to work, edit or customize your design. You can also find more 3D designs for printers on Air Quality Monitor (SDS011/BME280/esp8266).