Airbrush Multilayer Stencil - Skull - pirates of the caribbean
thingiverse
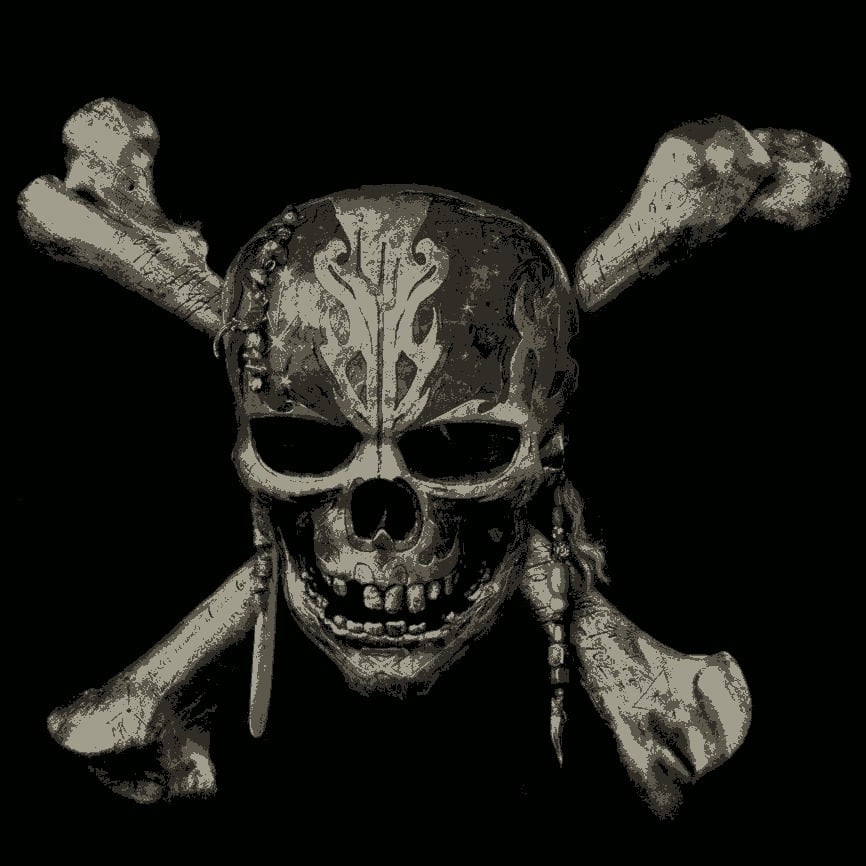
Hi guys, I did my best trying to create a multilayer skull stencil. Why multilayer? Well it allows you to get more depth and use more colors. * **I have not yet tried this myself** but will try soon and post results. If you can't wait, follow the steps below.(at your own risk, I don't know how well this will work). * I suggest using 3 airbrush colors in the same range and have one dark, medium, light. * **I made this for Anet A8 printer which has a 20x20cm platform**. Making it smaller might not work, I don't know. * The result won't be exactly like in the image because of some(**a lot**) tiny details which got lost during the process. * Be very carefull removing this from the platform after printing. * Remember, you don't have to soak it with paint. It's better to use less paint and make it better after stencils, manually. STEPS: 1. Print with minimal thickness of 0.4mm. 2. Place Layer 1 where you want it, now mark the corners so you'll know where to place the next layers. 3. Airbrush with Layer 1. Use the **darkest color**. Lift the stencil, look at the **yellow image** and manually airbrush away the blue studs. 4. Airbrush with Layer 2. Use the **medium color**. Lift the stencil, look at the **blue image** and manually airbrush away the red studs. 5. Airbrush with Layer 3. Use the **light color**.
With this file you will be able to print Airbrush Multilayer Stencil - Skull - pirates of the caribbean with your 3D printer. Click on the button and save the file on your computer to work, edit or customize your design. You can also find more 3D designs for printers on Airbrush Multilayer Stencil - Skull - pirates of the caribbean.