Airwolf HD2x Indicator Gauge Mount
thingiverse
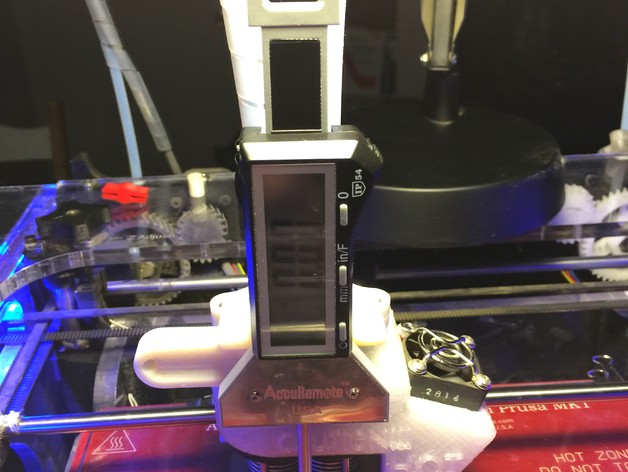
This is a mount for mounting a AccuRemote 0-16" Electronic Digital Indicator Gauge on an Airwolf HD2x. http://www.amazon.com/dp/B0071SKHAW/ref=wl_it_dp_o_pC_S_ttl?_encoding=UTF8&colid=JNX19TKHE7P3&coliid=IUIQDXO5JX2QN This cheap little gauge lets you really level your print bed with precision. I also use a feeler gauge between the nozzle and the bed instead of a piece of paper and adjust at the back, left corner (where the limit switch is) until I can still feel the nozzle but the indicator reading doesn't change at all when the feeler is slid in and out. The feeler you chose should be an integer multiple of your z axis step (0.02mm). Once you have this set, press the relative button and go to the other 3 corners and adjust until these are zero. Then adjust your z-offset in your slicer software down by the thickness of the feeler gauge used. If this is done correctly, you should not have to adjust the z offset at all when a print starts. It should be perfect. The mount replaces the top hat on the extruder that hold in the filament line feeds. The indicator gauge attaches with the pin. I used the 3" extension piece that comes with the indicator. Remove the indicator while printing. Enjoy. UPDATE: I just added a modified version for the single extruder HD/HDx. See mount2_HD.stl for this version. I included the Solidworks file and an IGS file.
With this file you will be able to print Airwolf HD2x Indicator Gauge Mount with your 3D printer. Click on the button and save the file on your computer to work, edit or customize your design. You can also find more 3D designs for printers on Airwolf HD2x Indicator Gauge Mount.