Altenative superstructure to HobbyKing Swamp Dawg Air Boat
thingiverse
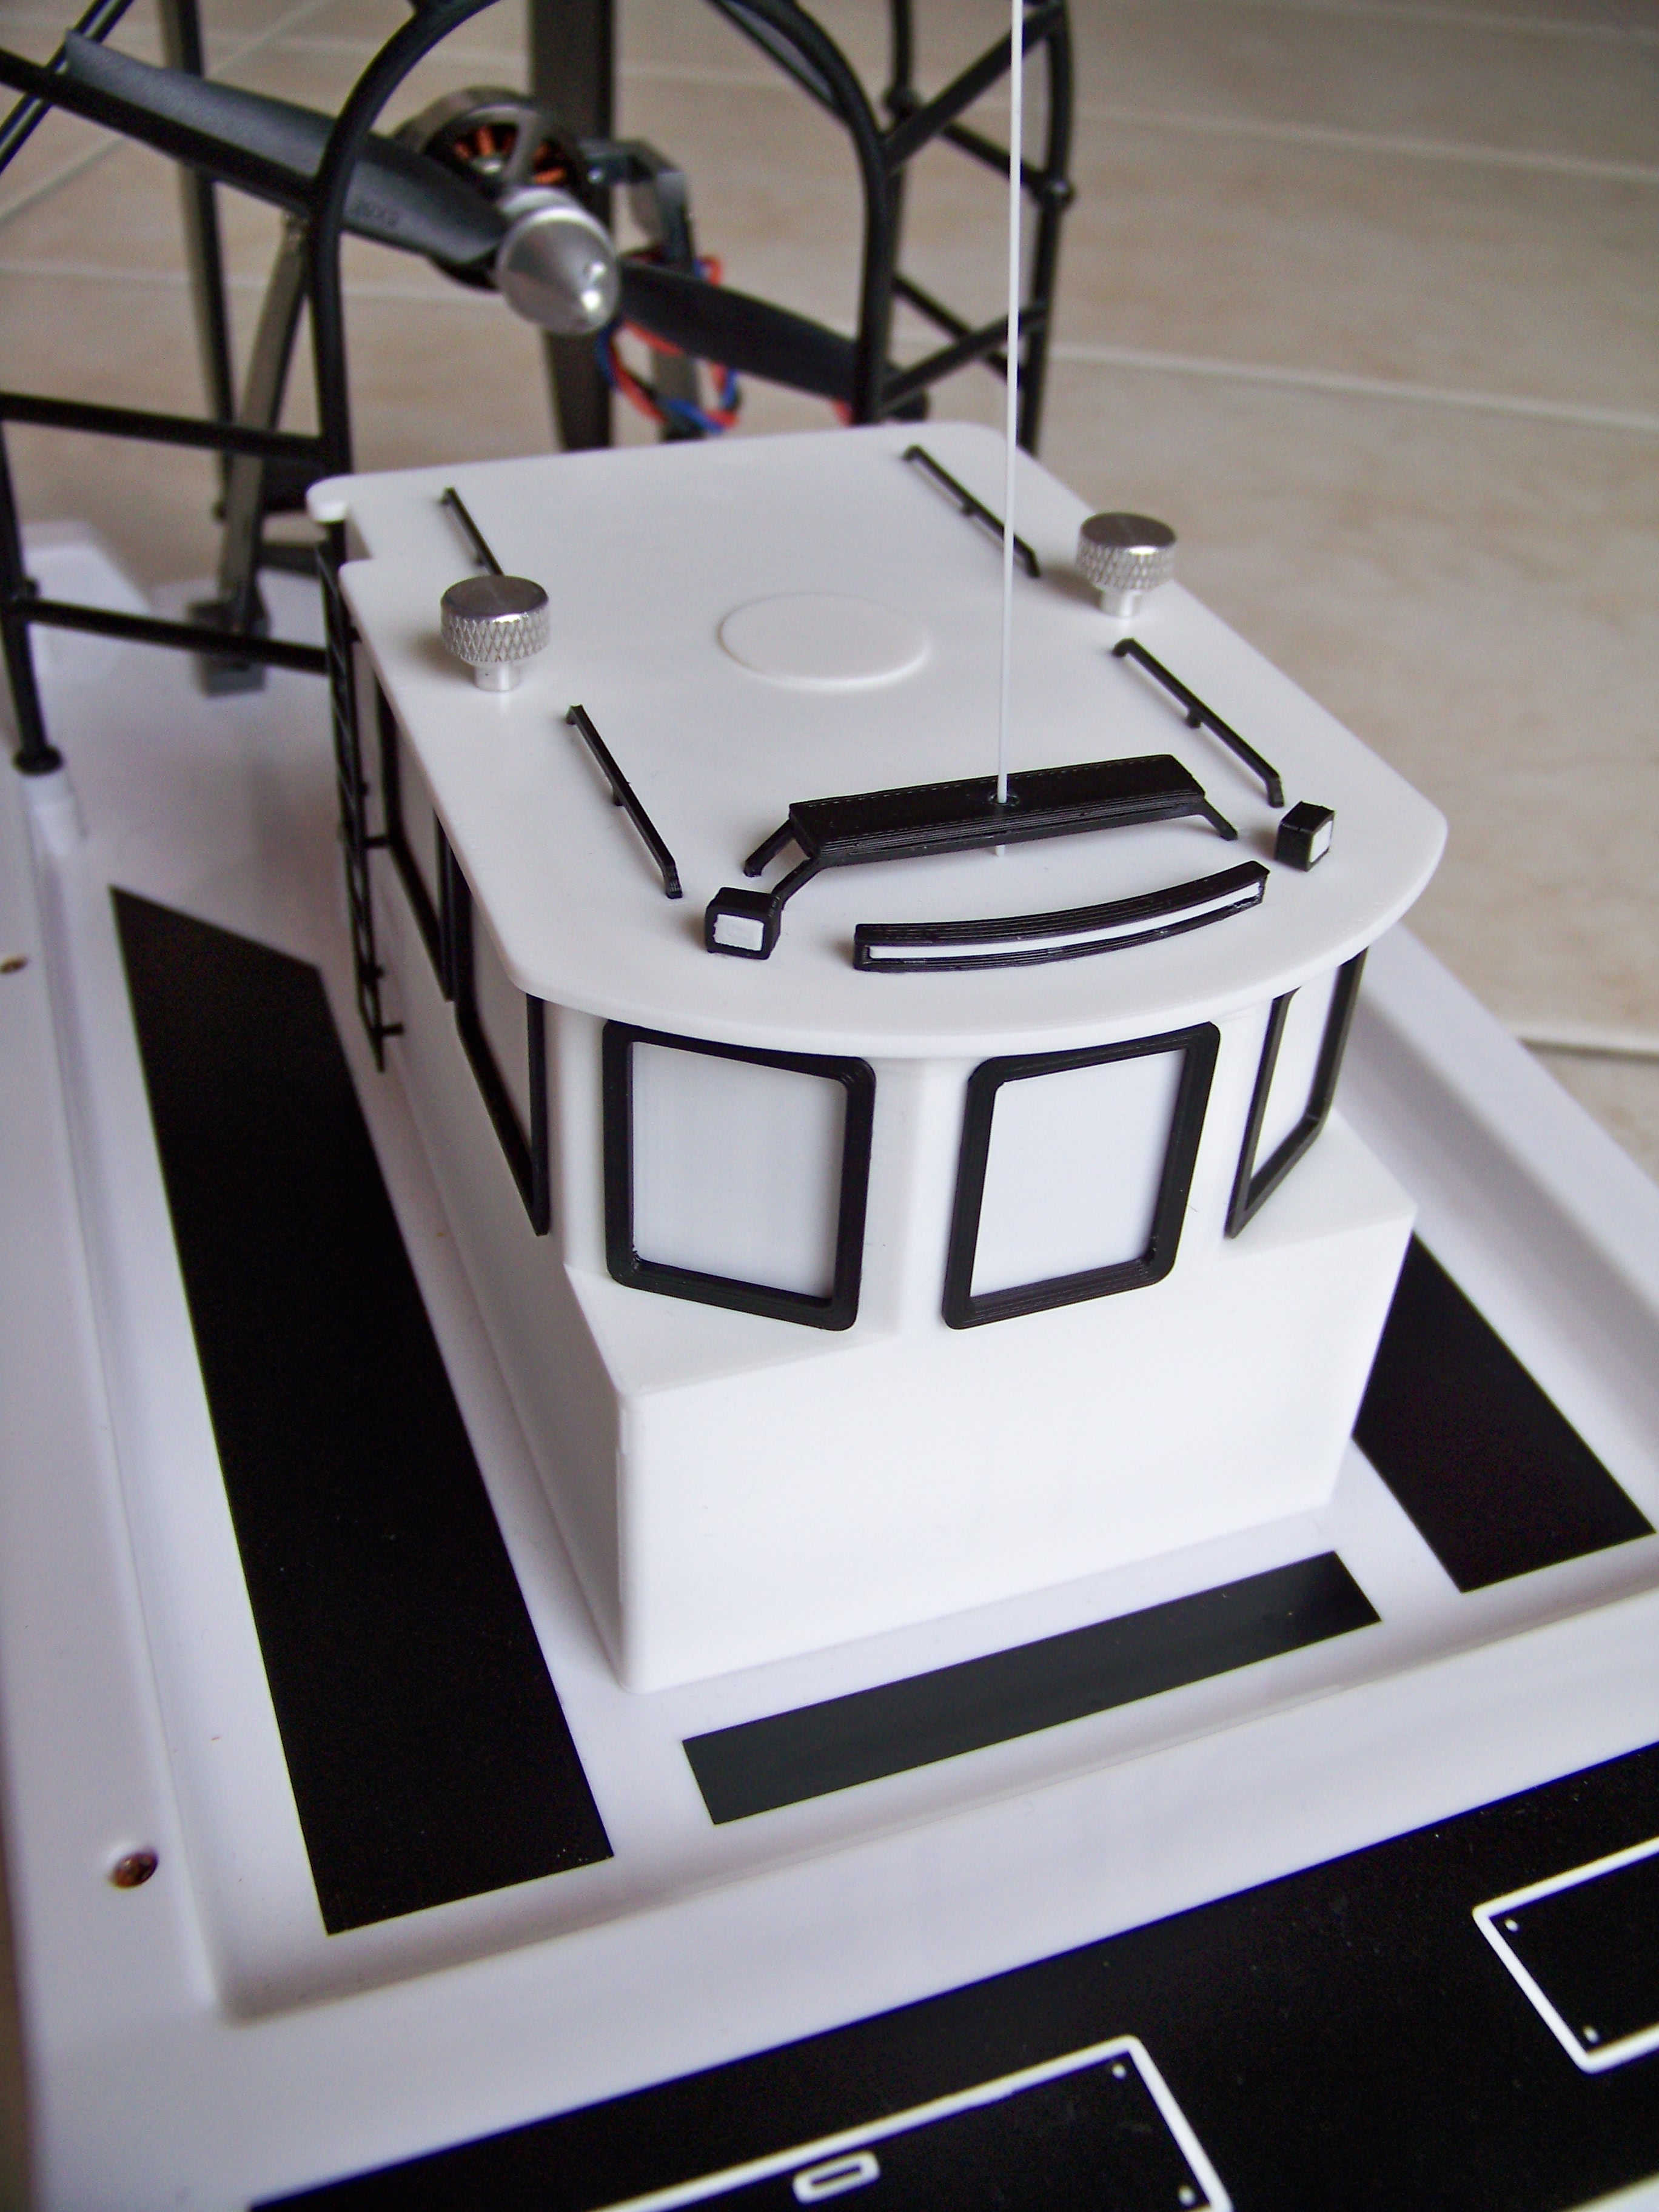
Alternative cabin for the Swamp Dawg Air Boat from Hobbyking. The one provided is a bit small - it's very hard to put all the electronic parts + the battery inside. So I've designed this cabin (inspired from the Copper Responder) - scale ~1/32. With that version: - all the electronic components can be put inside the cabin and not under the floor. - quite a large battery can be used now: a 105x37x28mm block can fit in. Size of my current battery is 105(+)x35x19mm (1)+ wires. - the 2 long screws used to close the original compartment are reused here. You will also need 2 M2x10mm screws + their corresponding nuts. Features: - The 2 M2x10mm extra needed screws are used to fix the body of the cabin to the air boat (reusing the original holes). - The 2 M2 nuts are used with the 2 original long screws in order to set/remove the roof (see the assembly pictures). A piece (cabin_cover_nut) has been designed to avoid the nut to fall - this cover piece is glued to block the nut completely. - I've added "__color" at the end of the name of some pieces to identify the "recommended" color to use when printing them but of course, fell free to use the color you want/have. - Sometimes there are 2 versions of the same piece - just pick the one the most suitable for you. - All the STL files should be already well oriented, - With some exceptions, I printed all my pieces here with a 0.2mm resolution, using PLA. - I used superglue (cyanoacrylate glue) to glue everything. Here is the list of the pieces, with the number of copy to be printed + some extra notes: Plateform board: o board.stl: board to use the original servomotor or o board_blank.stl: if for some reason the previous one doesn't fit you, I've also provided this blank one. 100% infill might be judicious here (?) Main body (once): o V1: the boby is in 2 parts - cabinV1_lowerPart.stl + cabinV1_upperPart.stl - and will have to be glued together (note that there will be a little joint comparing to the V2). Support needed when printing the lower part. o V2: cabinV2_full.stl: full cabin in a single part. Support needed here. + cabin_cover_nut.stl (twice): to be glued inside the cabin, to block the nuts + door (once): you can simulate joints by setting the first layer (only) in black + door_handle__black.stl (once): just to simulate the handle of the door + ladder__black.stl (once) : to be glued on the cabin based on the corresponding opening in the roof (so glue it once the roof is printed and in place) Window frames: * frame_back__black.stl (twice): for the 2 back windows * frame_front__black.stl (thrice): for the 3 front windows. there is a way to set them (the lower part is "full") * frame_port__black.stl (once): for the port window * frame_port_door__black.stl (once): for the door window * frame_starbord__black.stl (twice): for the 2 starboard windows Roof (I glued every parts set on top of the roof by the inside) o V1: roofV1.stl (once): simple and classic roof version o V2: roofV2.stl (once) + roofV2_pin.stl (once) + roofV2_plug.stl (once): V1 version with a hole, if you ever want to pass some wires (for a camera or something else). When this option is not used, I've designed a plug + a pin to hide the hole * roof_side_rails_back__black.stl (twice): back side rails of the roof * roof_side_rails_front__black.stl (twice): front side rails of the roof * antenna_holder_leg__black.stl (twice) + antenna_holder_body__black.stl (once): introduce the 2 leg parts in the roof first without gluing them, then set and glue the body to the legs and finally glue the legs to the roof. Searchlights: o V1: if you want to simulate the panels via the printed files: * searchlight_big_V1__black.stl (once): body of the main searchlight * searchlight_big_V1_panel__white.stl (once): to be printed in white - 0,10 resolution here * searchlight_tiny_V1__black.stl (twice): body of the tiny searchlights - support needed here * searchlight_tiny_V1_panel__white.stl (twice): to be printed in white - 0,10 resolution here o V2: if you want to simulate the panels using paint or stickers: * searchlight_big_V2__black.stl (once): body of the main searchlight * searchlight_tiny_V2__black.stl (twice): body of the tiny searchlights For the antenna, I used what my printer (prusa i3) do every time: a 2 layer "wall" all arround the piece so basically I get everytime a 2 layers wire - I simply cut an glued a straight part of that.
With this file you will be able to print Altenative superstructure to HobbyKing Swamp Dawg Air Boat with your 3D printer. Click on the button and save the file on your computer to work, edit or customize your design. You can also find more 3D designs for printers on Altenative superstructure to HobbyKing Swamp Dawg Air Boat.