Alternate Slot Buffer Holder
thingiverse
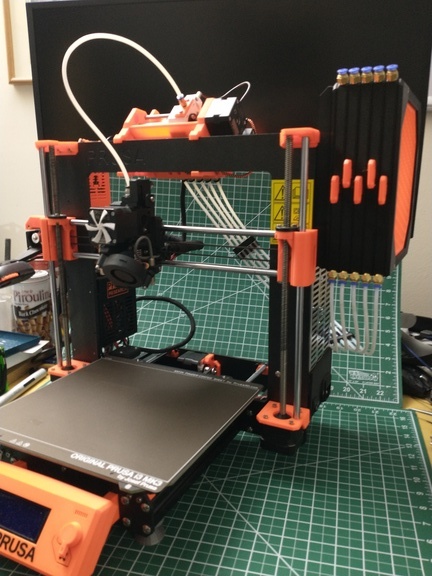
# Slot Buffer Holder (no magnets) # [mar_jer](https://www.thingiverse.com/mar_jer) designed a [MMU Slot Buffer](https://www.thingiverse.com/thing:4311235) for the Prusa MMU2/MMU2S that could stand alone, or be wall-mounted. [dancan13f](https://www.thingiverse.com/dancan13f) designed a [Slot Buffer Holder](https://www.thingiverse.com/thing:4762198) that would mount the slot buffer directly on the Prusa MK3 frame, to the right of the power supply. Alas, his design requires that the MK3 power supply case be steel, and mine isn't, so I designed a replacement. This one uses an M8 threaded rod to support the back of the slot buffer and friction clamps to the top of the power supply, in addition to being screwed to the Prusa frame. ## Bill of Materials ## | Qty | Part | | --- | ---- | | 1 | MMU Slot Buffer | | 1 | M8 threaded rod, 8.5" long (21.5 cm) | | 6 | M8 nuts | | 4 | M8 washers | | 2 | M3x20 cap screws | | 2 | M3x40 cap screws | | 2 | M3x16 cap screws | | 4 | M3 washers | | 4 | M3 nylok nuts | You should have most of the M3 parts as spares that came with your MK3 and MMU2 kits. You could use a smaller diameter threaded rod, but would need to modify the printed parts to match. ## Printed Parts ## Unless otherwise noted, slice at 0.200mm, 3 perimeters, and print with 20% infill. I used PETG, but PLA should work. | Qty | Part | Notes | | --- | ---- | ----- | | 1 | Front bracket | Supports on build plate | | 1 | Rear bracket | | | 1 | Power Supply clamp | | ## Assembly ## 1. Disassemble the slot buffer, removing the slot dividers, the feet, and the sides. 1. Clean up the M3 holes in both brackets; an M3 cap screw should fit snuggly, but should still slide through without force. 1. Place an M8 nut in the nut trap for the front bracket. power supply. 1. Slide the M8 threaded rod through the Power Supply clamp, adding M8 nuts and washers on either side (don't tighten the nuts). It should be about 80 mm from one end. 1. Thread an M8 nut and washer onto each end of the threaded rod, about 25 mm from the end. 1. Thread the rod into the front bracket, then tighten the M8 nut so that the rod is held firmly in place. The rod should be flush with the front of the bracket. The power supply clamp should be roughly 80 mm from the front bracket. 1. Slide the rear bracket onto the rod, then add another washer and M8 nut. 1. Using the M3x16 screws, washers, and nylok nuts, mount the rear bracket to the back of the slot buffer. 1. Replace the front M3x30 cap screws for the slot buffer with M3x40 screws, mounting the front bracket to the front of the slot buffer. 1. Remove the M3x10 screws the hold the Mk3's right-side Z-axis top cap. Replace them with M3x20 screws, which will now extend through the frame, above the power supply. 1. Slide the front bracket onto the Z-axis top cap mounting screws, and then secure with M3 washers and M3 nylok nuts. 1. Adjust the position of the power supply clamp so that it clamps onto the rear of the power supply. 1. Adjust the M8 nuts so the brackets are supported, but not warped out of alignment. Tighten the M8 nuts to secure the brackets.
With this file you will be able to print Alternate Slot Buffer Holder with your 3D printer. Click on the button and save the file on your computer to work, edit or customize your design. You can also find more 3D designs for printers on Alternate Slot Buffer Holder.