Aluminum Build Plate for Makerbot Mini (Printed on Makerbot Mini)
thingiverse
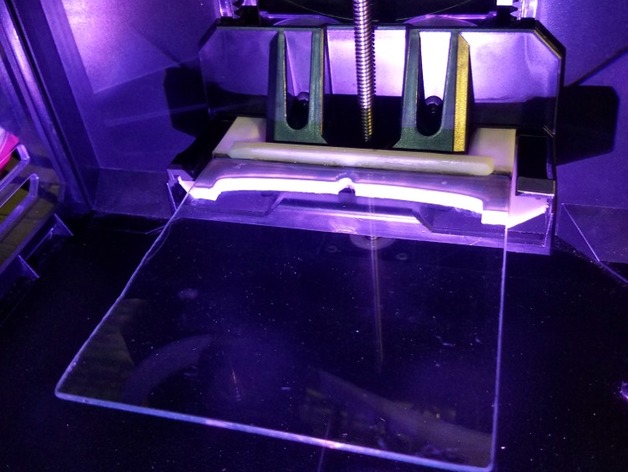
My original Makerbot Mini's plastic build plate keeps forming cracks on its build surface (See photo). Always use blue tape, but I'm on my 2nd build plate. Aluminum would be far more durable, so I built a new custom build plate. It's printed on the Makerbot Mini itself. My example photos are made with white PLA, but I recommend black PLA. You will need: JBWeld gray epoxy (Comes in two tubes you mix together). Don't get the 5 minute stuff. Get the longer curing kind. Two steel rods (Nails with heads cut-off. I'm not sure of their size, you'd have to size them up after printing) A 11mm x 11mm square of aluminum or steel. I made one of these using the glass shown in the picture (Common window glass), but it cracked under the heat stress. A clamp or weight Build instructions: Print the 3 parts on your Makerbot Mini. Mix some JBWeld and get a lot of it down in the holes for the two steel rods. Cover the steel rods themselves in JBWeld and in the red area between the left and right base pieces (See picture with the rods, glue in the red area). Put the rods in the holes and join the left and right halves together on the rods. Ensure they are tight together, no gap between the left and right bases. Apply enough JBWeld on the surface to hold the glass and apply the glass (See the picture with the green glass area). Squeeze the left and right halves together and squeeze the aluminum into the halves, ensuring the glass is centered between them. Wipe away any JBWeld that has oozed out with an old rag. Ensuring that The aluminum is square with the two bases and The left and right halves are still tightly together, put the assembly in a clamp or vise (See photo) and let the epoxy cure overnight. Release the clamp when the epoxy is completely cured. Mix another batch of JBWeld and glue on the top cap (See the side profile diagram). Be sure to add enough epoxy to ooze from under the cap, out onto the aluminum. Wipe any access with a rag. Set the unit aside and let the epoxy completely cure. Sand the indicated surfaces with 100, then 150 grit sandpaper to make it smooth (See the pictures, top and bottom areas of the bases). Test-fit into your Makerbot Mini. The bed should be acceptably level. If its not level: If the end of the bed is too high then remove a bit of material indicated in the picture using a dremel tool etc. Be sure to remove an even amount left to right. If the end of the bed is too low (or you've removed too much material) them mix up a batch of JBWeld epoxy and build up the indicated area until satisfied. When finished, the unit should slide in and out of the base just like the original equipment. If insertion/extraction is "rough" then a bit more sanding should help. Printer Brand: MakerBot Printer: MakerBot Replicator Mini Rafts: Yes Supports: Doesn't Matter Notes: STL files should load into your slicer without modification. How I Designed This I designed this using NewTek's Lightwave 3D
With this file you will be able to print Aluminum Build Plate for Makerbot Mini (Printed on Makerbot Mini) with your 3D printer. Click on the button and save the file on your computer to work, edit or customize your design. You can also find more 3D designs for printers on Aluminum Build Plate for Makerbot Mini (Printed on Makerbot Mini).