AM8 Nutenstein / Sliding Block
thingiverse
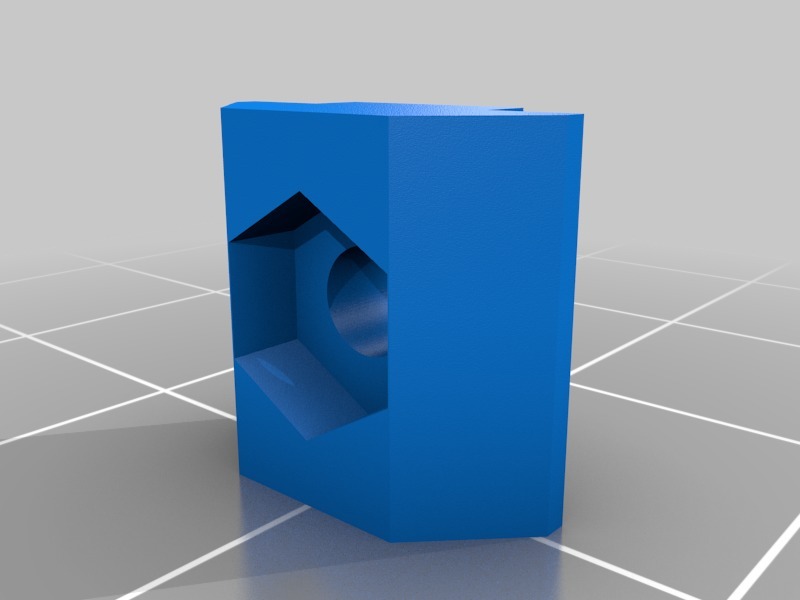
While I was building my AM8 and almost finished it, I realized that I missed 4 sliding blocks. So I quickly made a design that fits snugly into the 2020 profiles. Simply put a M3 screw nut into the hexagonal hole and insert that thing into the profile. Yes, you've read that correctly - It's designed for M3 screw nuts - So use M3 screws (M3x10) and washers if the screw is too small for the hole in your part. I found it to be a pain to grind the edges of usual M5 nuts off and M4 would have been too big for the design. I wouldn't recommend using this design for higher loads, such as motor mounts or something like PSU mounts, but it's perfect for the LCD, for example. Be sure that your printer is well calibrated; otherwise, the block could become too large and won't fit into the profile. If this happens, resize it to 96-98% before printing, heat up the screw nut a bit, and push it slightly in - But be careful or you'll end up with an unrecognizable heap of plastic and a brand mark on your hand. The screw itself will find its way afterwards. Edit: The round hole should be at the bottom while printing - I forgot to rotate it! I think it was -90 on the Y-Axis. Lastly, remove the support properly! Thank you for reading the safety instructions carefully. Have fun with your brand new sliding blocks! (After 6 minutes per block or 16 minutes for four!)
With this file you will be able to print AM8 Nutenstein / Sliding Block with your 3D printer. Click on the button and save the file on your computer to work, edit or customize your design. You can also find more 3D designs for printers on AM8 Nutenstein / Sliding Block.