AM8 Reinforced!
thingiverse
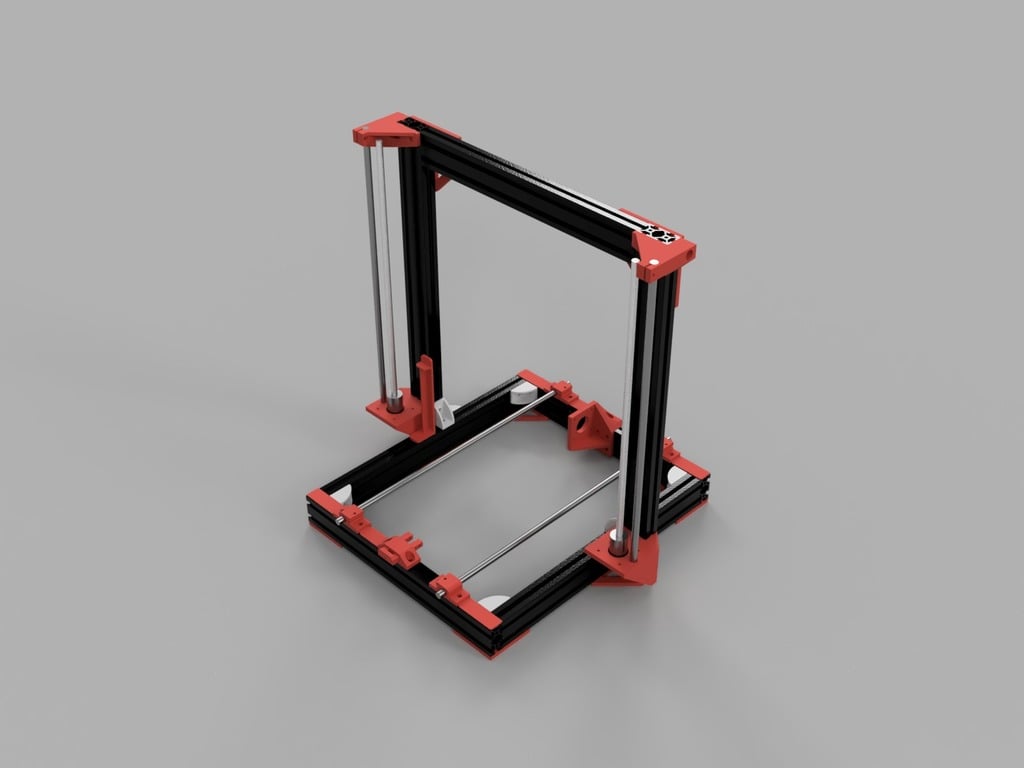
Fusion 360 files have been released for all! Feel free to edit to your needs guys. Take a look at some of the parametric settings. If you want to change the rod spacings, it's made easy to do so. Introduction ---------------------------- Working on reinforcing the AM8 mounts. Noticed that my mounts are currently starting to warp due to the stressed exerted on by the motors. The purpose of reinforcement them is to make the printer more rigid for higher speeds and to increase the life of the parts. The pieces are a tight fit but they hold up and are very rigid. Everything was printed in PETG at 70% infill at .28 layer height. You do not have to print at that high of a layer height but I did to save time. PETG is optional and I only chose it as I had a full roll of it to play with. Currently some of the holes need some supports to avoid sagging if you are printing at big layer heights as I am, but for the most part, they are easy to take out and just clean up the print. Concerns so far ---------------------------- It is a tight fit. It was made to be rigid so the parts need to be slide into place. I may release another version where there are tabs on one side of the extrusions instead of both. I know it's hard to install them with t-nuts but keep trying. I got mine in by lining them up and then sliding down the pieces. The good news is that everything fits and works well together. <s>The distance between the lead screw and smooth rods are 22.2 mm apart (middle to middle) based on the original AM8. I kept them the same but my measurements show that it should be closer to 22.3 mm... I'm sure that it shouldn't effect it that much. If anyone else can confirm, I can update the files.</s> No issues at all! <s>I couldn't beef up the Rod holders as much as I wanted to. I had to leave some space in there so the lead screw can still fit under them. If anyone has suggestions, please let me know. </s> They are strong. I do not think they need any further reinforcement. <s>The motor holder can use a bit of work but overall the design works as intended. I may add some more meat to it once I can figure out how to do it without making it too bulky.</s>Added some meat to it. There is potential to reinforce it more but it takes away visually and makes it harder to print out. Rod Bearing Holders are untested as of yet. I may consider using them as I have switched to Nema motors with integrated lead screw. Changes ---------------------------- 11/22/2017 - Added Y Tensioner. Parts have been increased in thickness and modified to be printed flat to increase tension strength... Tho you guys shouldn't be over tightening your belts :P 12/02/17 - Added a Motor Mount Jig. This should help you get that 25 mm distance from the top of your motor mount to the top of the bottom extrusion as listed in the original Build Instructions. The extrusions are 40 mm tall, so 40mm + 25mm = 65 mm. The jig is 15 mm tall and the motor mount is 50 mm tall... Soo 65mm. Just use the jig to position your motor mount and then screw in the motor mount. Then remove the jig and use it for the other side. Also updated Y Tensioner Block. Lowered it by 1.7mm to level out the belt. Apparently the original AM8 had it's tensioner 1.7mm higher so the pulley was never completely leveled with the motor. Subjected to change. 12/03/17 - Updated the Motor Mount Jig to include a little handle to pull it out easier after use. I know it's not much! But it helps :) 12/10/17 - Created the Y-Motor Mount. Still working on it but simulation results prove fruitful. 12/20/17 - Updated the Y-Motor Mount. Added some more plastic to the back which should help it. Been working on some jigs to help everyone out. Going to be posting those soon. Going to be taking the work in progress tag off soon as soon as I get some more feedback from people. 12/24/2017 - A Very Jiggy Christmas update! Released the jigs. These jigs work for the standard AM8 dimension. If you have different length extrusions, these might not work for you. Please let me know how they work. I didn't identify them physically because they are meant to be a one time use thing. I have tested most of them and they work but I really do appreciate people giving me feedback. I have yet to test the 43.02mm jig tho as I have made the jig after assembling my printer. If you do plan on using the jigs over... I know someone who made an awesome set of jigs that identify everything and have an awesome alignment design on them. He is currently using AM8 Reinforced parts as well. Fixed some minor position and added another jig! The X Axis level jig. Used to level out the x axis based on the frame. 2/1/2018 - I took off the WIP tag as the feedback I am getting tells me that everything is fitting and working fine. Things may be adjust in the future but as of now, it works great and is functional. This doesn't meant I will stop caring about this. If issues arise, I will set to fix them and upload new parts. 2/11/2018 - Did some visual updates to the rod holders thanks you ScepticalGeek's suggestions. They can be found in the file section. Just search for Left Rod Holder Visual Update and Right Rod Holder Visual Update. They match the theme of the printer better :D 3/13/2018 - Rod Bearing Holders Released! It is currently untested so let me know how it works. As of now, the rods may stick up a bit.... 7/11/2018 - Released Fusion 360 files for the community. Enjoy guys! Look at the pictures for some of the parametric features. 10/06/2018 - Created corner brackets for those who do not have the aluminum brackets. Should be good to print on the sides. These will fit a bit tighter as I have increased tolerance up to .2mm for them as they are meant to be more rigid and move less. Two versions created depending on location.
With this file you will be able to print AM8 Reinforced! with your 3D printer. Click on the button and save the file on your computer to work, edit or customize your design. You can also find more 3D designs for printers on AM8 Reinforced!.