Amazon Fire HD 10 Tablet Wall Mount Case
thingiverse
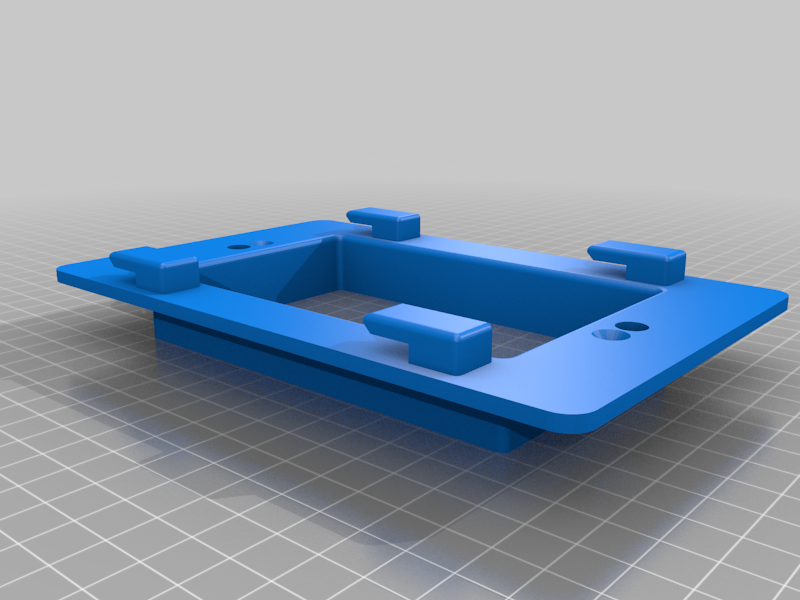
I needed a wall mount for my Fire HD 10 tablet on which I host my SharpTools Automation Dashboard and Controls. Rather than pay for one I designed this one but the unique feature is it includes a bracket as part of the power outlet mount. The hooks in that mount then slip into the back of the tablet case. One the power outlet mount is installed, It makes it very easy to remove and reinstall the table with no tools in about 2 seconds. Since you will want power for your tablet you would already need to have (or install) an outlet at the appropriate height. The power outlet must be installed using the outlet box specified below. You will throw away their included bezel and use the one you print with the hooks. Any standard outlet with USB power ports can be used in the outlet box. You will need to print 1 each of the bezel, back, and outlet mount (used above). For the bezel, you will print it face down and probably need no supports if your printer setting can handle the bezel chamfer and frame edge fillet. For the back, print it face up. You will want supports primarily in the 12 rear screw holes. I found that when it printed supports on the edge fillets they were a pain to remove, so in Cura I'd suggest just add supports on the screw holes. For the outlet mount, I'm not sure if it matters much when orientation you print it in, it will need supports for sure. Once printed, other than clearing the supports from the back and outlet mount, that's all that's need for those two parts. For the bezel, you will need to use a soldering iron to heat up and push a M3 threaded insert into the insert hole in each post, flush with the top of the post. You want these in straight not on an angle. There are a number of you tube videos on how to go about this and I used this one as a reference: https://youtu.be/KqSmCHr4fdA. I set my soldering iron to 275, at the lower temp he says it was too slow to heat the post. Once the inserts are installed in the bezel, then simply put the USB cable on the tablet, push the power cable down into the channel in the back until you can take the last several inches out through the hole. Then place the bezel on, flip the case over and install the M3 screws. At this point, you can just plug the power cable into the USB port on the outlet and hang the tablet on the outlet mount hooks. Your in business!!! What you will need to make this whole thing work: Amazon Fire HD 10 Tablet Arlington DVFR1W-1 Recessed Electrical/Outlet Single Gang Mounting Box found here on Amazon for $15: https://a.co/d/fkJroyO 12" Right Angle USB C power cable found here on Amazon for $8: https://a.co/d/4gHE7Ib Standard 120V Outlet with USB Power Port found here on Amazon for $16: https://a.co/d/4DnPA3x 12 M3x6x6 Threaded Insert Nuts found here on Amazon for $10 (100ct): https://a.co/d/fCedZmi 12 M3x10 Socket Head Screws found here on Amazon for $8 (100ct): https://a.co/d/0XziUfY Soldering iron to install the threaded inserts and potentially a set of these insert tips (if you choose to use them) found here on amazon: https://a.co/d/bP0Jy96 1 Each of the 3d printed parts in this group. Have fun!!!
With this file you will be able to print Amazon Fire HD 10 Tablet Wall Mount Case with your 3D printer. Click on the button and save the file on your computer to work, edit or customize your design. You can also find more 3D designs for printers on Amazon Fire HD 10 Tablet Wall Mount Case.