Amiga 1000 front cover (seperate clips)
prusaprinters
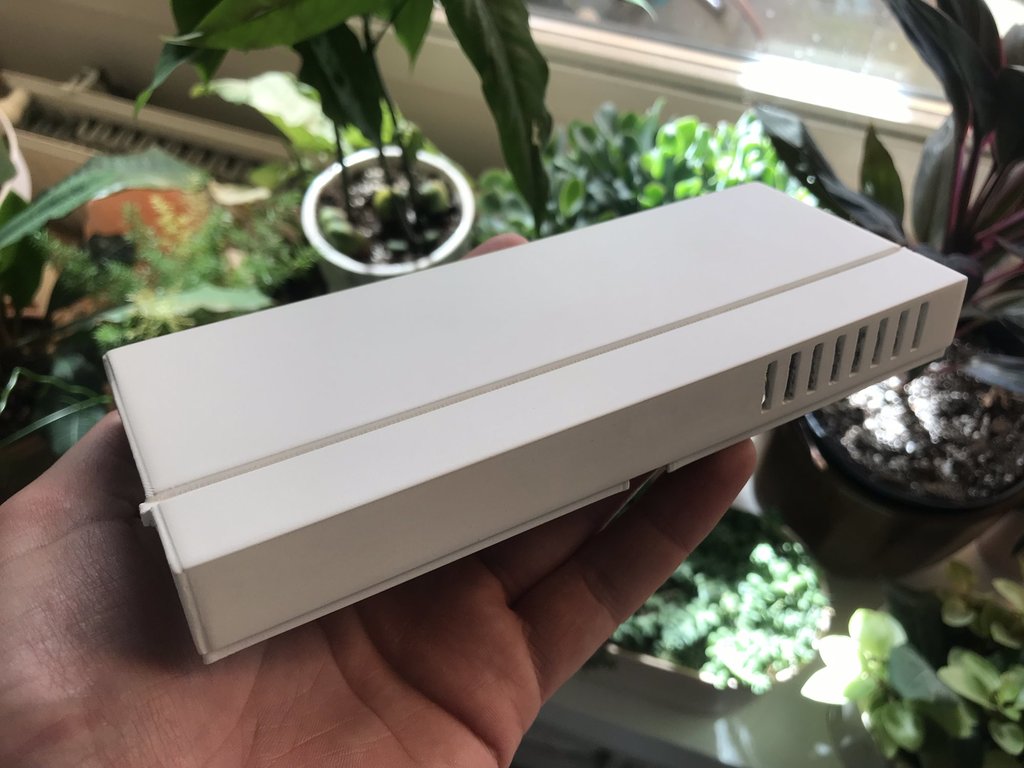
<p><strong> Update 4/10/2020</strong></p> <p>Uploaded new files, cleaned up the mesh and also fixed some minor tolerances to make things print easier.</p> <p><strong> Original</strong></p> <p>Remixed From:<br/> <a href="https://www.thingiverse.com/thing:2811303">https://www.thingiverse.com/thing:2811303</a></p> <p>Seperating the clips from the main body, so they can be printed flat and thus retain more strength (without snapping off).</p> <p>You'll have to print 2 clips, and glue/epoxy them into place (might need a tiny bit of sanding down to fit the main cover).</p> <h3> Post-Printing</h3> <p><strong>Post-processing</strong></p> <p><div><p> I have attached a bunch of pictures showing how I got to the smooth finish that can be seen in the first pictures.</p> <ol> <li><p>Raw Print - this is straight from my printer (0.3mm layer height to save time - I was gonna process this anyway, so no need for super high details!)</p> <ol> <li>Rough sanding - used 120 grit sandpaper to rough out the surfaces, so the next step works slightly better</li> <li>Filler - I used quick drying "Wall Filler" to pad all the surfaces.</li> <li>Rough sanding - Using a combination of 240/320 sanding paper, I sanded all the surfaces down flat. allowing the plastic to come through. The important part here is that all layer lines are filled, but doesnt need to be perfect yet!</li> <li>Primer filler painting - Used 2 Thick layers of Primer to again "fill" the print (I used very cheap Primer in this step, as you need quite a lot of it, and as I'm sanding it down afterwards again, it's a bit of a "waste" otherwise).</li> <li>Images showing before/after<ul> <li>a) [before] You can see rough sanding marks from step 4 through the Primer.</li> <li>b) [after] Using wet sanding paper of 800 grit, I smooth every surface back down so they're super smooth and flat.</li> </ul> </li> </ol> </li> <li><p>Final Primer - Using a better quality/more expensive Primer I spray on the final layer, making all surfaces look equal and flat. Next: Now you could do a 1000 grit wet-sanding pass again, and then apply your final coat of paint and/or lacquer. (Haven't done this yet, will update pictures later)</p> </li> </ol> </div></p> Category: Video Games
With this file you will be able to print Amiga 1000 front cover (seperate clips) with your 3D printer. Click on the button and save the file on your computer to work, edit or customize your design. You can also find more 3D designs for printers on Amiga 1000 front cover (seperate clips).