AMONG US - ANGLE LIGHT
prusaprinters
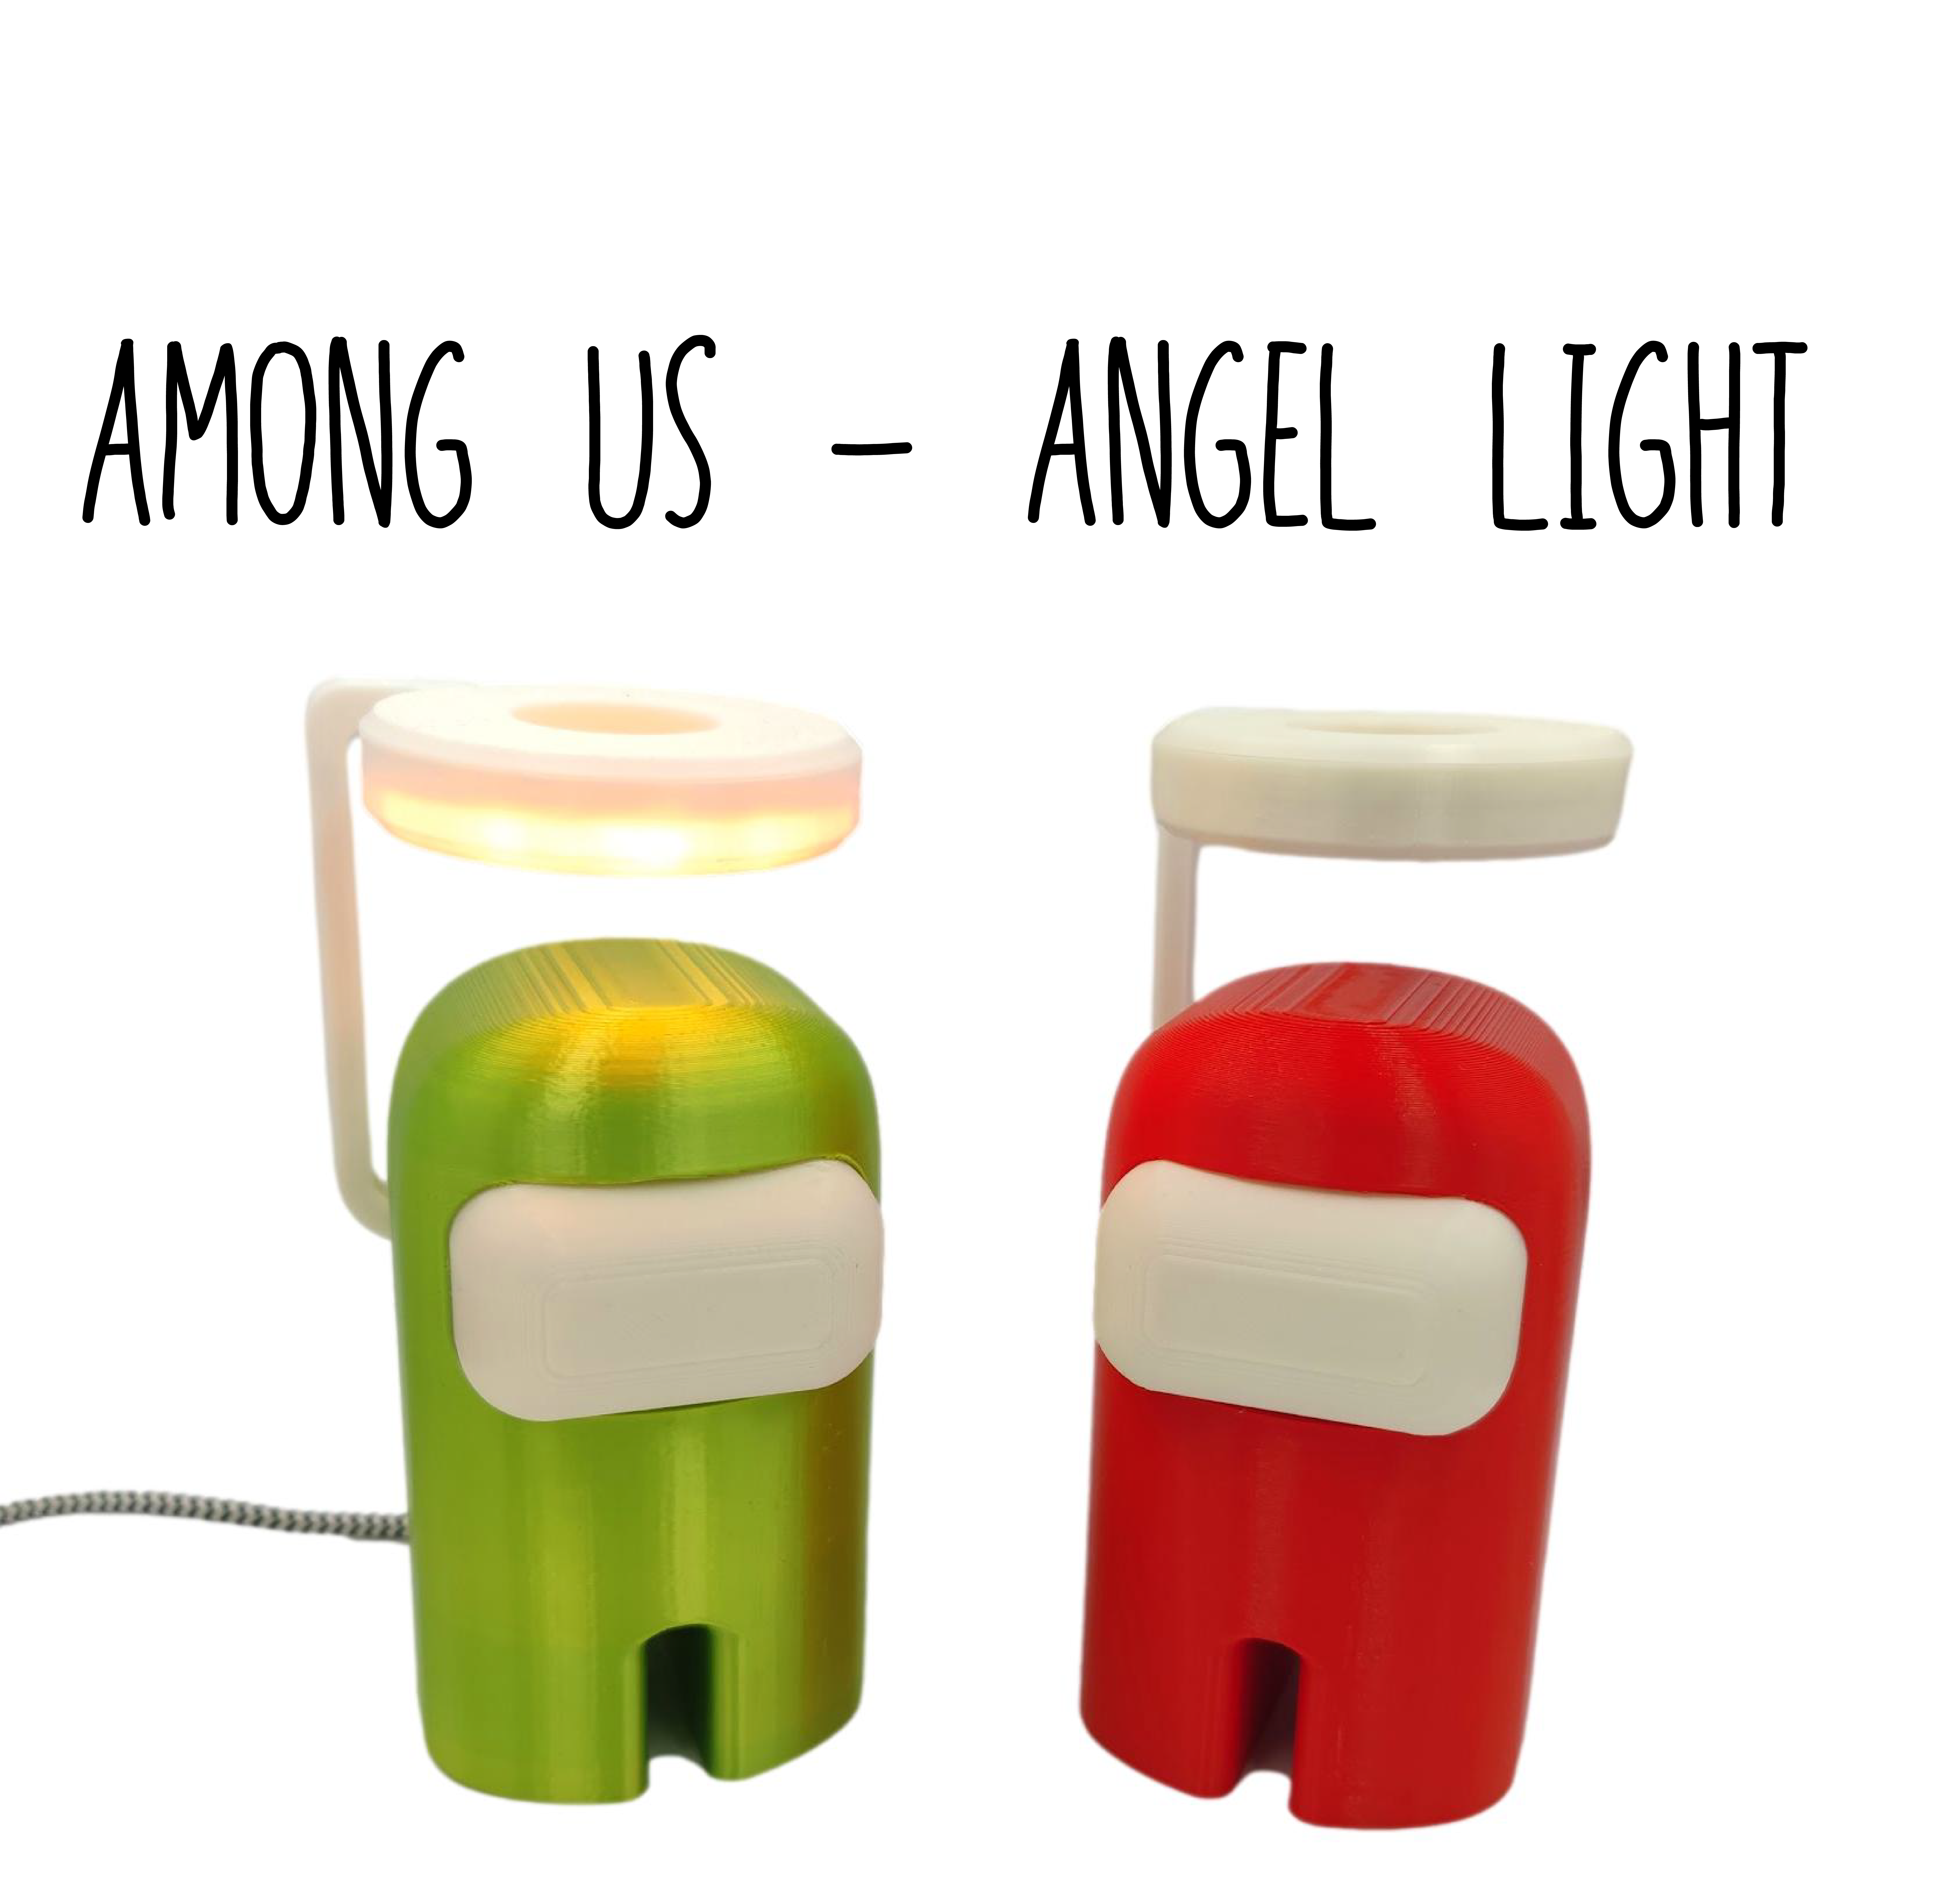
<p><strong>Make your own among us angel, with a luminous halo!</strong><br><strong>Light up the dark with a mysterious impostor or crewmate.</strong></p><p>What do you need?</p><ul><li>3D printer :)</li><li>White and coloured filament</li><li>Soldering iron, solder and 3x 18cm wire</li><li><a href="https://www.tinytronics.nl/shop/nl/verlichting/ringen-en-modules/sk6812-digitale-5050-rgb-led-ring-12-leds-wit">Digital RGB LED ring</a>, 12 leds (OD: 52mm | ID: 36mm)</li><li>Microcontroller (The model is for the <a href="https://www.tinytronics.nl/shop/nl/development-boards/microcontroller-boards/arduino-compatible/pro-micro-5v-16mhz">Pro Micro 5V</a>, but you can change it in the F3D/STEP)</li></ul><p>Print settings:</p><p>I've used the standard quality 0.2mm profiles from Prusa to print the parts. You can find the files sorted on colour/white and with already painted supports. The orientation in which they load in the slicer is optimised.</p><p>Assembly instructions:</p><p>Almost all parts snap together, so assembly is very straightforward. I'll also upload an instruction video later :)</p><p>1. Insert the eye part in the main body, this is quite a tight fit, so some force is required. Look at the arrow pointing up inside the eye part, insert it in the same direction as shown below. </p><figure class="image image_resized" style="width:73.35%;"><img src="https://media.prusaprinters.org/media/prints/98704/rich_content/d9580673-73b9-4725-b32a-1c308e8757e6/2a202acd-de0c-4600-8d1b-fd18de663edc.png#%7B%22uuid%22%3A%22e8a7340b-1850-4552-8b3b-2c63fa68d853%22%2C%22w%22%3A2560%2C%22h%22%3A1085%7D"></figure><p> </p><p>2. Insert the backpack in the main body, as shown below. <img class="image_resized" style="width:80.31%;" src="https://media.prusaprinters.org/media/prints/98704/rich_content/ed12aaf9-7057-4d35-8ec3-7e3124dfb159/among_us_angel_2021-dec-19_10-40-00pm-000_customizedview24090798100.png#%7B%22uuid%22%3A%228cc6604e-f77f-4703-b946-1137b3ba249c%22%2C%22w%22%3A2560%2C%22h%22%3A1085%7D"></p><p>3. Cut 3 wires to 18cm each, and solder these to the LED ring (Din, GND and 5V)</p><p>4. Route the cables through the HALOHOLDER shown below. The bottom is open, to make it easier to get the cable through. (The LED ring should be on the right side of the holder shown below)</p><figure class="image"><img src="https://media.prusaprinters.org/media/prints/98704/rich_content/0d44fd59-f9f1-4ade-b9fe-5007305a8f29/among_us_angel_2021-dec-19_10-44-09pm-000_customizedview27438099503.png#%7B%22uuid%22%3A%221b1db7a3-568f-4b83-a47b-89e9f48b8fb2%22%2C%22w%22%3A2560%2C%22h%22%3A1085%7D"></figure><p>5. Solder the other side of the wires to the microcontroller, make sure to solder the correct wire to the correct pin/hole. 5V goes to VCC, GND goes to GND and Din can go to a few different pins, but I would use pin 10 (at least make sure the pin supports PWM) </p><p>6. Insert the LED ring in the HALO, and insert the HALOHOLDER as shown below (it's recommended to use some glue to hold it in place). Afterwords cover it with the HALO TOP.<img src="https://media.prusaprinters.org/media/prints/98704/rich_content/ed580b32-c251-4f8d-82f7-f3462c63acb0/among_us_angel_2021-dec-19_10-41-14pm-000_customizedview36206260530.png#%7B%22uuid%22%3A%221d1db343-37e2-4a2d-9429-336295b87850%22%2C%22w%22%3A2560%2C%22h%22%3A1085%7D"></p><p>7. Put the Microcontroller in the Backpack (make sure the micro USB port lines up with the hole in the bottom, and glue it in place (the Pro Micro doesn't have any mounting holes)</p><figure class="image"><img src="https://media.prusaprinters.org/media/prints/98704/rich_content/d0780ebb-aa02-4f02-86df-5e49f2acf3b9/among_us_angel_2021-dec-19_10-53-01pm-000_customizedview23174007498.png#%7B%22uuid%22%3A%2294370f9a-60d4-492f-acfe-101142651a1e%22%2C%22w%22%3A2560%2C%22h%22%3A1085%7D"></figure><p>8. Pop the back cover on there and you're almost done :) All you need to do now is program the Pro Micro.</p><figure class="image"><img src="https://media.prusaprinters.org/media/prints/98704/rich_content/01d4740d-e9c3-40ca-b8a2-2714c729148f/among_us_angel_2021-dec-19_10-53-20pm-000_customizedview9989376820.png#%7B%22uuid%22%3A%2200c045d5-98e0-46c6-8320-85b10f013414%22%2C%22w%22%3A2560%2C%22h%22%3A1085%7D"></figure>
With this file you will be able to print AMONG US - ANGLE LIGHT with your 3D printer. Click on the button and save the file on your computer to work, edit or customize your design. You can also find more 3D designs for printers on AMONG US - ANGLE LIGHT.