
Analog Clock
thingiverse
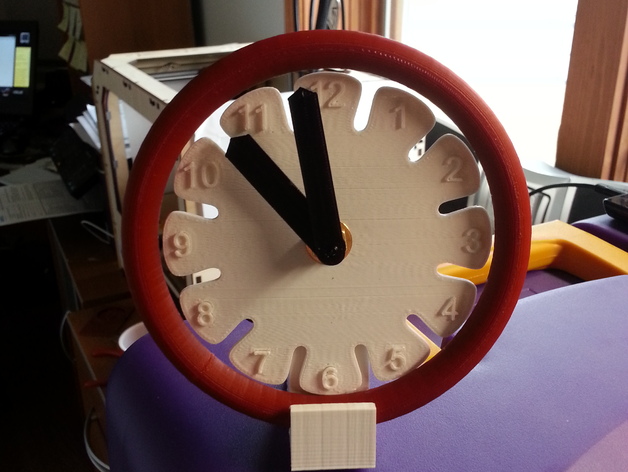
Follow these simple steps to assemble your 3D printed clock: Firstly, acquire a standard 3/8" clock movement costing less than $8 at Hobby Lobby or Michael's. The movement comes with hands and a wall hanging bracket, but you may need to modify the stand for wall mounting. Next, print your desired clock parts. The stand serves three purposes: allowing the clock to stand, providing a mounting hole for the movement, and holding the outer ring in place using a clip at its bottom. To assemble, start by placing the black rubber washer onto the movement's hand shaft from the back of the stand, followed by inserting the movement into the mounting hole. Push the outer ring into the holding clip on the stand. Place the clock face onto the hand shaft and add a gold washer against the clock face, tightening it with pliers. Finally, add the hour and minute hands in the correct order, ensuring proper clearance between them. Insert an AA battery, set the time, and enjoy your printed, customizable clock!
With this file you will be able to print Analog Clock with your 3D printer. Click on the button and save the file on your computer to work, edit or customize your design. You can also find more 3D designs for printers on Analog Clock.