
Analog Receiver Adapter V1 Enclosure for DJI Digital FPV Goggles
thingiverse
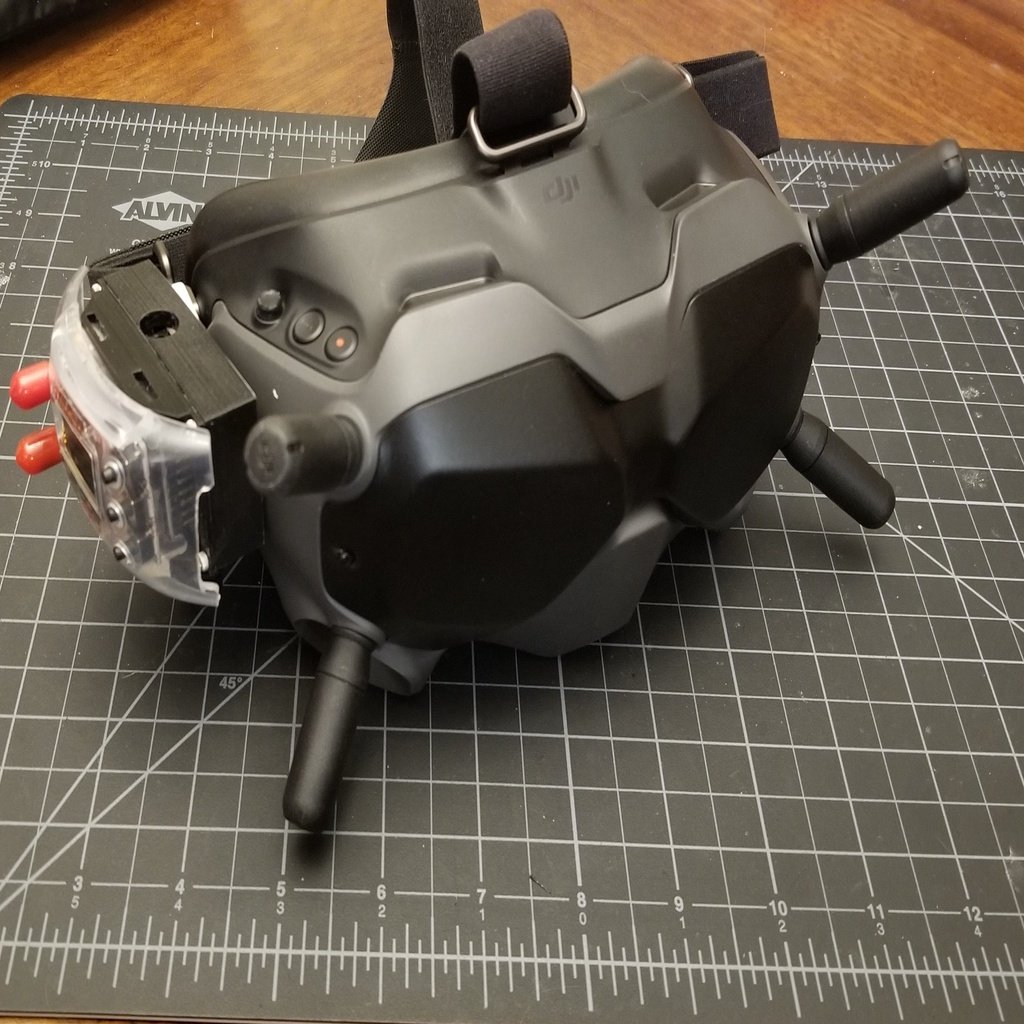
Updates: <b>02/16/2020:</b> Updated Name of print to distinguish this enclosure is for the V1 PCB analog adapter. The V2 PCB includes a power on/off switch and has a different board shape. This adapter is for V1 ONLY and will not fit a V2 board. <b>01/08/2020:</b> Added V2 bottom plate file with only difference being slightly smaller M2 screw holes. Try this bottom plate if you are finding the M2 screws being a bit too loose with the original bottom plate. <b>01/04/2020:</b> Link to rapidfire specific top plate by Diggah can be found here: https://www.thingiverse.com/thing:4078541 Summary: The URUAV fatshark analog FPV receiver adapter lets you easily add an analog receiver module to your DJI FPV Goggles without having to solder or disassemble your goggles. The kit is great, but there's nothing physically holding the analog receiver in place except the pins between the adapter module and the FPV receiver module, so use some other method to hold it in place like zip ties or rubber bands. This enclosure protects the adapter from damage while making it easy to add any analog FPV receiver with it being secured by normal locking tabs on the receiver faceplate. I hope this enclosure works for you. Materials Needed: - URUAV FPV Analog Receiver Module Kit (links below for where you can purchase) - (4) M2x4-6mm screws to attach top to bottom plate - 3M double sided sticky tape (or any equivalent) - Non-flexible filament of choice (I printed with 1.75mm PLA, 20% infill) Assembly Instructions: 1.) Attach the plastic mount included with the module adapter to the adapter board with the included screws. 2.) Apply 3M double sided sticky tape to the inside of the bottom plate then insert the module board to secure it. ***Tip: The top of the board should be as flush as possible with the top edge without sticking out.*** To make it flush as possible, I ended up using two layers of double sided sticky tape. 3.) Remove the screws from the DJI goggle headstrap bracket and insert it through the analog adapter and secure it to the goggle as normal. 4.) Attach the top plate with the (4) M2 screws to seal it. You are now done. Attach whatever analog FPV receiver module you want. I am using a FuriousFPV True-D module but most (if not all) should fit. I made the receiver locking holes 10mm wide to allow for adjustability front/back so other receivers should line up with the pins without any issues. Links to adapter kit for purchase: RaceDayQuads: https://www.racedayquads.com/products/analog-fpv-fatshark-module-adapter-for-dji-digital-fpv-goggles?variant=31203537453169 Banggood: https://www.banggood.com/URUAV-5_8G-RX-PORT-2_0-DJI-Digital-FPV-Goggles-Simulation-Receiver-Board-for-DJI-Fatshark-FPV-Goggles-p-1605285.html?cur_warehouse=CN
With this file you will be able to print Analog Receiver Adapter V1 Enclosure for DJI Digital FPV Goggles with your 3D printer. Click on the button and save the file on your computer to work, edit or customize your design. You can also find more 3D designs for printers on Analog Receiver Adapter V1 Enclosure for DJI Digital FPV Goggles .