Anet A6 + 3D BLTouch Brace
thingiverse
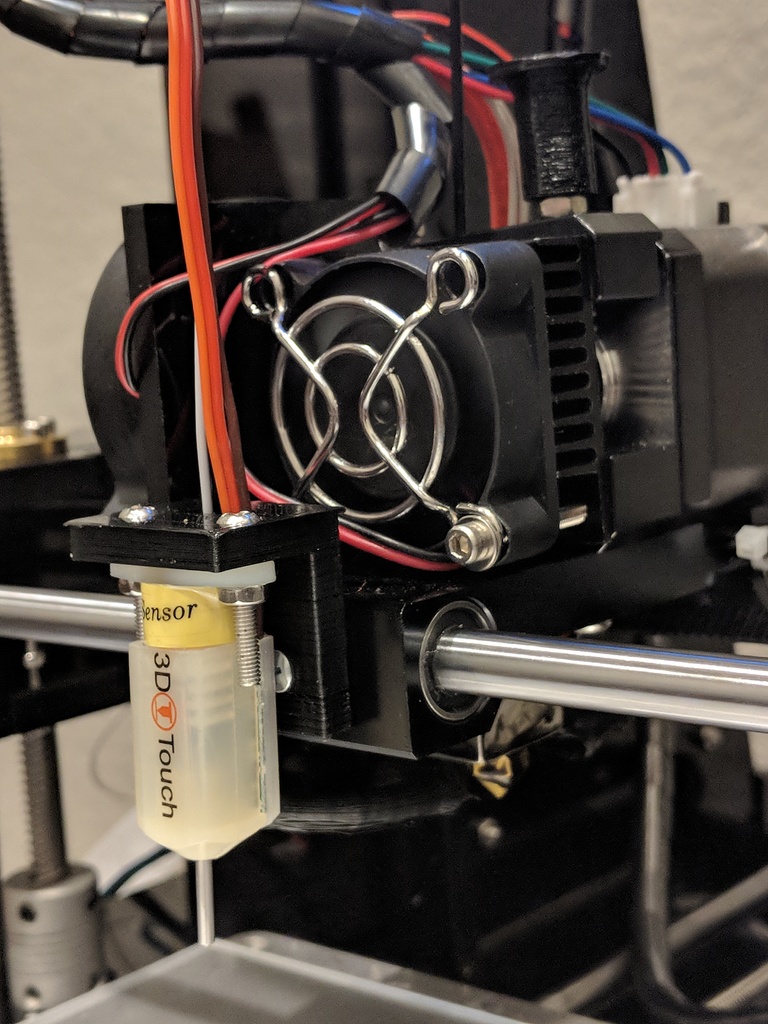
Hey guys, It seems that the new Anet A6s come with two mount screw holes in front for another auto-level sensor. As a result, I created this mount to let my 3D BLTouch use these holes. Steps: 1. Install the 3D BL Touch with its provided mount. 2. Make a wiring harness. I bought a 2.54mm Dupont Connector Kit, a JST-XHP connector kit, and a Dupont Crimp tool for this job. I'll post some pictures of the final product later. 3. Strip pin three on the LCD connector and add a new pin to it. This is necessary only for the LCD with five buttons on the right (Zonestar LCD). Check out the documentation in pins_ANET_10.h to see what to do if you have a different LCD. 4. Connect everything up. Note that I didn't Y the two grounds together, but instead used a GND pin (pin eight) on the free/open LCD connector on the mainboard. 5. Reload Marlin with these settings: Original work goes to https://www.thingiverse.com/ithinuel and his Anet mount https://www.thingiverse.com/thing:2451350. Also, https://www.thingiverse.com/thing:2091529 has some great comments on the steps you can take. Tested on Marlin 1.1.9 ```c #define BLTOUCH // #define X_PROBE_OFFSET_FROM_EXTRUDER 0 #define Y_PROBE_OFFSET_FROM_EXTRUDER -57 #define Z_PROBE_OFFSET_FROM_EXTRUDER -1.90 // I hear bilinear is better. Haven't tried yet #define AUTO_BED_LEVELING_LINEAR // #define LEFT_PROBE_BED_POSITION 20 #define RIGHT_PROBE_BED_POSITION 190 #define FRONT_PROBE_BED_POSITION 20 #define BACK_PROBE_BED_POSITION 150 // #define LCD_BED_LEVELING ```
With this file you will be able to print Anet A6 + 3D BLTouch Brace with your 3D printer. Click on the button and save the file on your computer to work, edit or customize your design. You can also find more 3D designs for printers on Anet A6 + 3D BLTouch Brace.