ANET A6 / A8 ULTIMATE Upgrade Guide
thingiverse
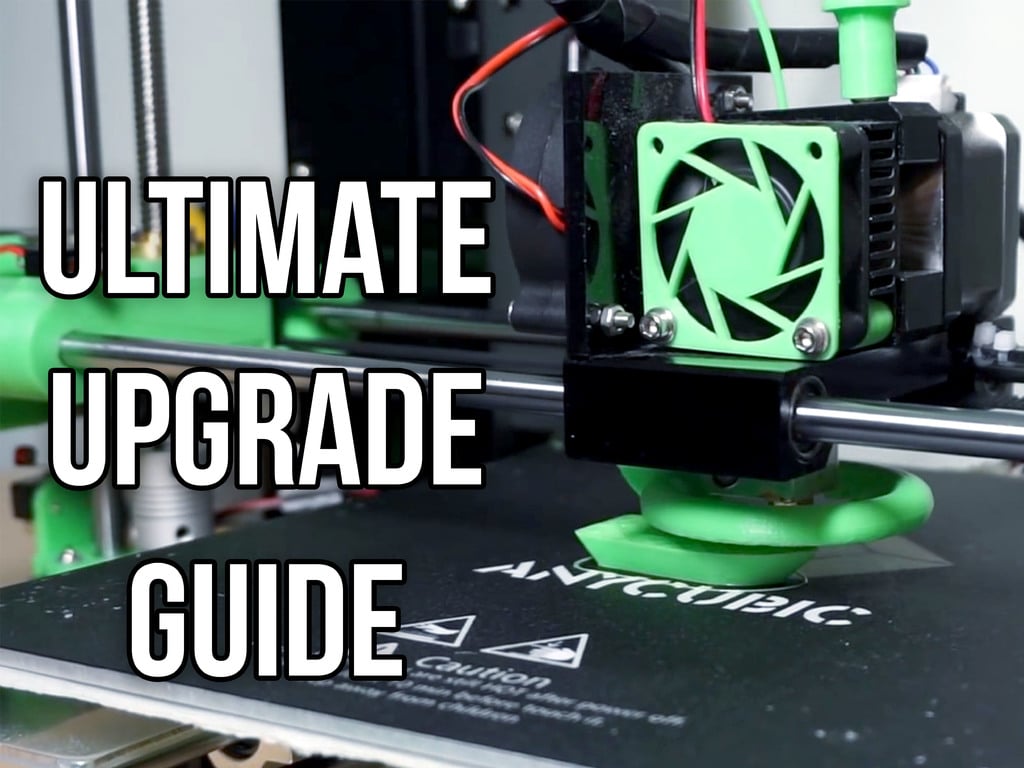
The article provides an upgrade guide for the Anet A6 and A8 3D printers. The upgrades are categorized into six sections: 1. Stepper Motor Upgrade: This section discusses upgrading to TMC2208 stepper motor drivers, which provide improved print quality, silent operation, and smart capabilities. 2. PSU (Power Supply Unit) Upgrade: Upgrading the power supply from 12V to 24V improves the performance of the stepper motors, allowing for higher speeds and accelerations without losing steps. 3. Other Upgrades: * Marlin Firmware: Installing the latest version of Marlin firmware is essential as it provides better configuration options and security features. * Making Z Rods Stable: Securing the Z rods at both ends prevents them from wobbling, which can affect the printer's accuracy. * Lubricating Bearings: Applying white lithium grease to the bearings improves their performance and reduces friction. * Upgrading Bearings: Replacing the bearings with high-quality ones like Misumi or similar options (LM8UU) ensures better performance and reduced free play. The article concludes by emphasizing the importance of these upgrades in improving the printer's performance, print quality, and overall user experience.
With this file you will be able to print ANET A6 / A8 ULTIMATE Upgrade Guide with your 3D printer. Click on the button and save the file on your computer to work, edit or customize your design. You can also find more 3D designs for printers on ANET A6 / A8 ULTIMATE Upgrade Guide.