Anet A6 Adjustable Fan
thingiverse
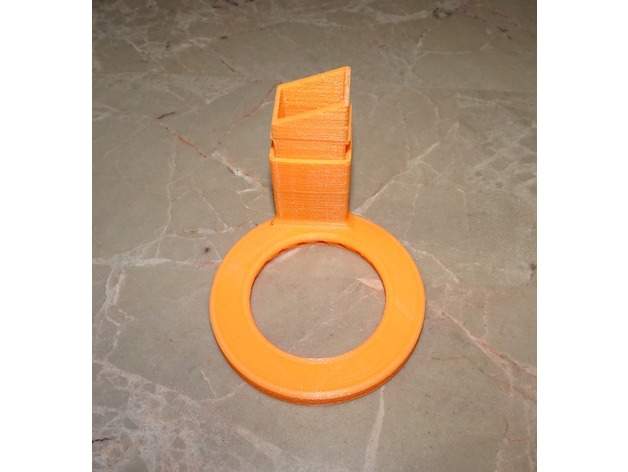
UPDATE: I have made the top duct a little smaller so that it fits better and is truly adjustable without post processing. This is based on the feedback that I got from a couple of people. Please also see my semi-circular fan which should be an upgrade to this fan. This is a remake of the great work of JohnnyTheOne. It is not as well finished as his, with those sexy round curves. I made a remake of his fan with the focus on centering the ring on the printer's nozzle. I wanted the air flow to be centered on the print head in as much as possible. I have 2 different versions. The first version should be used if you print it with PLA. It makes sure that the fan is far away enough from the heating block to prevent melting. In the STL image, you will note that the duct is closer to the inner ring. The second version focuses on centering the air flow without regard for the heating block. It should be used with ABS or PETG as those filaments tolerate higher temperatures. In the STL image, the duct is farther away from the inner ring. Please see the pictures to see the difference between my two different versions and Johnny's. I also modified the top part of the fan to my own personal liking, a slanted connection. The higher slanted side should go AWAY from the fan blades, obviously! There is a very tight tolerance between the top and bottom parts of this fan, same as in JohnnyTheOne's fan. The two separate parts make it adjustable. Care should be taken when inserting the top part into the fan duct. It will take some effort, sanding, and patience at first. It is almost impossible to separate the two parts if you insert it too deep. I simply kept making small incremental adjustments and trying it on the printer for size... repeatedly. The first fan I printed, I pushed in the parts too far and then broke the fan duct trying to pull the top part away from the bottom fan duct. Overall I'm pleased with my efforts but must admit that this part was very tedious to make in Sketchup. I could not round the edges like Johnny did with his part. I guess I need more practice or a better tool. To JohnnyTheOne's credit, he did a great job with his fan. I just wanted my fan centered unlike his. In order to ensure the fan was parallel with the bed, I needed to add two washers to the top of the 50mm fan. See the picture. You could always use a 3D printed washer too, if necessary. Print Settings Printer: Anet A6 Rafts: No Supports: No Resolution: .1 Infill: 30% Notes: Tight fit. May require some sanding after printing to get parts to move more freely. I used brute force myself. That said, if I need to make an adjustment, I may be forced to print a completely new fan as it will likely break when trying to separate the parts . Recommend ABS or PETG as this part is close to the nozzle. I must admit I used PLA, trying to keep a one color theme on my printer. I will let you know if I suffer a PLA meltdown.
With this file you will be able to print Anet A6 Adjustable Fan with your 3D printer. Click on the button and save the file on your computer to work, edit or customize your design. You can also find more 3D designs for printers on Anet A6 Adjustable Fan.