Anet A8 – Adjustable Z Motor Mount
thingiverse
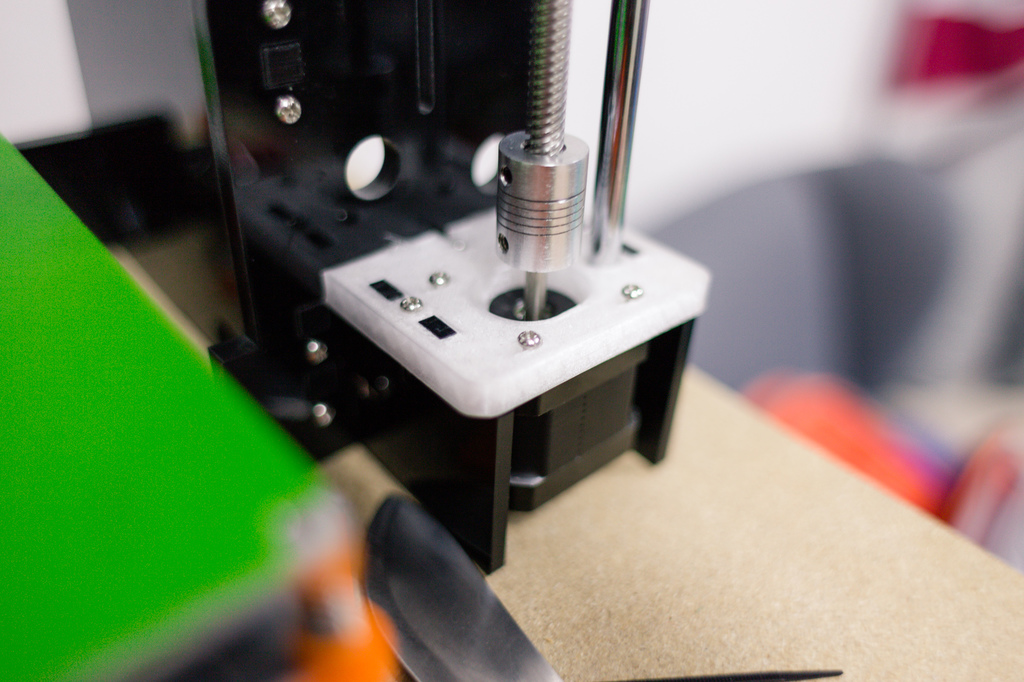
What's up I remixed klownius's [part](https://www.thingiverse.com/thing:2170852) to fit on my newer **Anet A8** model (not sure which revision exactly, but I bought mine late 2018 and it came with `V1-5` board), as after printing his model I found out the layout of the mounts and holes is a little different. The model as-is is oriented for the right side, but basically just flip it after printing and then it fits on the left side as well. The parts (left and right Z motor mount) are identical. For printing, PLA should be good, but if you have your Anet A8 in a closed enclosure, PET-G might be better option. Infill of 20 % is good, just add some more perimeters (1-1.2 mm walls all around are perfect). I've printed mine with PET-G with 20% infill, 1.2 mm walls, and 1 mm top/bottom, and it is strong enough for its purpose. How do I know if it'll fit? I will add measurements later. But basically if your original slots for the side walls are `10 × 5 mm` (and are `9 mm` apart), then I think it should be your size. (If they are `9,25 x 5 mm` then you'll want the original design). The model needs tweaking, one of the four 10x5mm slots is shifted by 1 mm so if you print it now, you'll have to file off a little bit of material from the sidewalls. Will fix this asap. I've recently added the `Z-mount_for_2018_Anet_A8_v1.5_REFINED_DESIGN.stl` which is a model that I made from ground up (it's no longer remix). The dimensions in this one should be correct and I've added chamfers around all the slots for easier fitment. However I am yet to test print this model! How to perfectly align all Z rods Prerequisites: Belt tensioner on X axis. 1. Print this part twice. 2. Loosen the tension on X belt, mount both of these, put everything back together but do not tighten the motors onto the mount just yet. 3. Lower the Z axis as low as you can and then make sure it's level. 4. Add regular amount of tension on the X belt again. 5. Wiggle the motors in the mount so they are exactly where they want to be, then finally tighten them down. After fitting these mounts (I originally had to change one because it cracked) the weird creaking and squeaking from the threaded rods is gone.
With this file you will be able to print Anet A8 – Adjustable Z Motor Mount with your 3D printer. Click on the button and save the file on your computer to work, edit or customize your design. You can also find more 3D designs for printers on Anet A8 – Adjustable Z Motor Mount.