Anet a8 Fan/heatsink holder No Screws easy remove
thingiverse
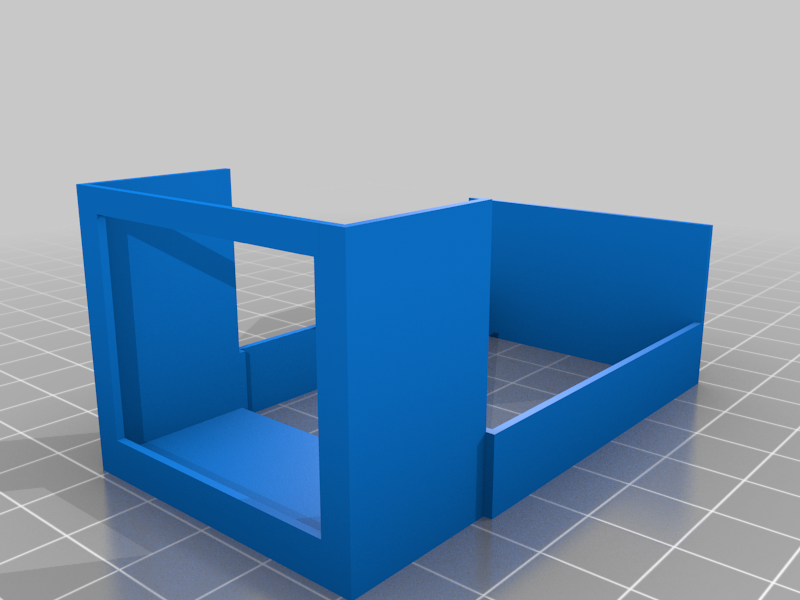
easy to install and makes changing filament a breeze. To Install: remove the screws holding in the fan and heat sink then lift out the extruder motor. place the fan holder over the remaining piece that is screwed to the metal and put back the extruder motor - it will fit snugly. Note: when you put it back use a smaller screw. i only used a screw on the left side. when you put it back cut the left screw hole out on the heat sink as shown in the photo (I did it with the blue cutters that came with my printer but you could do it with anything) this allows you it remove it without unscrewing the extruder motor every time. now simply place the heat-sink in then the fan - they fit snugly so there is no annoying vibration during printing. Tip: if the filament is curved and doesn't line up with the nozzle hole, use a small piece of string and create a loop. Place the loop over the hole then feed the filament through. you can now easily maneuver it into place by lightly tugging on the string. one it is in the hole simply pull the string out and start printing!
With this file you will be able to print Anet a8 Fan/heatsink holder No Screws easy remove with your 3D printer. Click on the button and save the file on your computer to work, edit or customize your design. You can also find more 3D designs for printers on Anet a8 Fan/heatsink holder No Screws easy remove.