ANET A8 Hotbed Insulation & Build Plate
thingiverse
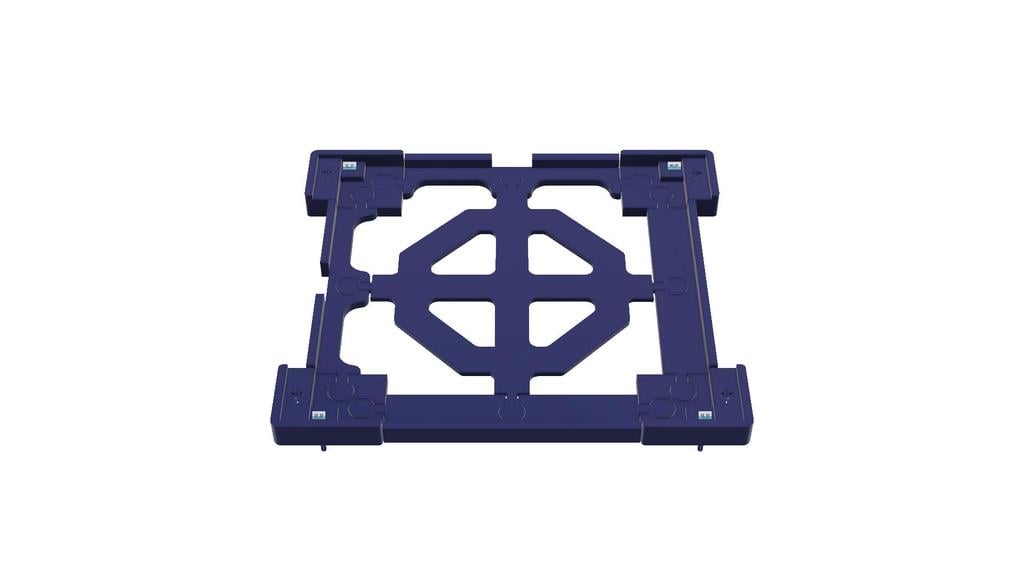
From research on the web, numerous options and general advice for setting up the ANET A8 build plate for optimal adhesion, leveling, and heat bed temperature have been found. While all this advice is good and reasonably efficient, a more positive and purpose-designed solution was desired. My first requirement was to find an easy way to set and maintain a level bed. I discovered that using standard corner spring arrangements and wing nuts made it difficult to achieve a level bed and resulted in constant adjustments due to variations in bed temperatures. The ANET acrylic frame also lifted or distorted with the bed adjustment and hot plate heating, so I fixed this by attaching the printer to a 19mm MDF board that keeps it rigidly fixed in place. I then eliminated the spring system as it was not designed for holding tension or compression settings. Instead, I mounted my Hot Bed assembly to the sliding 'H' frame with 3mm bolts and adjustment nuts, making it rigidly fixed in place. So far, no problems have occurred with the print head crashing into it. Next, I installed a glass build plate held in place with bulldog clips. However, this solution had several issues: it didn't look or function well, and there was constant concern about the print nozzle crashing into the clips. I also found that plastic filament showed great adhesion to polycarbonate plastic, so I replaced the glass build plate with 220 x 250 x 3mm polycarbonate. I machined four countersunk holes in the corners of this new build plate to accept 6mm countersunk screws. Although this may seem overkill, it was done to make it easy to remove and replace the build plate. The hold-down bolts fall outside the 220mm x 220mm ANET A8 build box. My final improvement was to add 4mm of cotton wadding insulation purchased from Ebay to the underside of the aluminium heat plate below the heating element. To keep everything in place, I designed and built corners, edge supports, and a bottom support to hold the insulation snug against the hotplate. All these parts were printed in PLA, and the corners had nuts inserted to accept the 3mm and 6mm bolts used. The result of all this is that my bed level stays constant day after day and probably would for weeks if I didn't check it every week at least. I can now also reach and hold 110 degrees Celsius for my hotbed, although this temperature isn't often used as I usually print with PLA at 60c. This results in a surface temperature of 55c on the PC build plate. The heat up time has been reduced by about 25%, and I no longer have to deal with the Heath Robinson bulldog clips. I am sure these designs can be improved upon, and I would appreciate any suggestions or improvements that others may make. One potential improvement is to reduce some thicknesses so that less filament is used and prints are quicker. It's also recommended to carefully measure the ANET 'H' frame bolt centers as they seem to vary from unit to unit. Additionally, the build plate holes on my printer were not perfectly symmetrical. I do all my modeling in Fusion 360 and can supply the solid model file if requested. Just send me a message, and I will send them through.
With this file you will be able to print ANET A8 Hotbed Insulation & Build Plate with your 3D printer. Click on the button and save the file on your computer to work, edit or customize your design. You can also find more 3D designs for printers on ANET A8 Hotbed Insulation & Build Plate.