Animation Tracing Peg Bar
thingiverse
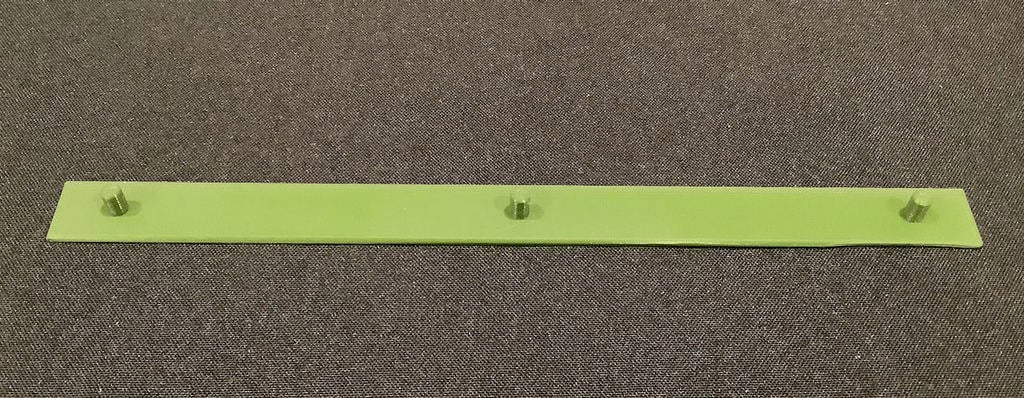
I designed this Animation/Drawing Peg Bar to enable artists to consistently line up images so they can be traced. I made it to work with a standard 3 hole punch. I made this with hand drawn animating in mind and for use with an LED Tracing Pad, but it can be used by anyone who needs to trace items and easily line them up. You will need the following: - A standard 3 hole punch - A 3d Printed Animation Peg Bar from the stl file for download - 2 Command strips (small or medium) 1. Place the two 2 Command strips in the recessed parts on the underside of the Animation Peg Bar. Be sure to place the pull tabs extending outside the edges of the bar so they can be removed in the future. 2. Attach the 2 Command strips to your desired work surface. 3. Place the picture to be traced on the pegs. 4. Place the paper you wish to picture onto on top of the item to be traced. 5. Pull Command strip tabs to remove the Animation Peg Bar.
With this file you will be able to print Animation Tracing Peg Bar with your 3D printer. Click on the button and save the file on your computer to work, edit or customize your design. You can also find more 3D designs for printers on Animation Tracing Peg Bar.