Anki Overdrive Lamborghini
thingiverse
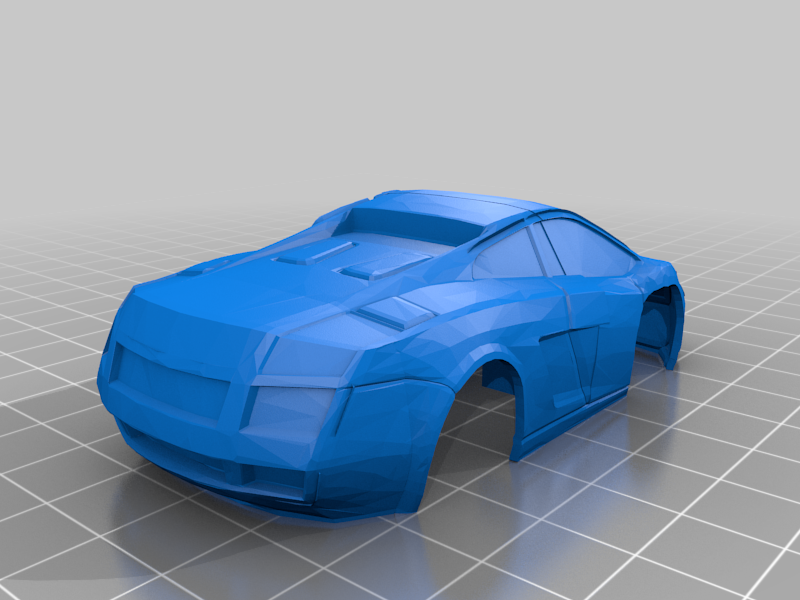
Hallo, hier einer meiner 3d gedruckten Autos für Anki Overdrive. Es sind noch Anpassungen an den Radhäusern und der Montage der Elektronik notwendig. Das ist aber keine große Sache. Für die Anpassung benötigt man : Dremel und kleine Feile, scharfe Zange 3D Stift Schraubenverbindung von einem alten Elektrogerät oder Ähnliches Superkleber ( mit Activatorspray für die Ungeduldigen^^ ) Heckspoiler ( am Bild ) ist von einem alten Modelauto angepasst worden ...oder improvisieren 1. STL ausdrucken mit der gewünschten Qualität ( 20-30% infill, 0.17 ) 2. Radhäuser und Heck mit Dremel und kleiner Zange so bearbeiten das die Anki Elektronik gut auf die Karosserie passt. Am Heck ist eine etwas stärkere Stützstrucktur, die könnt ihr dann auf die richtige Höhe mit der Zange anpassen damit Anki dann hier gut aufliegt. ( siehe Bild von Innen ) Anki am hinteren Bereich mit Isolierband abkleben und in die Karroserie setzen. Mit dem 3D Stift am Heck passend ausfüllen. Wenn es abgekühlt ist, Anki wieder herausnehmen und isolierband entfernen. 3. An der Front (siehe Bild ) einen Schraubverschluss passend montieren. Gelingt am besten wenn Punkt 2 erledigt ist, den Verschluss am Anki festschrauben und die Karosserie drauf legen. die Höhe des Verschluss dann solange nachschleifen bis es passt und verkleben. --------------------------------------------------------------------------------------------------------------- --------------------------------------------------------------------------------------------------------------- Hello, here is one of my 3d printed cars for Anki Overdrive. Adjustments to the wheel arches and the assembly of the electronics are still necessary. But that's not a big deal. For the adjustment you need: Dremel and small file 3D pen Screw connection from an old electrical device super glue with activator for all impatient ^^ ... or improvise 1) Print the STL with the desired quality (20-30% infill, 0.17) 2) Process the wheel arches and rear with Dremel and small pliers so that the Anki electronics fit well on the body. At the rear is a slightly stronger support structure, You can then adjust them to the correct height with the pliers so that Anki is in good shape here. (see picture from inside) Mask Anki at the back with insulating tape and place in the bodywork. Fill in with the 3D pen at the rear. When it has cooled, remove Anki and remove the insulating tape. 3) Fit a screw cap on the front (see picture). The best way to do it is when point 2 is done, screw down on the anki and place the body on it. then grind the height of the clasp until it fits and glue. Rear spoiler (on the picture) was adapted from an old model car ......or improvise Sry for the Google translator
With this file you will be able to print Anki Overdrive Lamborghini with your 3D printer. Click on the button and save the file on your computer to work, edit or customize your design. You can also find more 3D designs for printers on Anki Overdrive Lamborghini.