Antec P6 PC Case Front Panel Airflow Mod
thingiverse
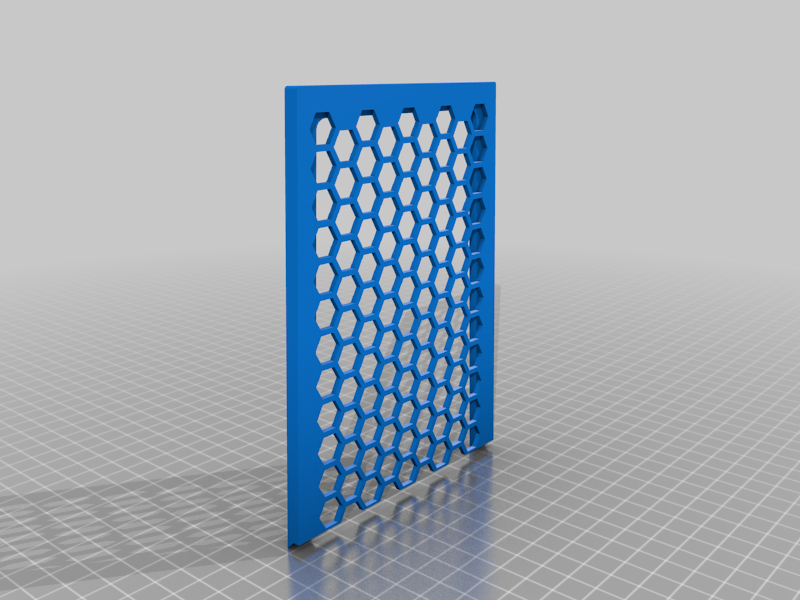
This panel replaces the solid steel panel originally installed on the Antec P6 mATX computer case. Airflow to any installed front fans will be greatly increased. The LED Antec logo projector must be removed for this mod. I split the front panel in two to allow it to be printed on the 220x220 area of my Ender 3. Fixes using the original screws that held the steel panel in place. Installation process: 1) Remove front panel by pulling firmly on the recess at the bottom, it is only held on by clips. Be careful not to pull on or damage the cables to the Power buttons, USB & Audio ports. 2) Unscrew, unplug and remove the shroud and leds that project the Antec logo. 3) Unscrew the 6 screws that fix the steel panel into the front panel. 4) Using the screws you just removed run them in and out of the 3D printed part's holes to add threads. 5) Install the new 3D printed mesh panels into the case front panel using the original screws. Lower one first. 6) Line up the clips on the front panel with those on the case and push firmly to re-install. Fusion360 files are included if you wish to use a different mesh pattern or add your own logo or other aesthetic touches.
With this file you will be able to print Antec P6 PC Case Front Panel Airflow Mod with your 3D printer. Click on the button and save the file on your computer to work, edit or customize your design. You can also find more 3D designs for printers on Antec P6 PC Case Front Panel Airflow Mod.