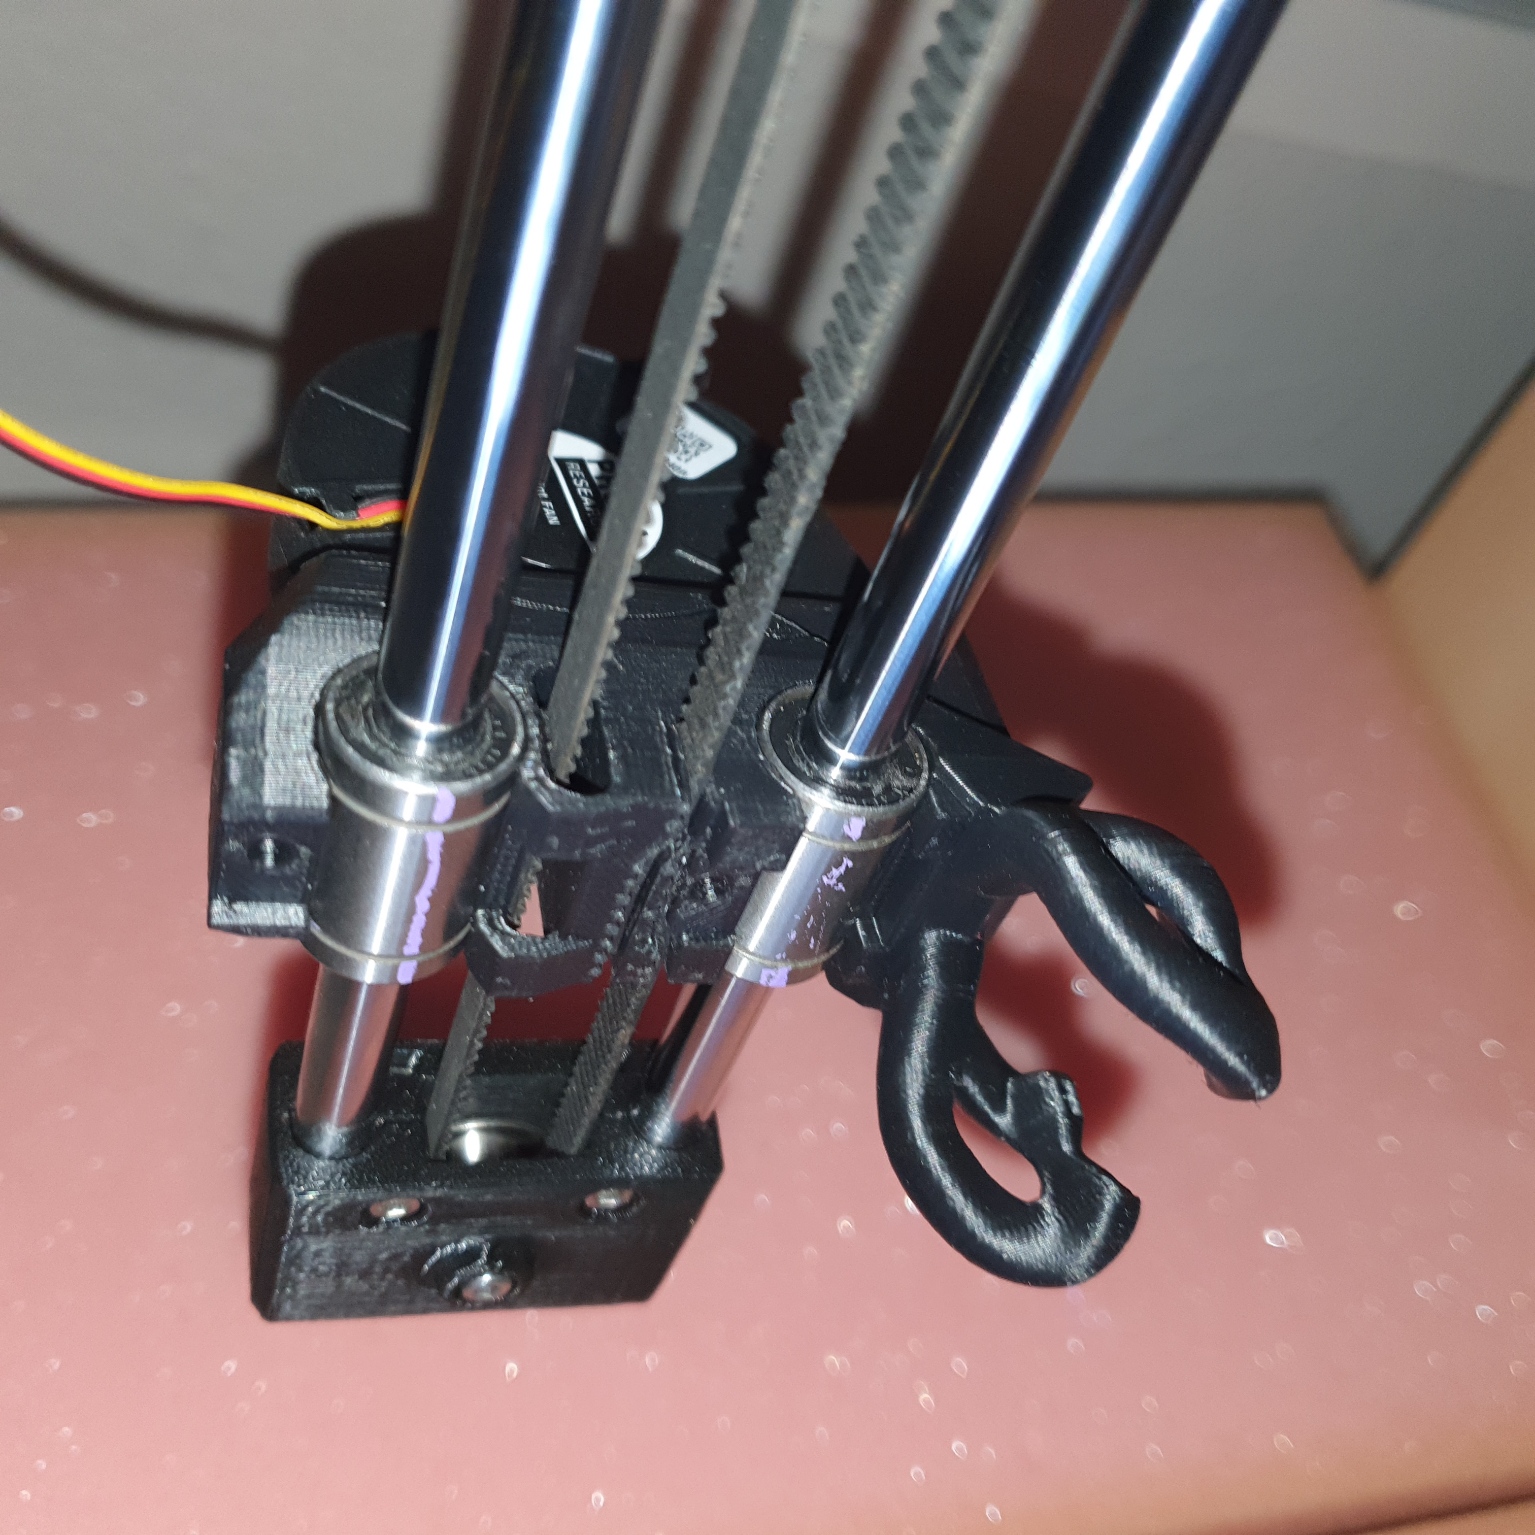
Antler-Duct for Prusa Mini Revo
prusaprinters
<p>This duct is designed to work with the <a href="https://www.prusaprinters.org/prints/117149-revo-micro-prusa-mini-upgrade">official e3D Revo Micro upgrade</a>, <a href="https://www.prusaprinters.org/prints/125103-prusa-mini-revo-micro-upgrade-e3d-mod">my mod</a> and <a href="https://www.prusaprinters.org/prints/139413-prusa-mini-revo-micro-upgrade">my custom mount</a>.</p><p>It needs to be printed using a temperature resistant material (ASA/PA/…). The model is optimized for 0.4mm nozzles and the 3mf contains variable layer height adjustments for clean overhangs.</p><p>Supports are not necessary.</p><h4>Assembly:</h4><p>If you haven't already removed the print-head follow the <a href="https://help.prusa3d.com/en/guide/4-print-head-heatbed-assembly_201450">guide</a> in reverse order.</p><ul><li>To replace the old x-carriage, <a href="https://help.prusa3d.com/en/article/adjusting-belt-tension-mini_157324">loosen the belt tension</a>.</li><li>Then pull out the belt. (Maybe mark the positioning.)</li><li>Now you should be able to slide out the bearings.</li><li>Insert the nuts.</li><li>Slide the new carriage onto the bearings.</li><li>Push the belt ends back to their place.</li><li>Readjust the belt tension.</li></ul><p>You can use the <a href="https://help.prusa3d.com/en/guide/3-x-axis-extruder-assembly_199519">assembly manual</a> for reference.<br><br>Now you can mount the print-head.</p>
With this file you will be able to print Antler-Duct for Prusa Mini Revo with your 3D printer. Click on the button and save the file on your computer to work, edit or customize your design. You can also find more 3D designs for printers on Antler-Duct for Prusa Mini Revo.
