Anycubic 4Max Pro E-steps calibration gauge
thingiverse
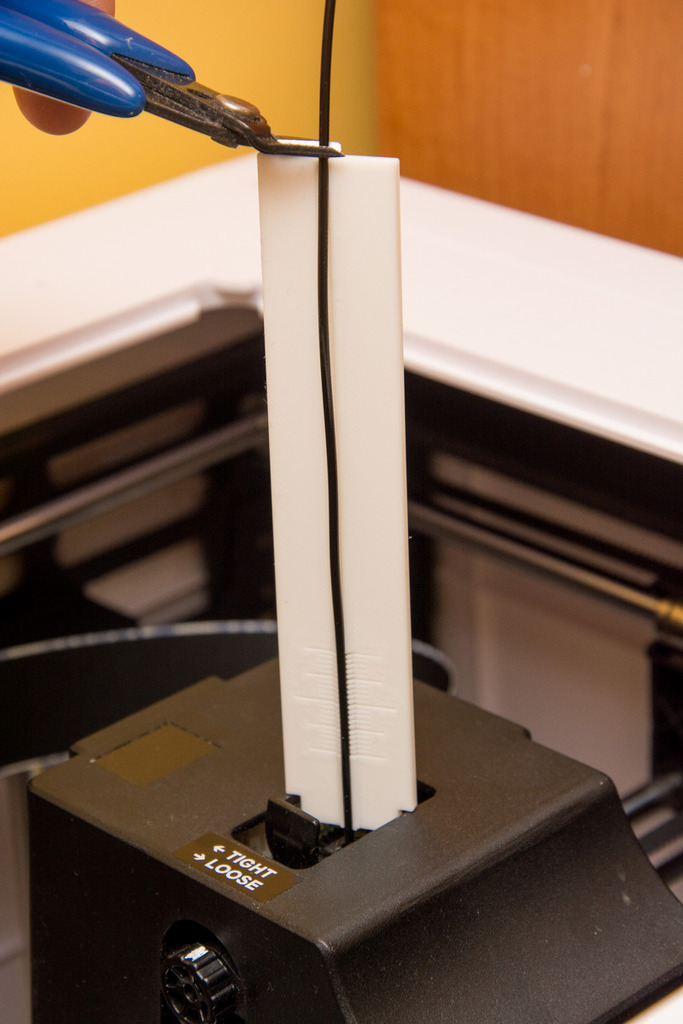
A simple tool for easy and precise E-steps calibration on the Anycubic 4Max Pro. Calibration procedure: -------------------------- 1. Heat up the nozzle to the standard temperature for the material used. 2. Insert filament into the extruder and push some through the nozzle to prime it. 3. Place the gauge over the extruder hole, stretch the filament and cut it flush with the top surface. 4. Remove the gauge. 5. Extrude a 100mm of the filament (use `G1 E100 F100` command) 6. Place the gauge back and check the filament position: - the longest line is exactly at 100mm, the smaller lines are 1mm apart. 7. Calculate the actual extruded length: - if the end of the filament is for example 3 lines **above** the center line then the extruded length is 100mm - 3mm = 97mm - if the end of the filament is for example 5 lines **below** the center then the extruded length is 100mm + 5mm = 105mm 8. Calculate the new E-steps value and set it in the firmware. 9. Repeat 1-8 to check if the new value is correct or if it still needs some adjustment.
With this file you will be able to print Anycubic 4Max Pro E-steps calibration gauge with your 3D printer. Click on the button and save the file on your computer to work, edit or customize your design. You can also find more 3D designs for printers on Anycubic 4Max Pro E-steps calibration gauge.