Anycubic Chiron Light System
thingiverse
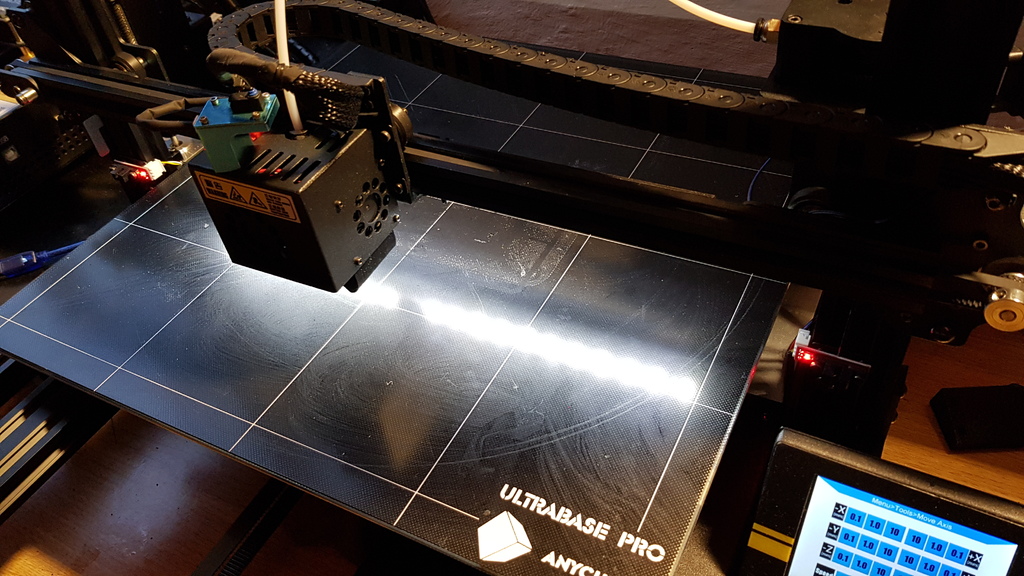
This is my new design to add a light on the X-Axis of the Anycubic Chiron 3D printer. To make this you require the following materials: -PLA/ABS/PETG for the support that holds the LED Strip (Black it's suggested) -PLA/PETG TRANSPARENT COLOR (Transparent neutral is better) for the Light diffusor -LED Strip 35cm lenght -3 screws M4 -3 T-nuts -2 couple of 2 wires connectors -about 60cm of wires red/black AWG26 or similar type (black is better) If you use a 24V volt you are ok. If you have a 12V LED Strip (like me) You need also a StepDown power supply (3 euros in internet) to transform thw 24V to 12 V You can take the power directly from the head box of the Chiron with the red/black wires and following the cable path (chain guide) to the light system. In the Head Block you can find the +24V on pins 2,4,6 or 8 and the GND(-) on pins 14 or 15 of the BIG-RED connector that connects the headblock to the Chiron Body. The Pin1 is marked on the PCB with a square. The pins are so distribuited: Square Pin v 1 3 5 7 9 11 13 15 2 4 6 8 10 12 14 16 |...|..| ...............|.....| ...+24V................GND(-) WARNING: Make the job with power supply OFF and before to switch ON make a double check of the connections. EDIT: Here: https://cdn.thingiverse.com/renders/37/86/86/cf/08/cb95278397db27d3829e8235c6da0f97_preview_featured.jpg I've added a photo to help you.
With this file you will be able to print Anycubic Chiron Light System with your 3D printer. Click on the button and save the file on your computer to work, edit or customize your design. You can also find more 3D designs for printers on Anycubic Chiron Light System.