Anycubic Kobra Max ploter
thingiverse
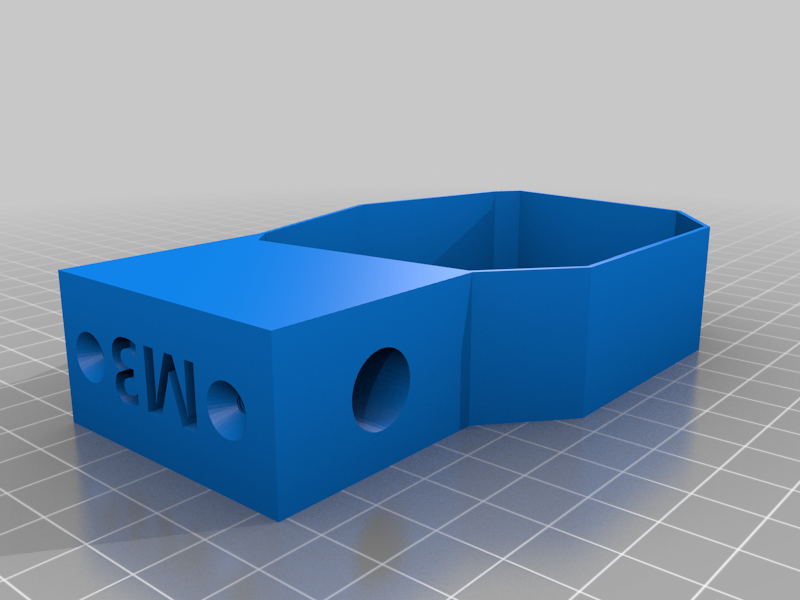
EDIT: it's a little bit to small, i will be working on this project to improve it. ___ this is work in progress plotter for pen max 12mm diameter holding with two M3 screws ___ <h4>Instructions (After mounting a pen/ marker):</h4> 1. Drop image (png/ jpg) to cura, then set smoothing to "0" 2. Click on image> scale> set 'Uniform scaling' to "NO", set X and Y scale according to your preferences. Then Z to 0.1 3. Change 'nozzle size' to size of your pen/ marker 4. Change Settings in slicer (i using Cura Ultimaker) /or download my settings ... 5. Click MARKETPLACE, search "Z Offset Setting" and add to cura. restart cura (Save settings). After restart search "Z Offset" in your settings and set it (that is distance between end of the nozzle and end of the pen (pen have to be lower than nozzle to avoid rubbing the nozzle against e.g. paper on the table) 6. Click slice (sometimes its shows 0min, 0filament - its normal) and save the file to sd card. 7. Turn on the printer> REMOVE FILAMENT!> Cool down printer> 8. Print your file, keep your hand on the "Z-offset" button, when pen/ marker touching to hard built plate click "+".. when pen/marker don't drawing, click "-" ___ <h4>Settings:</h4> Program: Cura UltiMaker (-"- =this symbol means the same setting as above) <h1>• QUALITY:</h1> Layer height: 0.1 Initial Layer Height: 0.1 Line width: (the same what Pen width) Wall line width: -"- Outer Wall line width: -"- Inner: -"- Top/B: -"- Inf.: -"- Initial layer line width: 100% <h1>• WALLS:</h1> Wall thickness: (the same what Pen width) Wall line count: 1 ... ... ... ... ... Print thin walls = ✔️ ... ... ... ... ... <h1>• TOP/ BOTTOM:</h1> .. .. Top Layers: 0 Bottom thickness: 0.0 Bottom layers: 99999 Top bottom pattern: lines Bottom pattern initial layer: lines ... ... ... ... Enable ironing: NO! ... ... ... ... ... ... ... ... ... ... <h1>• INFILL:</h1> Infill density: 100% Infill line distance: (the same what Pen width) Infill pattern: lines ... ... ... ... ... ... ... ... ... ... ... ... ... ... ... ... <h1>• MATERIAL:</h1> Printing Temperature: 0.0 C Printing temperature initial layer: -"- Initial printing temp: -"- final printing temp: -"- Build plate temp: -"- Built plate temp initial layer: -"- ... ... ... ... ... ... ... ... ... ... ... ... ... ... ... ... ... <h1>• SPEED:</h1> Print speed: (you can decide) eg. 25mm/s Infill speed: -"- wall speed: -"- Outer wall speed: -"- Inner wall speed: -"- Top/Bot speed: -"- Travel speed: -"- initial layer speed: -"- initial layer print speed: -"- initial layer travel speed: -"- ... ... ... ... ... ... ... ... ... ... ... ... ... Enable Jerk control: ✔️ Print Jerk: (don't set this too much) eg. 8mm/s -"- -"- -"- -"- -"- Travel Jerk: (don't set this too much) eg. 8mm/s -"- -"- -"- <h1>• TRAVEL:</h1> Enable retraction: ✔️ Retraction at layer change: NO ... ... ... ... ... ... ... ... Combining mode: ALL Retract before outer wall: NO ... ... ... ... ... Z Hop when retracted: ✔️ Yes!!! Z Hop Only over printed parts: NO Z Hop Height: e.g. 4mm <h1>• COOLING:</h1> Enable print cooling: NO ... ... ... ... ... Lift Head: NO <h1>• SUPPORT:</h1> Generate support: NO <h1>• BUILD PLATE ADHESION</h1> Build plate adhesion type: none <h1>• DUAL EXTRUSION:</h1> <h1>• MESH FIXES:</h1> UOV: ✔️ RAH: NO ES: NO KDF: NO ... ... Remove Empty First Layers: ✔️ ... ... ... ... <h1>• SPECIAL MODES:</h1> ... Mold: NO Surface type: normal Spiralize outer contour: NO Relative extrusion: NO <h1>• EXPERIMENTAL:</h1> Slicing tolerance: Middle ITO: NO EDS: NO MOP: NO EC: NO FS: NO 0 100 UAL: NO Wipe nozzle: NO Small hole max size 0 Alternative wall directions: NO ___ <h3>Known Issues:</h3> - 1. At the end of the "Print" pen making line on (e.g.) paper.. a think it can be fixed by editing "end g-code" in "Machine Settings" tab in cura. ___ If you have any questions- ask in the comment section :) If you did my project, post a picture If you like this, click "Like" If you want to donate me: https://paypal.me/dawswa ___ <h1><3
With this file you will be able to print Anycubic Kobra Max ploter with your 3D printer. Click on the button and save the file on your computer to work, edit or customize your design. You can also find more 3D designs for printers on Anycubic Kobra Max ploter.