Anycubic Linear Plus (V2) with Marlin 1.1.9 - "correct" - updated
thingiverse
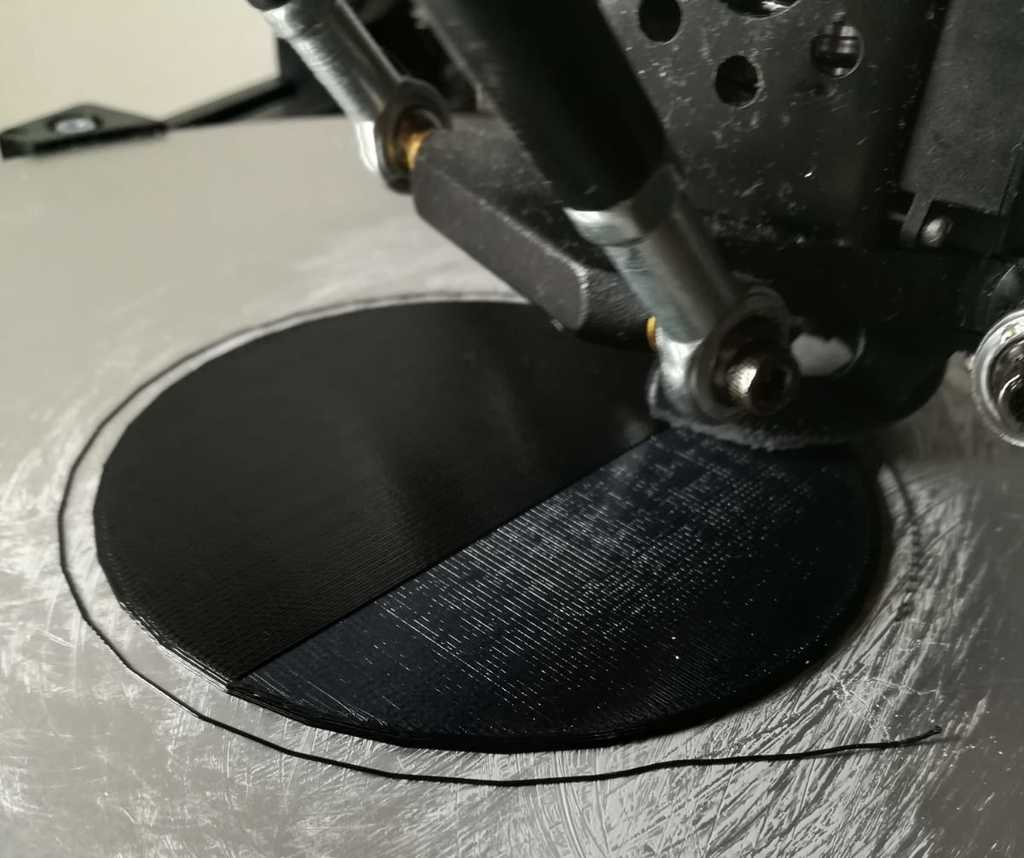
Update: after few complaints and check it seems old cfg files are not compatible with newest Marlin.\r\nHere are updated cfg files too.\r\n\r\nLinear Plus (V2) with Marlin 1.1.9 - "correct" edition\r\n\r\nDisclaimer: Everything you do, you do it at your own risk. This setup perfectly works on my printer, but it does not mean that it will work for you too.\r\n\r\nThis version is for Linear Plus with V2 leveling sensor (15,9 mm).\r\n\r\nSo we have a plenty of custom Marlin versions for our Linear Plus printers, but the problem is that every one of them is not working entirely correctly. I had tried many different versions and spent days testing, but I learned a lot.\r\nMost custom Marlin firmwares are derivatives of Pulley version, and the best near shot was DaHai's version, but it's based on Pulley too.\r\nSo I took his version because thermal, PID, and thermal protection are properly configured, and I reconfigured it for my Linear Plus with V2 leveling sensor.\r\n\r\nOf course, to use this setup, you will need Arduino IDE, stock Marlin, and a USB connection with your printer over PC. Download official versions from the official sites. I won't explain how to use and configure Arduino IDE and Marlin; there are many videos and articles that can help you.\r\nRequired configuration files (Configuration.h and Configuration_adv.h) are in attachment.\r\n\r\nWhat I did with Config files:\r\n\r\n- Rod length - which is the most important data for deltas made by AnyCubic for Linear Plus is exactly 267mm. I measured my rods, and they are 267mm. Based on this information, auto-leveling and predefined data, Marlin automatically calculates every parameter on your printer.\r\n\r\n- Maximized auto-leveling and calibration procedure - AnyCubic heat beds are uneven. Even if you use glass, your printer frame is not perfect. Seven-point calibration with bed leveling does a really good job.\r\n\r\n- Maximum acceleration - in Pulley version acceleration is too low. Our linear with rod and sliders is much faster and more precise. I set it to the original AnyCubic max default acceleration; you can decrease but not increase over maximum in slicer, because it's already on maximum in firmware.\r\n\r\n- Bezier curve support activated - in combination with S curve function, based on my test prints, it can give slightly better print quality at higher speeds.\r\n\r\n- Linear Advance activated (v 1.5) - but set to 0 so you can modify it over in slicer. Explanation and how to use it is here: http://marlinfw.org/docs/features/linear_advance.html\r\n\r\nHere are the measurement result: https://streamable.com/rj35b\r\nAnd some test print results:\r\nhttps://cdn.thingiverse.com/assets/1f/71/51/7b/39/WhatsApp_Image_2019-05-02_at_18.21.411.jpeg\r\nhttps://cdn.thingiverse.com/assets/80/70/6e/38/d8/WhatsApp_Image_2019-05-02_at_18.21.41.jpeg\r\n\r\nGood luck and have fun!
With this file you will be able to print Anycubic Linear Plus (V2) with Marlin 1.1.9 - "correct" - updated with your 3D printer. Click on the button and save the file on your computer to work, edit or customize your design. You can also find more 3D designs for printers on Anycubic Linear Plus (V2) with Marlin 1.1.9 - "correct" - updated.
