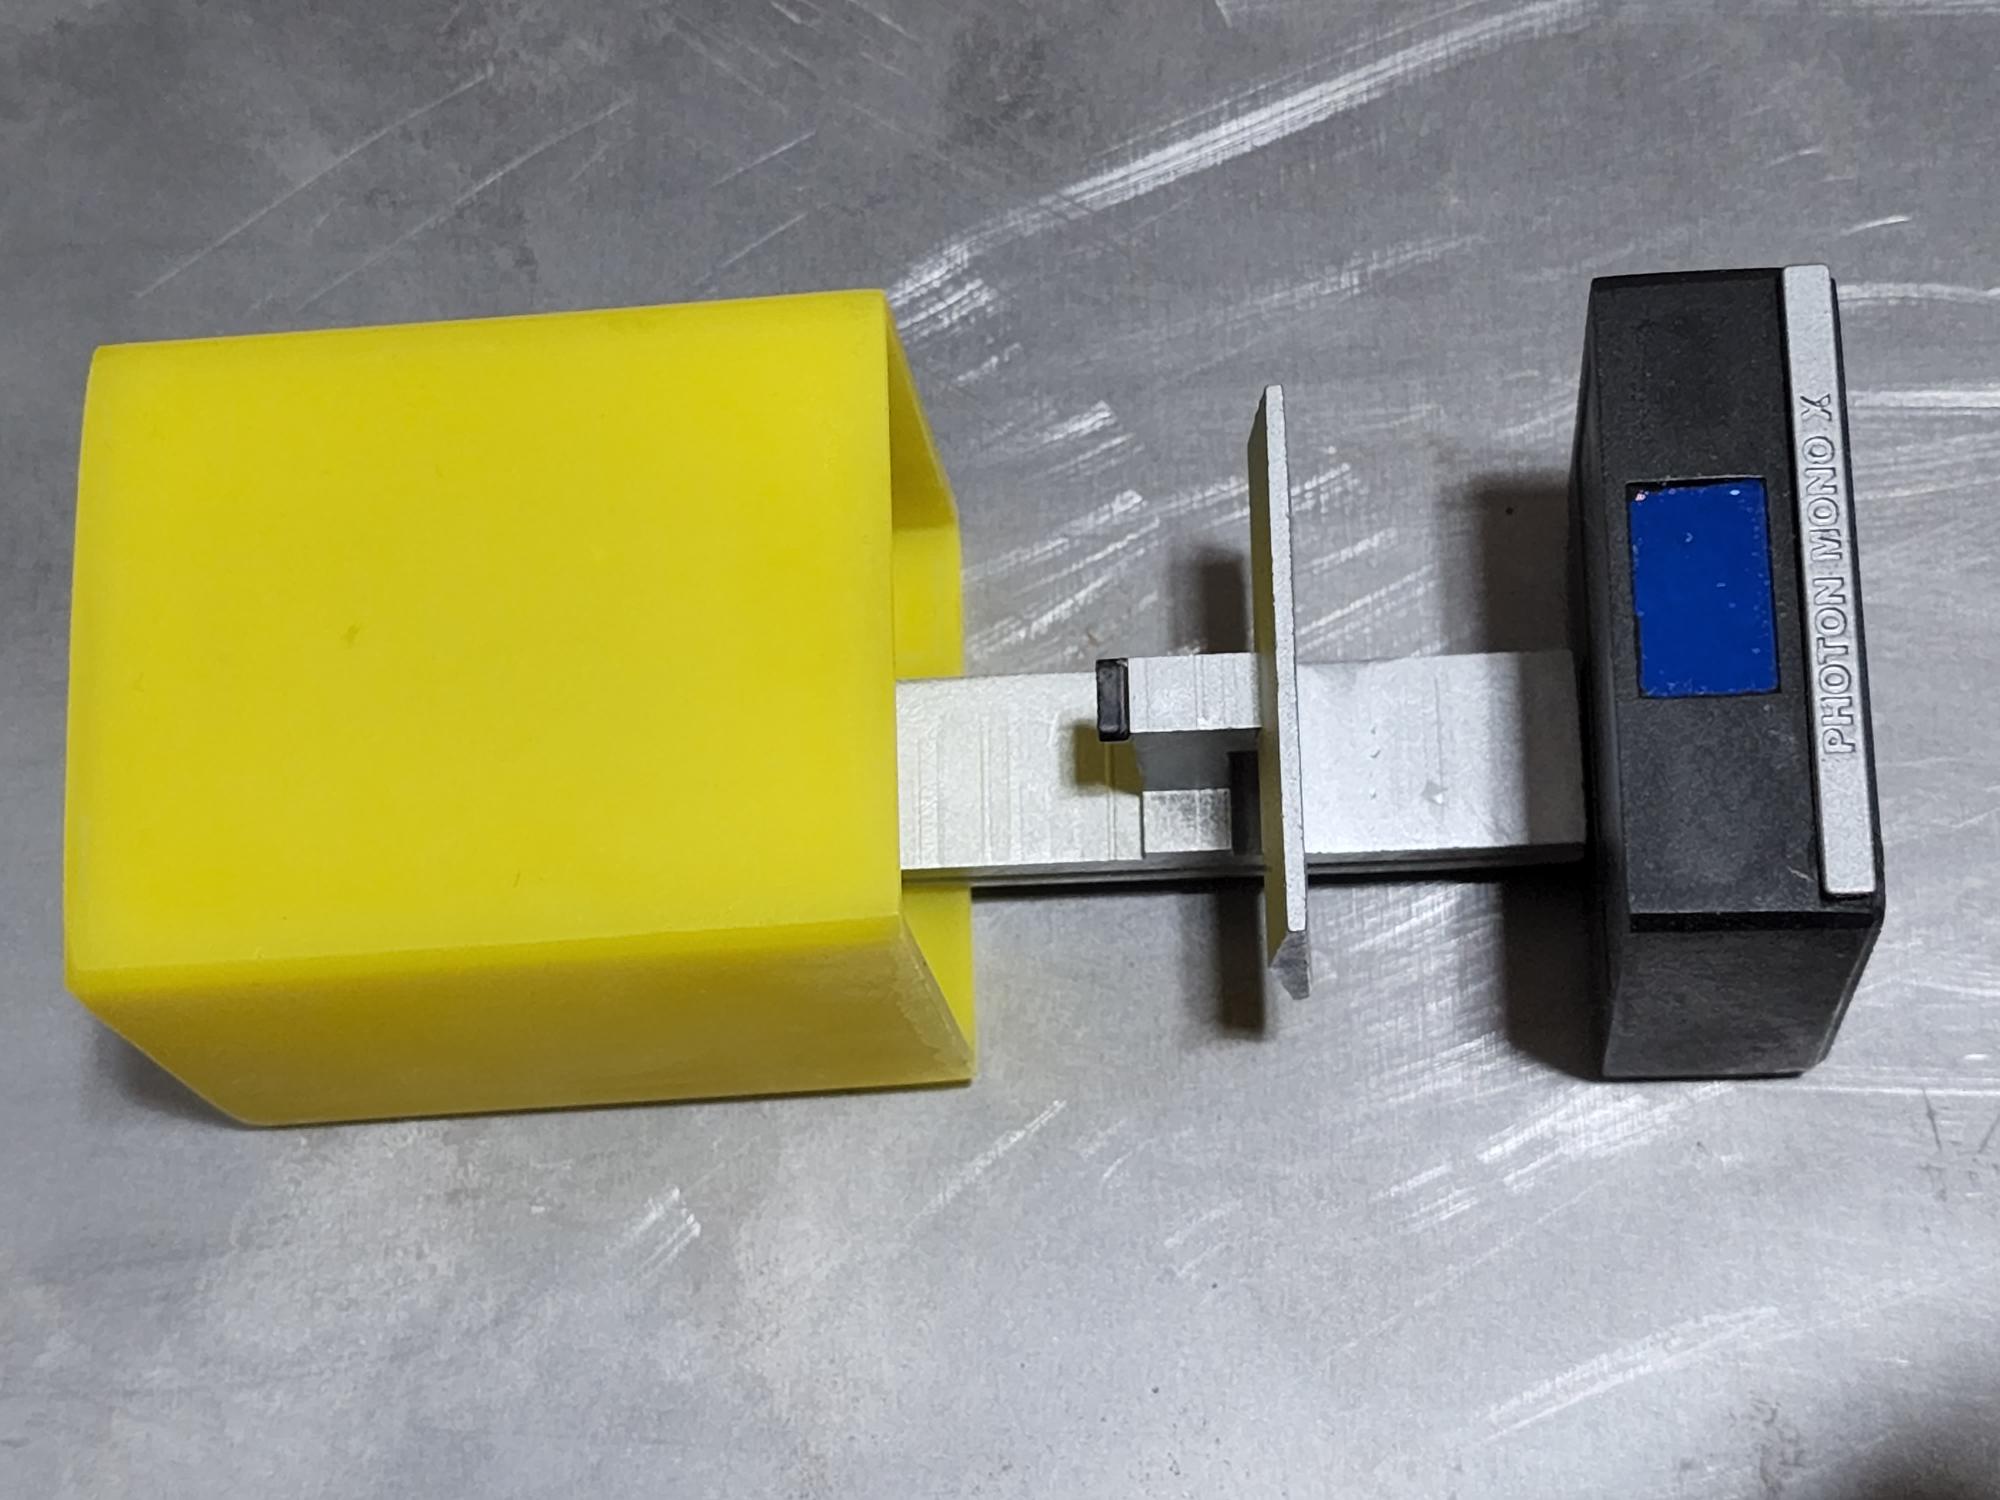
Anycubic Photon Mono X Magnet
prusaprinters
<p>My first attempt at a printables contest. I may be barking up the wrong tree with this one, being a resin printer and all but i thought it was a pretty fun idea and i like how it turned out. The base has spaces for up to 3 magnets, 6mm x 6mm deep, it will hold itself up with a single magnet, even with 100% infill but i wanted to give people the option as to how strong they wanted it to be, i ended up using 2 magnets on the base. The opening is 5mm deep so the magnet will protrude 1mm out. The lid has a spot for a single 6mm x 2mm deep magnet. Again the hole is 1mm deep so that 1mm sticks out. Together they can sit together with the lid on, or slide the lid up like some of the images shown here.</p><p>I printed the base in Siraya Tech Easy (Obsidian Black), The lid was the yellow resin from inland, and the z axis and nameplate were printed with Siraya Tech Fast resin in grey. Those pieces i subsequently spray painted a metallic color. The base has a 4mm diameter peg, 6mm tall and the Z axis has the hole for this peg, again 6mm tall but 4.25mm diameter. I put a couple drops of Gorilla Glue (Gel super glue) to hold this in place, as well as the name plate. The name plate has a recessed space for mounting it, I'm not sure how well filament printers will do with that piece being such a small detail. The printer magnet overall is sturdy and not flimsy at all, i'm pleased with the outcome and this was a fun project!</p><p>The Base, Lid and Nameplate can print directly on build plate, the Z axis will need some supports. I had so many extras as i printed them in different orientations to see what worked best for me. Laying the Z-Axis at a 45º Angle leaning on its back yielded me the best results.</p><p>I painted the front screen with blue testors paint, and then the black screw knob for the build plate in black, otherwise just clear coating the colored resins on the base and lid.</p><p> </p><p>Please share a make if you decide to try this out!</p><p>Link to 6mm diameter x 6mm magnets: <a href="https://www.amazon.com/Refrigerator-Technology-Projects-Personalized-Multi-Function/dp/B07KLV4D3D">https://www.amazon.com/Refrigerator-Technology-Projects-Personalized-Multi-Function/dp/B07KLV4D3D</a></p><p>Link to 6mm diameter x 2mm magnets: <a href="https://www.amazon.com/FINDMAG-Refrigerator-Magnets-Premium-Whiteboard/dp/B075RZ82HP">https://www.amazon.com/FINDMAG-Refrigerator-Magnets-Premium-Whiteboard/dp/B075RZ82HP</a></p><p>(You could get away with purchasing the 6x2 magnets and adding a drop of glue to them as well)</p>
With this file you will be able to print Anycubic Photon Mono X Magnet with your 3D printer. Click on the button and save the file on your computer to work, edit or customize your design. You can also find more 3D designs for printers on Anycubic Photon Mono X Magnet.