Anycubic Photon S - Adjustable Feet
thingiverse
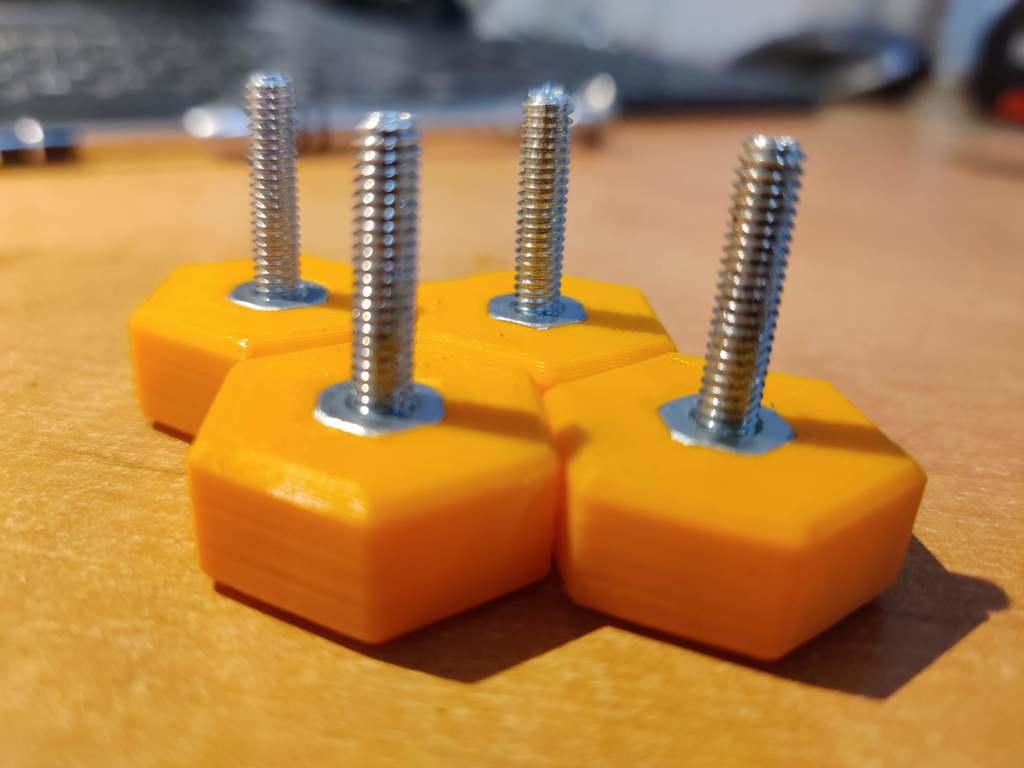
Resin printers need to be level due to the liquid they use. So I was surprised when the Anycubic photon S did not come with adjustable feet. Taking off the rubbers reveal that there is a small hole that could easily have taken a screw foot. So this is what this is, a super simple adjustable foot. You will need some basic tools to assemble since I made the tolerances press fit to keep things tight: - Hammer or rock, to press in the nuts - Hand drill (makes things easier) - 8-32 NC thread cutter (you could try your luck with just using the screw to form the threads, but using a tap and die set will work better) - 7/8" wrench (or pliers) hardware needed: - 4x 8-32 x 1" machine screws (easily found at any hardware store) - 4x 8-32 nut (again hardware store) Once printed, use some tweezers to clean up the overhang mess at the holes ... no point in using any scaffolding or supports here, doesn't need to be pretty because it's just for the screw to hide in. I recommend putting the circular hole down. Start by using the tap to cut out the treads on the nuts. Do the same to the printer after you take out all 4 ruber feet. Save the feet, we'll add them to the bottom of the adjustable feet. Smash in the nut into the nut hole. That's a tight fit. Designed that way so it stays in there. Then drill in the screw, be careful to get the nut and not pop it out. screw nice and tight. the head of the screw should be out of the way so you can stick back on the rubber feet. Install all 4 feet, then level your printer. Enjoy!
With this file you will be able to print Anycubic Photon S - Adjustable Feet with your 3D printer. Click on the button and save the file on your computer to work, edit or customize your design. You can also find more 3D designs for printers on Anycubic Photon S - Adjustable Feet.