Anycubic Predator Filament Sensor Relocation
thingiverse
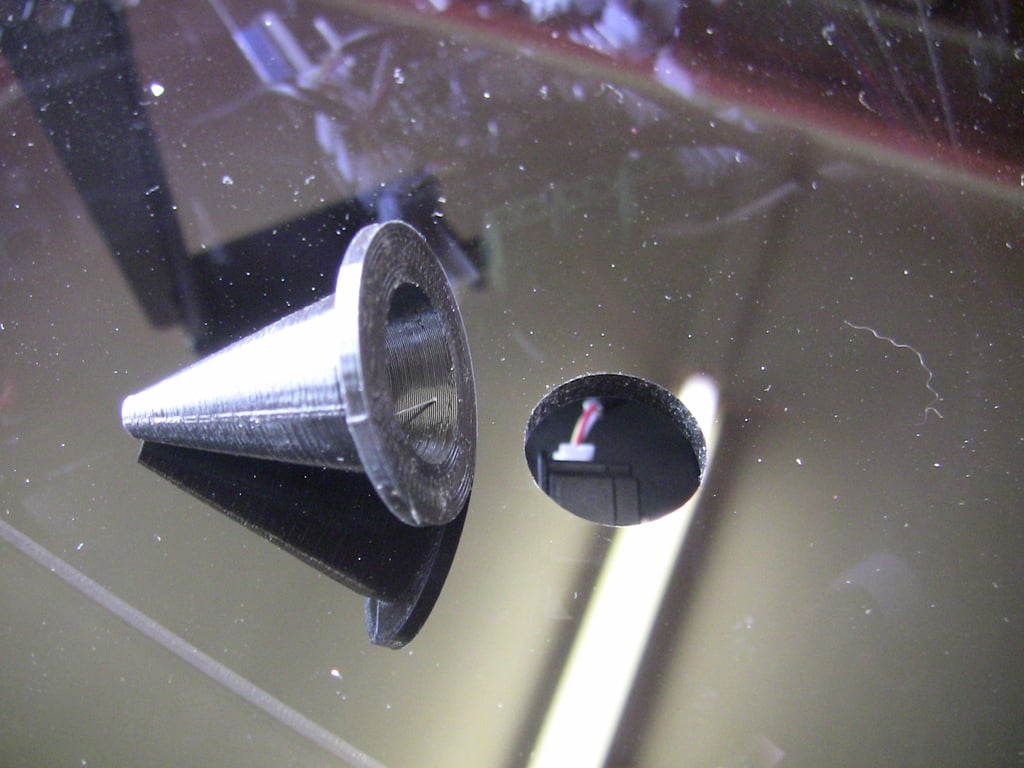
A Simple Solution to Prevent Screaming at Your Predator. This practical fix requires just one crucial tool to move the filament sensor from its original location above the top of the printer and re-house it inside the control box. 1. Print the provided funnel-shaped filament guide. (Choose from two options.) 2. Remove the acrylic cover on top of the printer. 3. Take out the short length of bowden tube and its connector, as they're no longer needed. 4. Remove the existing filament sensor and its mounting bracket, keeping only the two screws for re-use. 5. Unplug only the filament sensor wires from the cable tidy and reroute them back through the hole they came from into the cavity on top of your machine. 6. Reinstall the filament sensor (with its bracket upside down) in the same location it used to be but INSIDE the top of the machine instead of underneath it. 7. Secure the printed funnel in the large hole in the acrylic cover with a bit of hot glue or similar adhesive. The funnel is designed to automatically guide newly inserted filament directly into and through the sensor without manual intervention. 8. Replace the lid, and you're done. The primary benefits of this mod are automatic threading of the filament through the top box and sensor, and when a print finishes and the effector returns to its home position, the unused coil of filament can no longer snag the sensor and/or its bracket, preventing potential damage or stress during subsequent prints. See also my cable tidy for the same printer at https://www.thingiverse.com/thing:3624495
With this file you will be able to print Anycubic Predator Filament Sensor Relocation with your 3D printer. Click on the button and save the file on your computer to work, edit or customize your design. You can also find more 3D designs for printers on Anycubic Predator Filament Sensor Relocation.
