Anycubic Predator Head for Precision Piezo probe
thingiverse
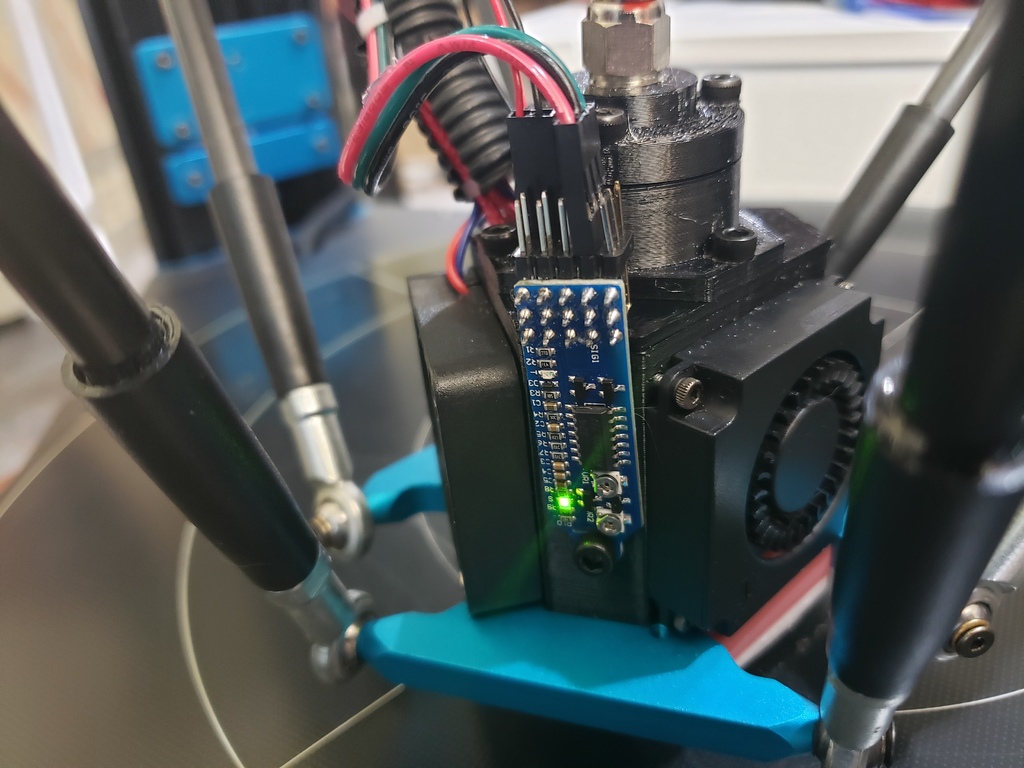
I designed this so you can use a piezo probe on the Anycubic Predator. Since the head is close to the heater cartridge, I recommend printing this in PETG or ABS (or any other material that can withstand high heat). **Update 1 (2020-07-13):** A taller "pusher" piece was added, and it's easier to print. It doesn't have a hollow inside that requires supports. **Update 2 (2021-04-26):** An easier-to-print version of the cap was added that doesn't require supports. This design is based on the stock V5 heatsink that comes with the Predator. You'll need a few M3 screws to assemble this, and I used a variety pack of M3 screws. There's no screw hole for the PCB as there are several different variations of the PCB, and I didn't want to limit it to one particular version. I ended up drilling a small hole in the body for mine and using an M3 screw to hold the PCB in place. You'll want to ensure that the round inner parts are smooth and don't have any rough areas or seam lines that stick out. You may need to file or sand around the round areas to ensure that the heatsink can slide up and down. This design works by allowing the heatsink to press up into the piezo, and when pressure is applied to the piezo, it creates an electrical signal and triggers the input on the printer control board. The pieces are numbered and will be layered in numerical order. For the "Cap" piece, I found it best to print with the small side down and use supports to support the ridge. The main body can be printed without supports. This is still in "**beta**" and if you run into any issues, please let me know and I'll try my best to fix them. This is my first time creating something serious in Fusion 360 so I'm sure there's room for improvement. You can see a video of it in action here: https://youtu.be/DjwPmbu6IKk **Assembly Notes** 1. Make sure that the heatsink can slide up and down fairly easily. The head is designed to hold the head steady horizontally, but should be able to move up and down. If it doesn't move easily, you will have to sand or file some of the parts so that they are smooth. 2. Don't overtighten the top piece. It should apply pressure to the piezo disc on top of the heatsink, but you don't want to bend it too much. The idea is that when the nozzle makes contact with the bed, it will cause the piezo to bend slightly. I am using the recommended probing speed range of 4~7mm/s, so it's essential that the heatsink can push up on the piezo as it doesn't make much of a sound at that slow speed. 3. Make sure to properly calibrate the potentiometers on the piezo circuit board. You should be able to press up on the nozzle with your finger and trigger it.
With this file you will be able to print Anycubic Predator Head for Precision Piezo probe with your 3D printer. Click on the button and save the file on your computer to work, edit or customize your design. You can also find more 3D designs for printers on Anycubic Predator Head for Precision Piezo probe.