AOKoda 150W Discharger For Lipo Batteries
thingiverse
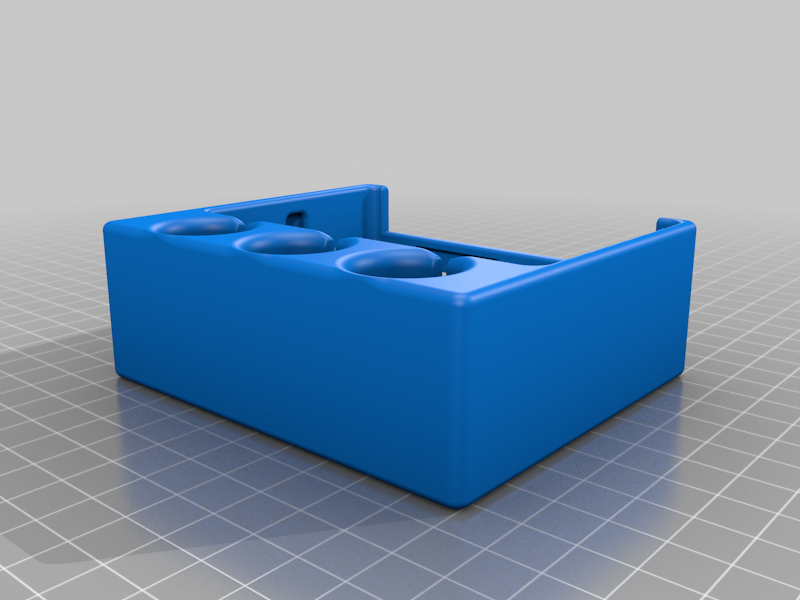
Thanks to @Mhodder for the original model AND posting STEP files so I could easily edit them!!! I made the following changes to dramatically reduce the BOM and assembly time: * No soldering needed! Just seat the controller box right into the model * Prints in a single piece * Only 6x screws needed, screw directly into plastic. No nuts required (can still use optionally) * No need to source an XT60 connector as I'm reusing the one already on the controller box **Assembly** 1. Using 6x 4-40 cap screws to assemble the bulb holders onto the main housing. Be careful not to over-tighten as the ceramic housings can crack. 2. Connect the two pin pwm cable to the controller box. 3. Carefully route the light bulb wires in the slots and line up the two pin pwm cable from the controller with the slot in the housing. 4. Insert the controller box into it's space on the model 5. Connect the other end of 2 pin cable to the discharger 6. Press the discharger into the main housing, ensure that no wires are pinched. 7. Place the light bulbs in the storage compartment and install cover.
With this file you will be able to print AOKoda 150W Discharger For Lipo Batteries with your 3D printer. Click on the button and save the file on your computer to work, edit or customize your design. You can also find more 3D designs for printers on AOKoda 150W Discharger For Lipo Batteries.