Aqara Temperature Sensor AA Battery Adapter
thingiverse
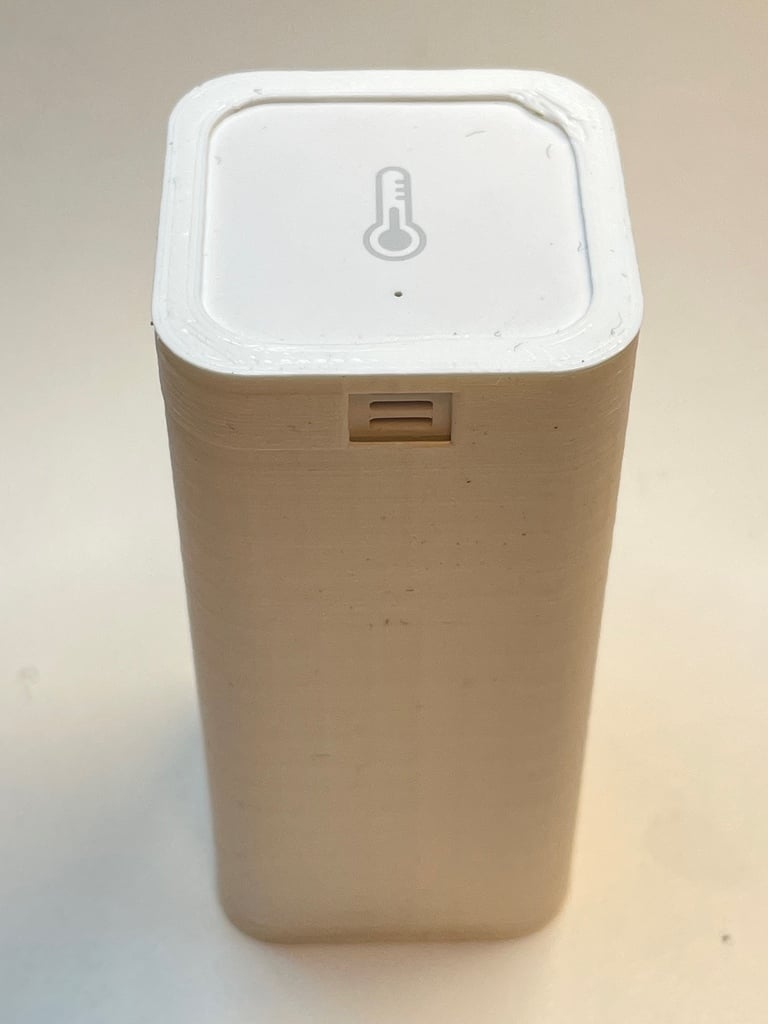
The Aqara temperature/humidity sensors are great but I needed to change battery in the one in my freezer far too often so I made this AA adapter. The idea was to power a completely unmodified sensor from a pair of AA batteries. You need the following * 1x small piece of copper tape * 2x short wires * 1x 10mm M3 counter sunk screw * 2x 5mm M3 counter sunk screw * 1x 2xAA battery holder for the battery terminals and springs * 2x AA batteries (obviously ;) * solder and iron 1. Print everything, support should not be needed for any of the parts. Print the battery clip holders standing up. 2. Remove the battery terminals and springs from the AA battery holder. 3. Cut two small strips of copper tape that will enable the "dummy CR2032" to act as just that.  4. On the back side of the dummy CR2023, solder the wires to the copper tape as shown in the image (lots of flux helps). Note the location of the red and black wires. You probably do not want to reverse power the Aqara sensor as it might not survive.  5. Place the spacer on top of the faux CR2032. This part is for creating room for routing the wires.  6. Place the loose battery terminal and battery springs on the lower clip holder. 7. Place the lower clip shroud on top of the spacer, allow the wires though and solder the wires to the battery terminals. The red wire goes to the spring, the black to the other terminal  8. Insert the M3x8 screw from the bottom of the dummy CR2032 and tighten. 9. Remove lid and real CR2032 from the Aqara sensor. 10. Insert the Aqara sensor and dummy AA battery pack into the sleeve, minding the orientation of the sensor. Make sure the 3D printed parts and the Aqara are joined when placing in the sleeve as you might bend the Aqara battery clips otherwise. You need a bit of force towards the end to get past the narrow part. Its purpose is to keep the AA compartment in place. 11. Insert the AA compartment, making sure you get the orientation right wrt. the battery terminals. It is perfectly ok to rotate it 180 degrees. 12. Insert the top battery terminal into the holder and super glue the holder to the upper shroud. Mind the orientation in the image. The notch is there to make sure you do cannot rotate the top part 180 degrees. [](https://cdn.thingiverse.com/assets/ad/28/b2/3a/f5/featured_preview_11e0136c-4a9e-41ea-9175-1dbc92cc4658.jpg) 13. Insert batteries, place the upper shroud and fasten using the M3x5 screws. 14. The sensor should come alive, try pressing on the tiny button and the blue LED on the top of the sensor should flash. If you are uncertain about getting the polarity correct, assemble everything except the sleeve and the Aqara and test the polarity using a multimeter. As there is no way of powering a CR2032 powered device with the wrong polarity, Xiaomi might have skipped the reverse polarity protection meaning you might fry the electronics. I have not tried ;)
With this file you will be able to print Aqara Temperature Sensor AA Battery Adapter with your 3D printer. Click on the button and save the file on your computer to work, edit or customize your design. You can also find more 3D designs for printers on Aqara Temperature Sensor AA Battery Adapter.