Aquila Mainboard Bay for BTT SKR Mini E3 V2.0
thingiverse
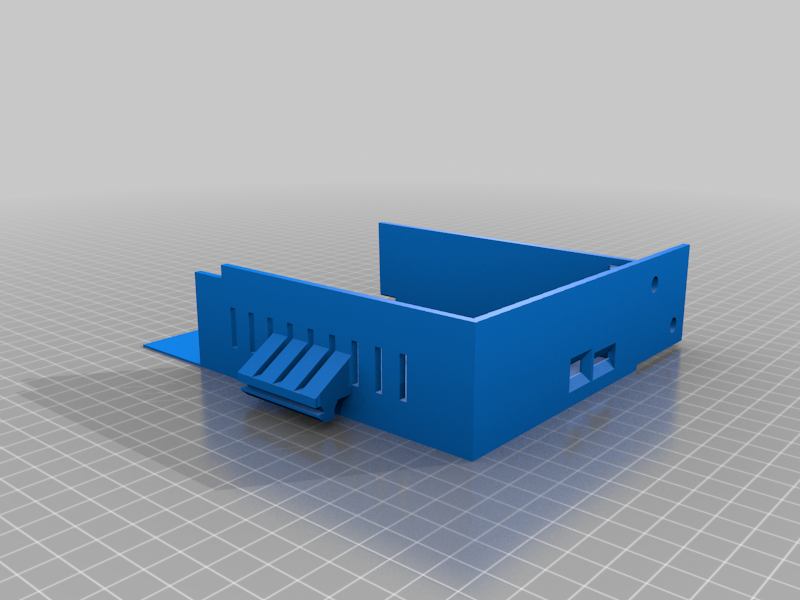
The Voxelab Aquila uses a different bolt mount pattern for its mainboard than the Ender 3... for whatever reason??? Unfortunately this means that drop in mainboard upgrades for the Ender 3 don't fit. Yay! So... I made a new mainboard enclosure that fits the Ender 3 mainboard mounting pattern. I designed it around the Bigtreetech SKR Mini E3 V2.0 mainboard as that is the board I wanted to fit to my N32 Aquila. I assume other versions of the Aquila use the same mainboard enclosure design but I don't know for sure. I wanted it to fit like the original for simplicity and to use the stock bolts from the original enclosure to keep it simple for anybody else wanting to do the same thing. My enclosure uses 3 less bolts than the original, 1 bolt that attaches the lower cover to the top cover and the 2 bolts that mount the fan to the lower cover as the fan mounts with a friction fit in my design. EDIT 27/12/2021: Added a vertical bevel around the USB port to allow the USB plug to seat properly in the port. IMPORTANT: To use the Bigtreetech SKR Mini E3 V2.0 with the stock display screen you will need to modify the display flat cable as the pinout is different. You will also need to modify some code in the firmware to support the SKR Mini E3 with the DWIN screen combination. I could only get this to work with the Alexqzd version of the Marlin firmware for the Aquila. Specifically V1.3.5. Many of the changes are already included upstream but have not yet made it to Alex's fork. Some links to the info required. Cable mod & firmware changes - https://github.com/MarlinFirmware/Configurations/issues/535 More required firmware changes - https://github.com/MarlinFirmware/Marlin/pull/22288/files#diff-5a0102cf6df090779b130b924a2511da4922373bfc60c8c4eca427343ba6cc73R120-R124 Alexqzd firmware - https://github.com/alexqzd/Marlin Installation: To install the bay you will need to loosen the Y axis belt tensioner, remove 1 of the screws to slide the tensioner mount out of the way so the V-slot rail can slide in. You will also need to remove the right side cover to free up the V-slot path for the rail to be able to slide all the way in. Hope this enclosure is of use to somebody else wanting to do a mainboard upgrade on their Aquila.
With this file you will be able to print Aquila Mainboard Bay for BTT SKR Mini E3 V2.0 with your 3D printer. Click on the button and save the file on your computer to work, edit or customize your design. You can also find more 3D designs for printers on Aquila Mainboard Bay for BTT SKR Mini E3 V2.0.