Archery arrow cutting saw using a Dremel 395
thingiverse
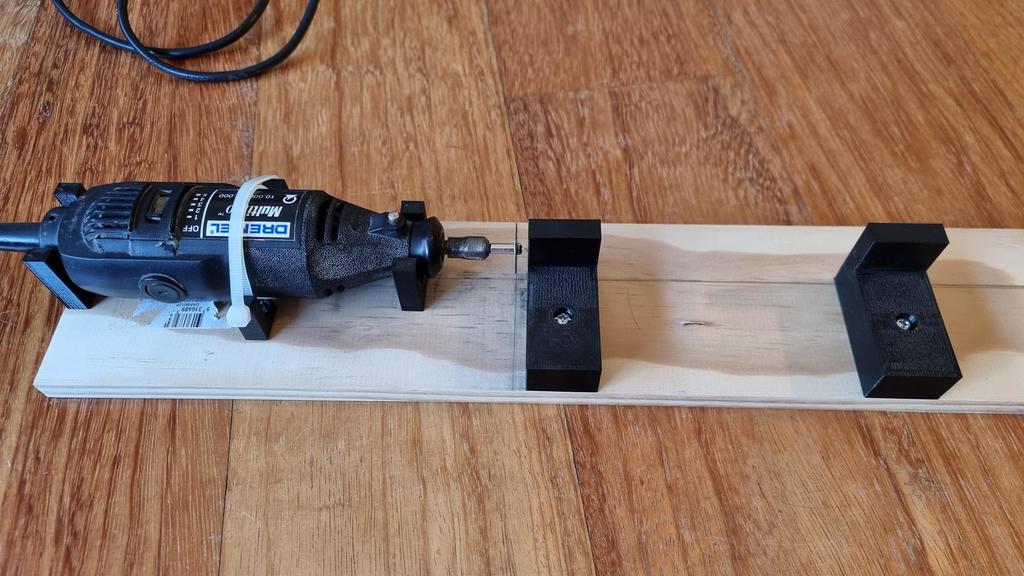
Use a straight piece of wood 90 to 100mm or deeper, 1100mm wide is enough to cut 35” arrows. I used 12mm thick wood, but a bit thicker can be better so you don’t have to use short screws. Based around a Dremel 395. It should be fairly easy to adjust the models to suit another tool. Use a cable tie or Velcro tie to hold the Dremel tool in place. My Dremel tool shaft centre was about 23mm high off the deck. If you have a Dremel 395, print the following parts Dremel bracket A Dremel bracket B Dremel bracket C x2 Jig mid Jig rear The following files are in case you want to edit / make adjustments. Dremel bracket - all parts for editing Jig mid- Editing model Jig rear 01 - Editing model How to make height adjustments to the model to fit a different Dremel tool - Using Microsoft 3D Builder (free software) Z height - Adjust the Yellow block Z height to the centre of your dremel shaft Z, minus half or your arrow outer diameter. EG If the centre of your Dremel tool is about 24mm high off the deck, your arrows are 6mm outer diameter. 24 – 3 = 21mm. Make the yellow block Z 21mm high. Do this for the Rear and Mid jigs. When your adjustments are done, Save. To cut the holes in the model for the screws. Select an orange piece, Edit, Subtract. Merge all pieces into one model (makes slicing easier) - Select all pieces, Edit, Merge (a few times). Save as a new file.
With this file you will be able to print Archery arrow cutting saw using a Dremel 395 with your 3D printer. Click on the button and save the file on your computer to work, edit or customize your design. You can also find more 3D designs for printers on Archery arrow cutting saw using a Dremel 395 .